
Summary of Humidity Display of Date, Time and Temperature
This article outlines a simple DIY project to build a digital interface displaying time, date, temperature, and humidity. It details the necessary hardware components and offers specific programming tips for accurate timekeeping using an RTC module.
Parts used in the Digital Interface Project:
- Arduino Uno or Arduino Nano
- DHT11 Temperature and Humidity Sensor
- DS3231 Real-Time Clock (RTC) Module
- 128x64 OLED Graphics Display
Story
Have you ever wanted to make your own interface that can display the time, date, along with the temperature and the humidity? Well it’s a lot easier than you’d think.
A few important components are needed, as shown below.
Arduino Uno/Nano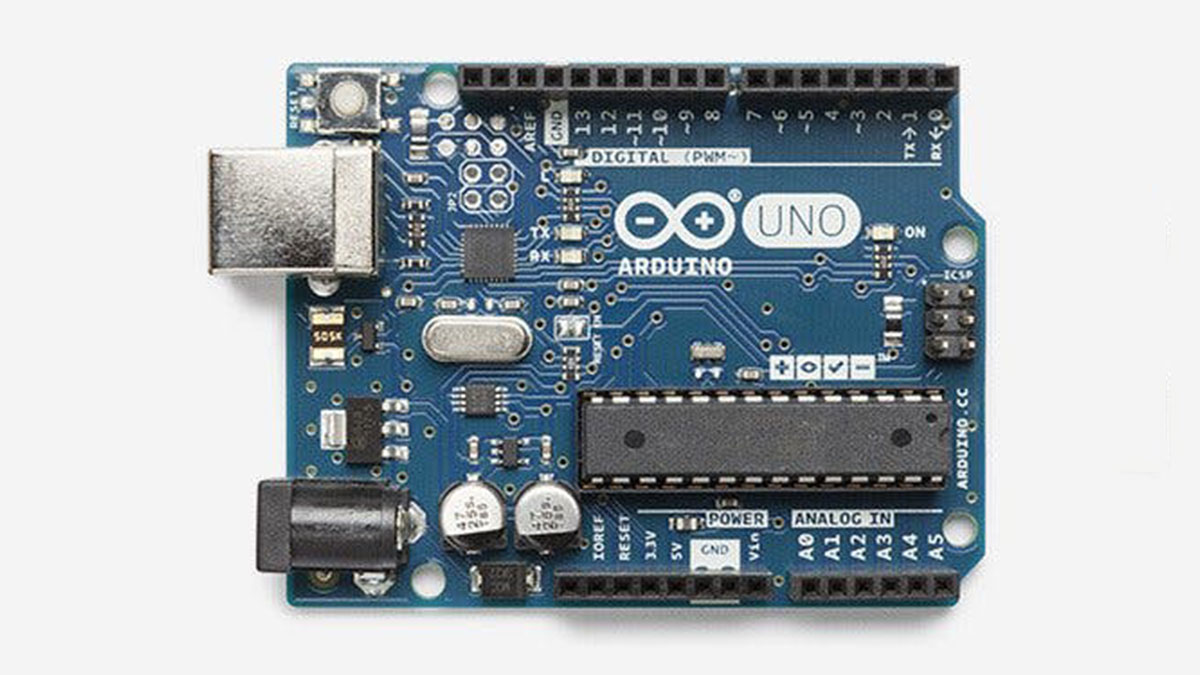
Firstly we will be needing a micro controller. I used an Arduino Uno for my project but an Arduino Nano will also have enough pins.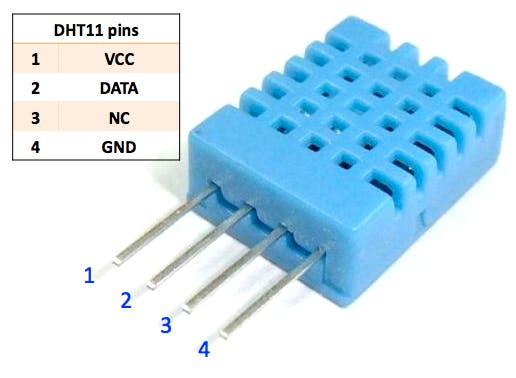
The DHT11 is a very affordable digital temperature and humidity sensor. It uses a capacitive humidity sensor and a thermistor to measure the surrounding air. The timing of the readings is crucial, as it is advisable to take reading every 2 seconds.
There is a small point to keep in mind. After setting the time once, make sure you comment that line, and compile again. This way, the RTC will keep track of the time, and the time will not set to whatever you compiled it to be earlier.
DS3231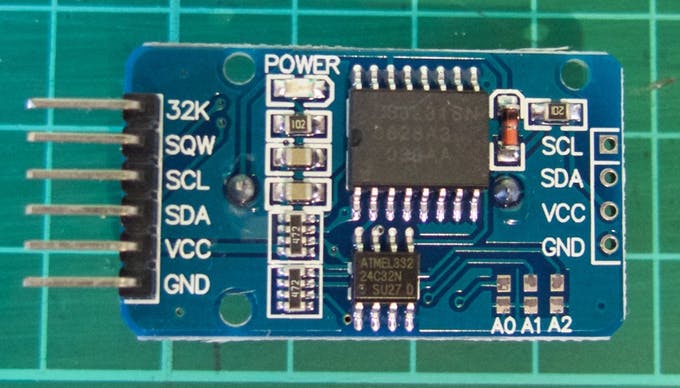
The DS3231 is an RTC module, same as the commonly used DS1307 module. It is considerably cheap and far more accurate that its DS1307 counterpart. It contains an integrated temperature-compensated crystal oscillator (TCXO) and crystal. The device incorporates a battery input, and maintains accurate timekeeping when main power to the device is interrupted.
128×64 OLED graphics display
The OLED screen will be displaying our data. This screen size is quite compact and the screen is impressively bright. The adafruit OLED screen can be controlled using SPI or I2C interface, which can be adjusted at the back of the screen.
Read More: Date, Time, Temperature and Humidity Display
-
What microcontroller is suitable for this project?
An Arduino Uno is used, but an Arduino Nano also has enough pins. -
How often should readings be taken with the DHT11 sensor?
It is advisable to take readings every 2 seconds. -
Why is the DS3231 considered better than the DS1307?
The DS3231 is far more accurate and contains an integrated temperature-compensated crystal oscillator. -
Can the OLED screen be controlled via different interfaces?
Yes, the Adafruit OLED screen can be controlled using SPI or I2C interfaces. -
What happens if you do not comment out the time-setting line after setting the time once?
The RTC will reset to the compiled time instead of keeping track of the current time. -
Does the DS3231 maintain time when power is interrupted?
Yes, it incorporates a battery input to maintain accurate timekeeping when main power is interrupted.
