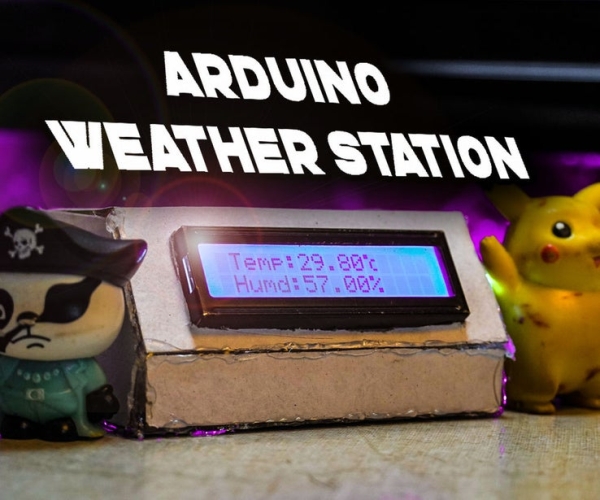
Recently I started playing around with DHT11 Temperature and Humidity sensor, at that time around, I had an idea to make a small yet effective Weather Station, so in this project inscructable, we will use the DHT11 sensor from the previous tutorial and turn it into mini weather station for our desk, so follow up this tutorial to build this awesome Weather Station for yourself!
Supplies:
- DHT 11 Sensor
- 16X2 I2C LCD Display
- Arduino Nano
- 3D Printed Parts ( attached in further Steps )
- PCB board / Bread Board ( files attached in further steps )
- (OPTIONAL) Cardboard
- (OPTIONAL) Hotglue Gun
- (OPTIONAL) Scissor/ Cutter
Step 1: Watch the Video!
Step 2: Brush Up the Basics!

in this project, we will use 3 things, so we need to Brush up our Basics on these 3 things
1. Arduino microcontroller.
i have previously covered the very basics of Arduino Micro controllers in a video, please go through it to understand the very basics of Arduino Boards.
2. LCD
we will be using i2c lcd in this project, to understand its basics and working, lets refer this video of mine, which explains very basics of writing i2c code in easy steps.
3. DHT 11 Sensor
DHT 11 sensor is a Temperature and Humidity sensing module, which uses NTC – i.e. negative temperature coefficient to convert the temperature into equivalent resistance change. watch the following video for more detailed Tutorial and Working of DHT11 Sensor.
Step 3: Build the Circuit!

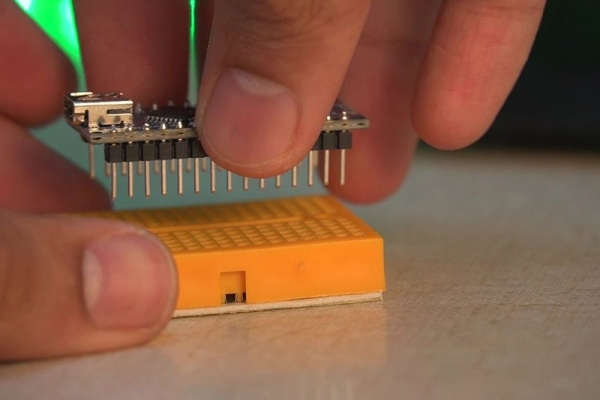
for this project, we are using an i2c lcd for display and DHT 11 sensor, along with Arduino Nano, so complete this circuit, i first designed and created a PCB design according to simple connections as shown in attached pictures, using a free software tool called “Easy EDA ” but i could not order the PCB due to time constrains, so i rather used a breadboard, and connected the following pins to arduino, but if you want to order the PCB, you can use the following gerber files to order the pcb / make it for yourself
DHT11 connections
GND – GND of arduino
Data – D2 pin of arduino
VCC – D3 pin of arduino
( i used pin D3 of arduino to create a virtual Vcc pin, by sending digital HIGH from code to power DHT11 )
LCD connections
VCC – 5V of arduino
GND- GND of arduino
SDA – A4 of arduino
SCL – A5 of arduino
Read more: How to Make an Arduino Weather Station With DHT11 Temperature and Humidity Sensor
