Summary of How to build a simple Arduino shutter speed tester – by Ethan Moses
The author built a low-cost shutter speed tester using an Arduino Uno clone, laser sensor, and emitter to calibrate vintage cameras like the Yashica Electro 35 GSN. The tool measures actual shutter speeds against dial settings, revealing discrepancies in older models. It requires no prior electronics knowledge due to provided code and video tutorials, costing under $10 if parts are sourced from online retailers.
Parts used in the Shutter Speed Tester:
- Arduino Uno Clone
- Jumper Wires M-M, F-F, M-F
- Breadboard
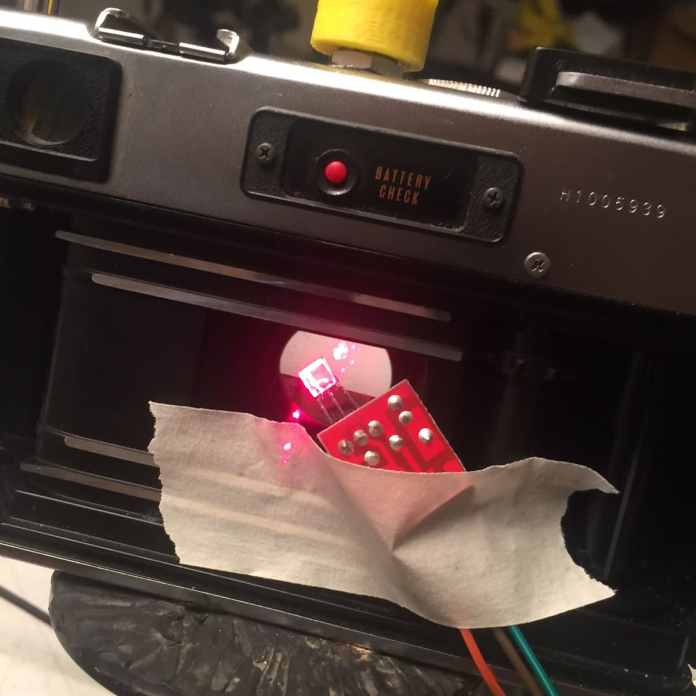
- Laser Sensor
- Laser module (emitter, not sensor)
I’ve been stuck in my house filling orders for my Kickstarter campaign for the CAMERADACTYL 4×5 Field Camera, mostly just babysitting printers, changing filaments and adjusting extruders every few hours. This has left me with some rare time for tinkering.
Recently I built a cheap, quick and dirty tool to calibrate a project that I was working on. I was adding manual shutter speed adjustment to my Yashica Electro 35 GSN and needed to figure out what resistor values correlated to standard shutter speeds when added to the analog circuit inside my camera. I made a video and wrote about on 35mmc.

I built the shutter speed tester entirely out of parts that I had on hand, but if you had to buy them new, I think you could do it for well less than $10 (assuming you have enough patience to wait on 60-day shipping from China on Ali-express*).
Here’s the kit list – I am not sponsored by Ali-express or anything like that, and you can find these pieces from different sellers, and also on Amazon or Digikey, these are just examples of what pieces I am using:
- Arduino Uno Clone
- Jumper Wires M-M, F-F, M-F
- Breadboard
- Laser Sensor
- Laser module (emitter, not sensor)
You’ll also need my code: visit Github for my tester control code.
* I have adapted and adopted a new holiday, which I call Chinese Chanukah. Here’s how it works: order a bunch of electronics parts from Ali-express, all unbelievably cheap (lasers for 35 cents, sensors for 93¢, microcontrollers for a few bucks) with free shipping across the oceans. Then, you wait about 25 days and there will be well more than 8 days of presents that USPS Santa (in my case, my mailman, Don) drops in your mailbox. No frying in grease or cookie preparations needed. Available year round.
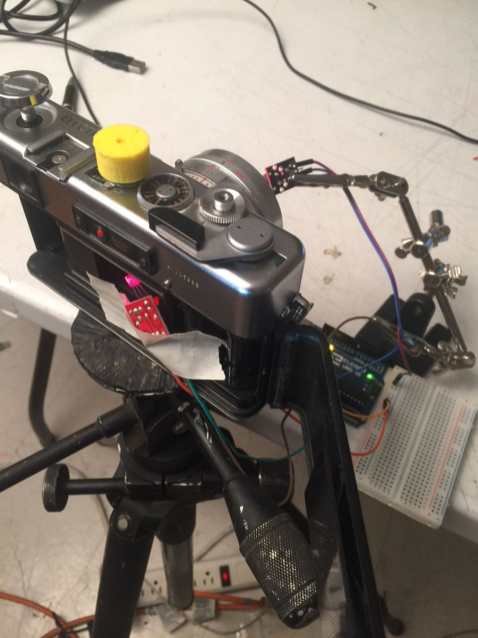
Here’s the finished article:
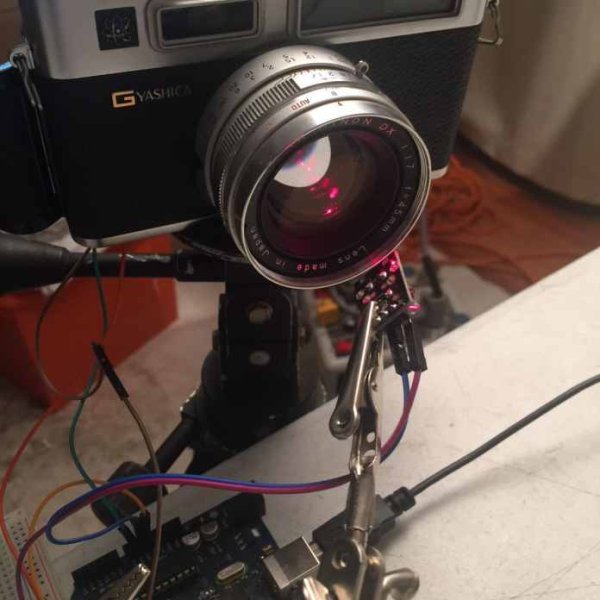
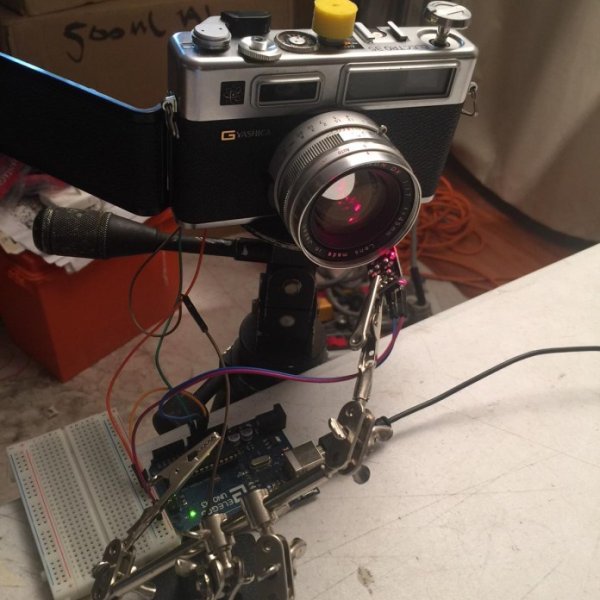
The shutter speed tester worked well for my purposes but is probably way more useful to all those people out there suffering from camerabedies – the need to collect old cameras. Those old cameras often with gummy shutters.
I found that my Yashicas (I’ve tested four by now), which were supposed to fire at 1/500 of a second at top speed, all max out at about 1/325th of a second. My Nikon F is much closer to its dial speeds, but is about half a stop too slow at the top end. Even if you don’t calibrate camera shutters as a result of using this tool, its useful to know which settings are off and by how much.
To help out with the build, I made an instructional video that assumes no prior knowledge of electronics or programming so that anyone could follow along. It makes the video a little long and boring, so if you have even a beginner level of experience programming Arduino, skip the video, download the code that I put on Github (which is annotated for extreme beginners, basically every line), plug your modules in and rock out.
In case you fall into the first group, here it is.
If this project generates a surprising amount of interest, maybe I’ll design a 3D printable file for some sort of jig, rather than simply taping the sensors to the camera or a beer can or the like. I’m not sure yet if the jig should be like a one-piece alignment base, like an optics bench, or a two-piece set of mounts for the front of a lens and the back of a film plane. Something to think about.
Eventually, I’d like to build a two-LASER setup for calibrating dual curtain focal plane shutters, so that you could make sure that the first curtain and the rear curtain are moving at the same speeds. The program I wrote takes advantage of some simplicity and shortness of code, which allowed me to do some things not by the book, and without external pulse clock components. Maybe in the future, I’ll build a more robust and precise timer. This one does the job for now but I’d appreciate your feedback.
Funny how even a successful project can lead to five more problems that need solving. I guess that’s what happens “If You Give A Mouse A Cookie”.
- How much does it cost to build this tester?
You can build it for well less than $10 assuming you wait on shipping. - What is the best way to get the control code?
Visit Github to download the annotated tester control code. - Does this tool work without prior programming experience?
Yes, an instructional video assumes no prior knowledge of electronics or programming. - Can I find these parts on Amazon?
Yes, the listed pieces can be found from different sellers including Amazon or Digikey. - What specific camera issue does this project solve?
It helps calibrate gummy shutters and identify speed discrepancies in old cameras. - What was the result when testing four Yashica cameras?
They all maxed out at about 1/325th of a second instead of the expected 1/500th. - How long does shipping take from Ali-express?
It takes about 25 days for the parts to arrive via USPS. - What future improvements does the author plan?
The author wants to build a two-LASER setup for dual curtain focal plane shutters.