Well hello there! My name is Manou and together with Max and Mirthe we made an arduino project.
Do you also have struggles in the rain, when your glasses are totally drenched? We have the solution: glasses wipes!
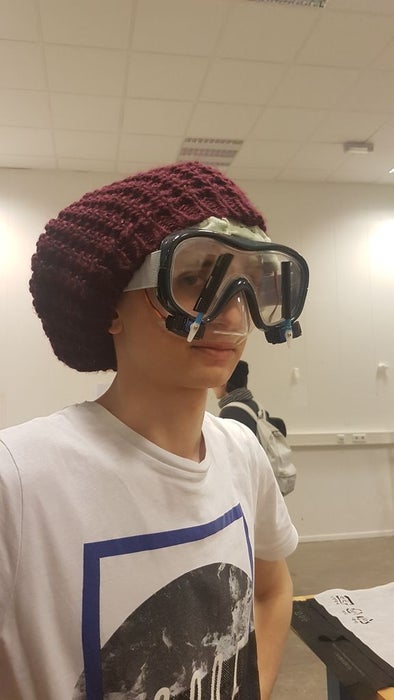
This project is exactly what it sounds like, wipes that will cover your glasses in order to clean your sight during rain or snow.
honestly we just wanted to make something fun and although it isn’t an original idea, we all believed that it is a pity no-one actually made it yet. This project is for beginners in arduino and coding, but feel free to make the design better and get this project to greater heights!
Step 1: What You Need
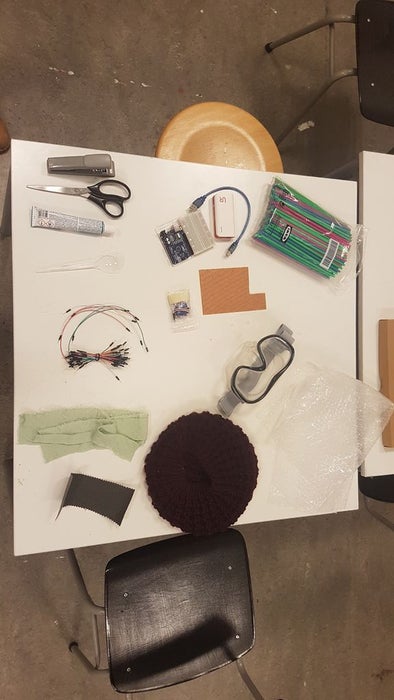
here is everything that you’ll need during the project:
– 1x Arduino genuino uno (https://www.floris.cc/shop/en/search?controller=se…),
– arduino.exe programme (download for free: https://www.arduino.cc/en/main/software)
– 2x servo motors (I used TG9e, you can use others aswell even bigger ones or continuous ones, but these are not covered in my code)
– 8x pinwires (but probably more, wires are fragile!)(different sizes are recommended)
– usb 2.0 cable
– powerbank
– printboard
– diving glasses (for a better look you can use normal glasses, but diving glasses are more stable for the servo’s)
– textile or cloth (you can use different colors and for the wipes you can use rubber)
– straws
– a hat (this can be everything or use a lot of wires so the arduino can fit in your pocket!)
– bubble plastic
– soldering iron
– 2x cross-screws
– cross screwdriver
– contact glue
– scissors
– stapler
– needle and thread
– wire cutter
– a woodfile
Step 2: Downloading Arduino.exe
When downloaded arduino.exe on your computer, you can open it up in the file where you saved it and get the following screen.
Delete the excisting code and copy the following code: The code includes some explaining what it does, if it doesn’t work click on the added file with my code.
// Ensures that the servo function can be used and is imported in the project.
#include
// Variables to distinguish the different servo’s.
Servo servo;
Servo servo2;
// Here is determined which servo is attached to which pin and if they start with a value. in this case it is 0.
void setup() {
Serial.begin(9600);
servo.attach(8);
servo2.attach(9);
servo.write(0);
servo2.write(0);
}
void loop() {
// Constant variables for the turning of the servo and to place them in positions in his range (Where the arm reaches).
const int angleIncrement = 1;
const int incrementDelay = 10;
// Angle starts at zero. if the angle is smaller then the movement, the servo wil turn, because of adding up the angleIncrement with a small delay (incrementdelay).
for(int angle = 0; angle < 60; angle += angleIncrement)
{ //slow movement forward
servo.write(angle);
servo2.write(angle);
delay(incrementDelay);
}
// Angle starts at 60 degrees. If the angle is bigger then zero, the angle will move back, because of subtracting angleIncrement with a small delay(incrementdelay)
for (int angle = 60; angle > 0; angle -= angleIncrement)
{ //slow movement backwards
servo.write(angle);
servo2.write(angle);
delay(incrementDelay);
}
Source: (G) Classy Wipes