Going through the Instructables website, I came across this fascinating “Pi Day Speed Challenge” contest. I decided to take part in the contest, as a challenge to myself of how creative and innovative can I be. As I’m not good as a cook, I did not think of any pi dish but on the other hand, being a student who loves to tinker with the Arduino micro-controller, I thought of creating something that is related to ‘Pi’ in the field of math.
First, I wasn’t getting any idea of what to make. Due to boredom, I started writing the Pi symbol continuously on a piece of paper. Then all of a sudden, I just stared at the Pi symbol and an idea just struck me. I was like, “wow, I’ve never notice and given much thought about the Pi symbol! As a math student, we tend to write Pi quickly in equations, and don’t give much thought and appreciation behind the design of the symbol.
Once, this idea came to my mind, I knew exactly what I wanted to make and it would fit perfectly in the contest as the project I thought of making was simple yet a lot of fun to make and it would be done in a very short time.
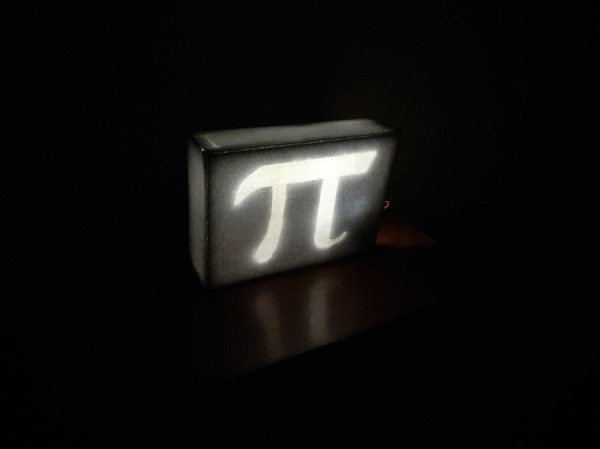
In order to know how I went about making my Wireless Pi Table Decor, do go through the whole instructables and if you liked the project and would like to try it yourself, please do me a favour by dropping a VOTE in the Pi Day Speed Challenge.
Step 1: Gather the Supplies

In order to make this project, you’ll need to gather the supplies. All these supplies and tools are easily found in your house. For the electronic components, you might need to visit a nearby electronic shop close to your house.
Electronic components:
- Arduino Uno R3 – 1x
- HC-05 Bluetooth Module – 1x
- Jumper Wires
- Fairy lights – 1 strip
- On/Off switch – 1x
- 9v Battery – 1x
- 9v Battery Holder – 1x
Tools:
- Soldering Iron
- Scissor
- Blade
- Double-sided Tape
- Glue (Fevicol)
Materials:
- Polystyrene Sheet (29.7 x 21 x 1.5 cm) – 2x (A4 sheet paper size)
- Polystyrene Sheet (29.7 x 5 x 1.5 cm) – 2x
- Polystyrene Sheet (18 x 5 x 1.5 cm) – 1x
- Polystyrene Sheet (7 x 5 x 1.5 cm) – 1x
- Cardboard Sheet (25.7 x 17 x 0.4 cm) – 1x
- Paper (A4 sheet) – 3x
Step 2: Cutting the Polystyrene Sheet
The table decor can be of any size but I have chosen the size of an A4 sheet paper. The reason I have used polystyrene as my project’s material is because it’s a soft and easy material to work it. The main advantage being able to make this project at short period of time. I could have used wood to make the similar project but it would take more time as it’s a harder material compared to polystyrene.
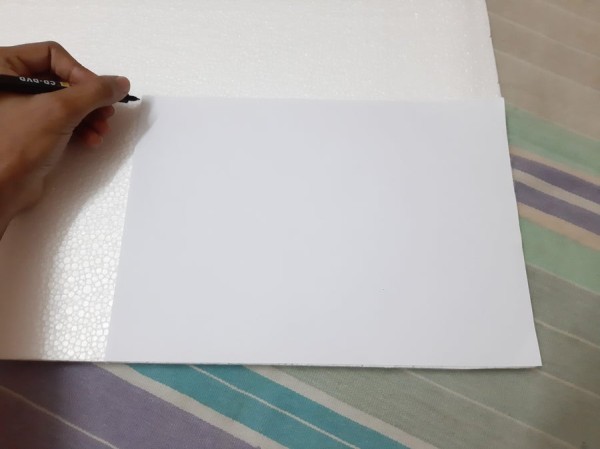
With the help of a marker pen, outline the A4 size paper on a big and flat sheet of polystyrene. Then with a cutter, cut carefully on the line marked. For precaution, you could place a ruler tangent to the line and cut the polystyrene sheets.
Step 3: Engraving the Pi Symbol in the Polystyrene Sheet

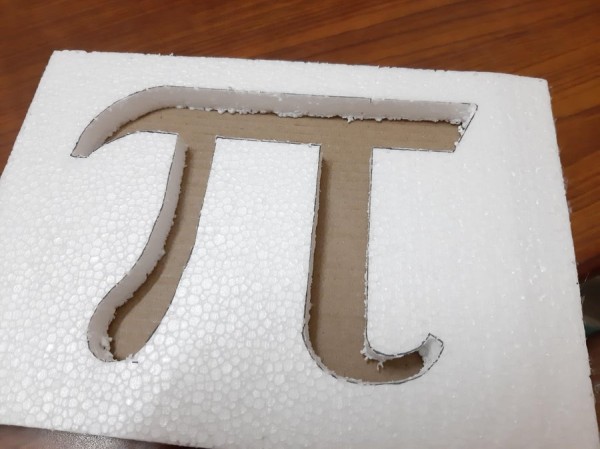
Draw carefully the symbol of Pi on the new polystyrene piece you recently cut. You could go to Google and look up “Pi symbol”, go to images and copy down the beautiful Greek symbol. Once outlined, with the help of the cutter, cut the Pi symbol.
Attention! please be careful while coming close to the curved ends of the symbol. Cut slowly in order to not chip off the polystyrene as it’s a very soft and easy-to-cut material.
Step 4: Cutting the Cardboard Sheet
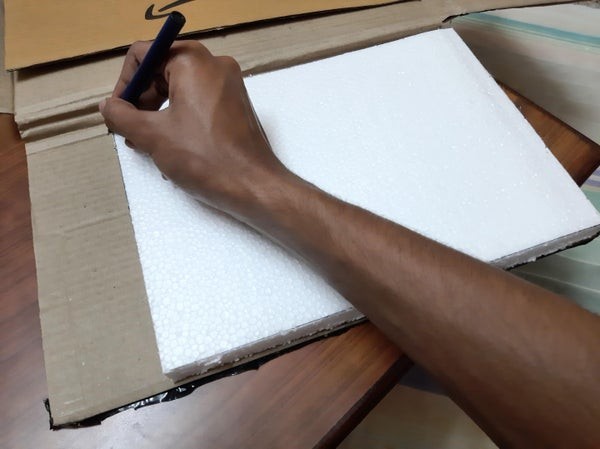
Take a piece of thick cardboard (in my case, I had taken a cardboard of thickness 0.4cm) and cut the cardboard having the length of 25.7cm and a width of 17cm.
In the second picture, you can see that after having cut the cardboard sheet, I placed it on the polystyrene. The cardboard sheet, is 2cm smaller in both length and width in comparison with the polystyrene sheet.
Step 5: Tracing the Pi Symbol Onto the Cardboard
Place the sheet of cardboard underneath the sheet of polystyrene which has the engraved Pi symbol. With the marker pen, make the outline of the Greek symbol onto the sheet of cardboard.
Once it’s traced, take the strip of fairy light and stick it inside the Pi symbol. The reason, I traced the Pi symbol and then I stuck the fairy light inside it, is simply because all the LEDs will be aligned with the cut Pi symbol on the polystyrene sheet, so that in the end, the Pi symbol glows a lot brighter.
Step 6: Working on the Circuit
Take the sheet of cardboard and glue it on the 2nd sheet of polystyrene which does not have the Pi symbol engraved. Make sure the sheet of cardboard is glued in such a way that each side from the end of the cardboard to the end of the polystyrene sheet, there is a distance of 2cm.
Moving on with the circuit
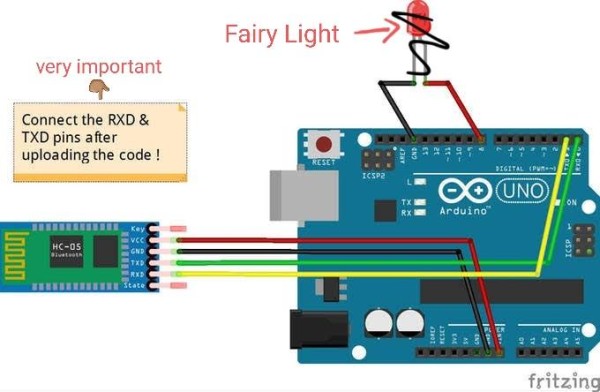
As shown in the diagram, instead of the single LED which is connected to pin 8 of the Arduino, connect the strip of fairy lights. Solder the positive end of the fairy lights to the + of the switch and the negative end to the – of the switch.
Fix the HC-05 bluetooth module Arduino, switch, and the 9v battery onto the cardboard with double sided tape. Then connect the Gnd wire coming out of the Arduino board to the Gnd of the bluetooth module. Then connect the 5v wire to the VCC of the bluetooth module. Take the RX from the Arduino and connect it to the TX of the bluetooth module. And finally, connect the TX of the Arduino to the RX of the bluetooth module.
You are done with the circuit. It was as simple as that.
Now open the Arduino IDE and download the given code. Once downloaded, open the code and upload it to the Arduino. Please make sure the right Port and Board are selected before uploading the program.
Attention! Don’t plug in the external power supply on the Arduino while the board is already connected to the PC.
Source: DIY Wireless Pi Table Decor