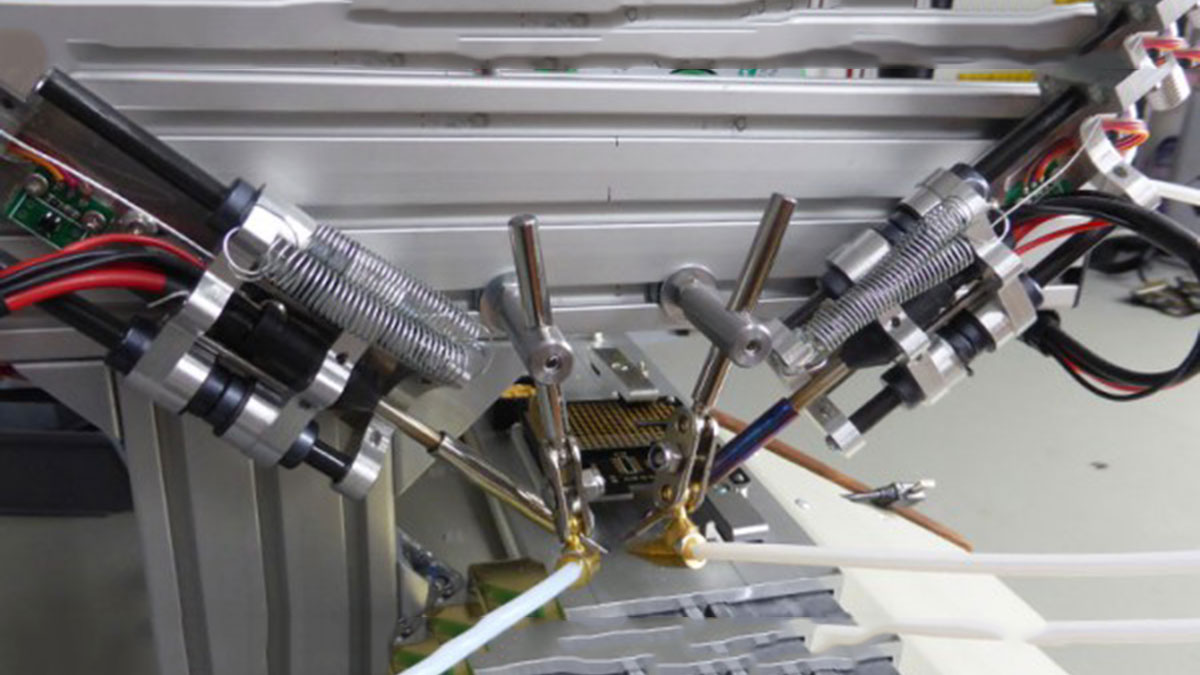
The DIY soldering robot which we have been building in our spare time over the past few months is now working and we have been able to solder some test Raspberry Pi expansion board headers with the machine.
Before starting on this robot we looked at the various commercial soldering systems that are available. Wave soldering machines would have been impractical as the connector is on the top side of the board next to the surface mount components. Wave soldering would also coat the full length of the pin in solder which we don’t want to do as it would make it more difficult to stack the boards.

There are several commercial soldering robots available and we got quotes for some of them but we decided that they were either too big, too slow or too expensive, with most costing more than a new car. In the end we decided that what we wanted was so specialized it would be easier and cheaper to make one ourselves.
We tried to design the machine in a way that would be small and easy to replicate so if we need to speed up production of our boards we can quickly make more soldering robots and have a row of them running on a desk. A Bluetooth module was added to the design so when we do build more robots we can use one master robot to wirelessly control several slave machines.
The current speed of the machine is still very slow and the software was setup to allow us to run at a reduced rate so we could easily find any issues with alignment and solder feed. Once we have performed more test runs we will gradually increase the speed of the various stepper drives and feed systems until we can get good consistent soldering.
The previous blog posts detailed the various electronics and hardware stages and this post shows the final parts we had to build, modifications to the solder feeder systems, the software which drives the kflop controller, our custom control boards for the stepper driving and soldering irons elements heating control.
For More Details: DIY Soldering Robot Project Completed
