Note: I only connected one of the three axis pins for testing.
There are some things to note:
If you use the ADXL337 breakout board the way described here, you have to set the Arduino to an internal voltage of 3.3V. This is possible with many Arduino boards. If it’s not possible with the board you’re using, connect the 3.3V pin additionally to the AREF pin and add the code line “analogReference(EXTERNAL)” in the setup function. In this way everything works correct and you get the best resolution of the AD conversion of the Arduino.
Electronics and measurement:
The accelerometer works as a resistor whose resistance is relative to the acceleration of the respective pin and axis. This means the standard voltage is 1.5V (see
specsheet) . If you take a multimeter to measure the pins x,y and z you should get the value 1.5V for the pins x and y because there’s no force acting on them. On the z axis you should get 1.8V. This is because the earth acceleration respectively the gravity is acting on the ADXL337 in the z axis. As you can deduce from the values 1 g corresponds to 300mV(see
specsheet) .
So how to calculate?
(CURRENT_VOLTAGE – 1.5V ) / 0.3V = g acting on the respective pin
For example there are 2.1V on the X pin means that the accerelometer is accelerated by (2.1V – 1.5V) / 0.3V = 2 g.
It’s really as simple as that.
The problem is the Arduino is working digital. Because of that every value at one of the analog pins is converted from analog to digital. This means the Arduino doesn’t measure 1.5V, but measures the relation of the 1.5V to the reference voltage. The internal reference voltage is usually 5v, but as described above I changed the internal voltage to 3.3V which means the internal reference is 3.3V too. The Arduino will give us
(CURRENT_VOLTAGE/ 3.3V) * 1024
For example the Arduino will return 465 for the call “analogRead(A0)” if the current voltage on pin A0 is 1.5V.
So the formula must look like the following:
((CURRENT_VOLTAGE_AD / 1024) * 3.3V – 1.5V) / 0,3V = g force acting on one axis
Note:
The ADXL337 is subject to manufacturing errors so the values described can differ a bit from what you measure. Just adapt to the values of your ADXL337 and everthing is fine.
Programming
I haven’t implemented the AD-value to g-force conversion, yet, because I just wanted to get the accelerometer work first. In addition I will do the conversion with Java on perhaps a rasperry pi because I’m not limited this much in RAM, can influence the precision of the values (e.g. with BigDecimal) and can use a debugger.
So this is just a simple sketch which only shows how to output the current voltage as an AD value to the serial output:
#include <Arduino.h>extern HardwareSerial Serial;
void setup() {
Serial.begin(115200);
pinMode(A0, INPUT);
}void loop() {
int sensorValue = analogRead(A0);
Serial.println(sensorValue);
delay(100);
}
In future I will attach links to GitHub, but my projects are currently to small to get a benefit from that.
 Result and error checking of values:
If you print the output of the serial interface with e.g.
octave you’ll get a result which should look similiar to this:
There are some possibilities to validate that the accelerometer is working correctly.
– If the acccelerometer isn’t moved and has not been moved since the start of the measurement you should see a parallel line with the exact same y-value for the whole time.
– If the accelerometer is moved once and then stopped, you should see values higher than the usual y-value and after that you should see values lower than the usual y value.
– If the accelerometer isn’t moved at the moment but has been moved before the sum of all values must be 0.
The logic is simple. If something gets moved it is first accelerated, after that it’s on speed and isn’t accelerated anymore and after that it gets slowed down. Because it isn’t moving anymore means that the acceleration must be as high as the slowing down. And this means that values higher than the usual y value and values lower than the usual y value must 0 sum for a non-moving vehicle.
With this logic you can easily determine whether the accelerometer is working correctly.
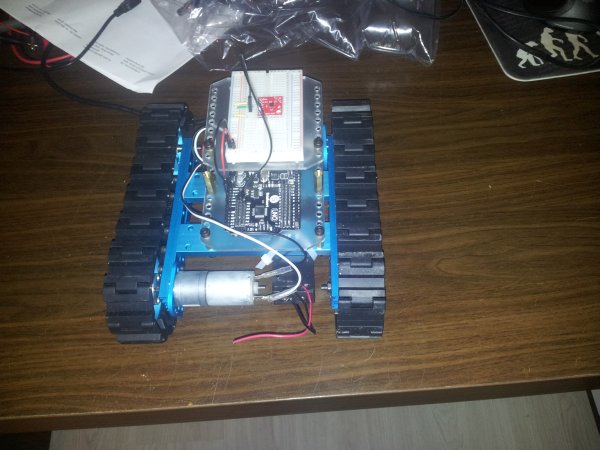 Cabling:
 Result and error checking of values: