I have recently acquired an Intel IoT Developer Kit as part of an Instructable Campaign. I am familiar with some embedded processing models and microcontroller environments such as the Arduino, but I found getting up and running with the Intel Edison to be a bit chaotic. I wanted to consolidate the information that I found to help fellow makers ease into this cool device.
 7
7
Parts I got in the mail from Instructables:
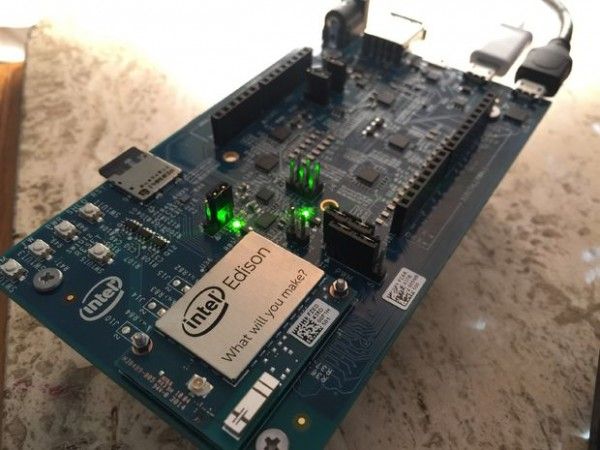
Intel Edison and the Arduino Compatible Expansion Board
Seeedstudio’s GROVE Starter Kit Plus
microSD Card with accompanying adapter
To work with this device, I’m afraid it’s not quite as user friendly as the Arduino. You have to be relatively competent in regards to getting your hands dirty with code and configurations. It would help if you know some Linux and some basic network stuff.
Step 1: Intel’s “Getting Started” Guide – Flashing
As I’m sure my fellow makers have discovered, Intel’s site is a little lackluster in describing in detail the workings of setting up this device. You can follow my guide or theirs, it’s pretty much the same, but I provided mine in case you wanted a different perspective.
For windows at least, they provide these links:
https://communities.intel.com/docs/DOC-23193
https://communities.intel.com/docs/DOC-23148
You can find Linux and Mac instructions there too
First they have you mount the Edison and attach the posts (I don’t think this step will be a problem).
Once you download all of their files, we can get started flashing the device. The download speed from Intel was horrid as it took over five hours for me to get the IDE files, so I will provide mirrors at the end of this Instructable.
Windows users have to install the drivers, both the FTDI and Edison-specific ones.
Make sure the micro switch is flipped towards the microUSB ports and plug two USB cables into those ports and into your computer.
Intel wants to make sure the microSD card is empty before we copy over the new OS files, so they describe a verbose command prompt way of erasing the files, but you could just as easily delete them from Explorer.
Then, you copy over all the files from the “Latest Image” to the root of the microSD card which should show up under the name EDISON
Now for the fun stuff
Intel’s site has a picture of their device manager to show how to pick which COM port to use in your SSH client of choice, but there are multiple Edison ports, which is pretty confusing. Make sure to remember which one is the USB Serial Port
Now open up PuTTY or your SSH client of choice, set it to connect to Serial over the COM port you found and set the baud rate to 115200
For more detail: A Comprehensive Intel Edison Getting Started Guide