
Summary of Building a Doodle Bot kit from DAGU
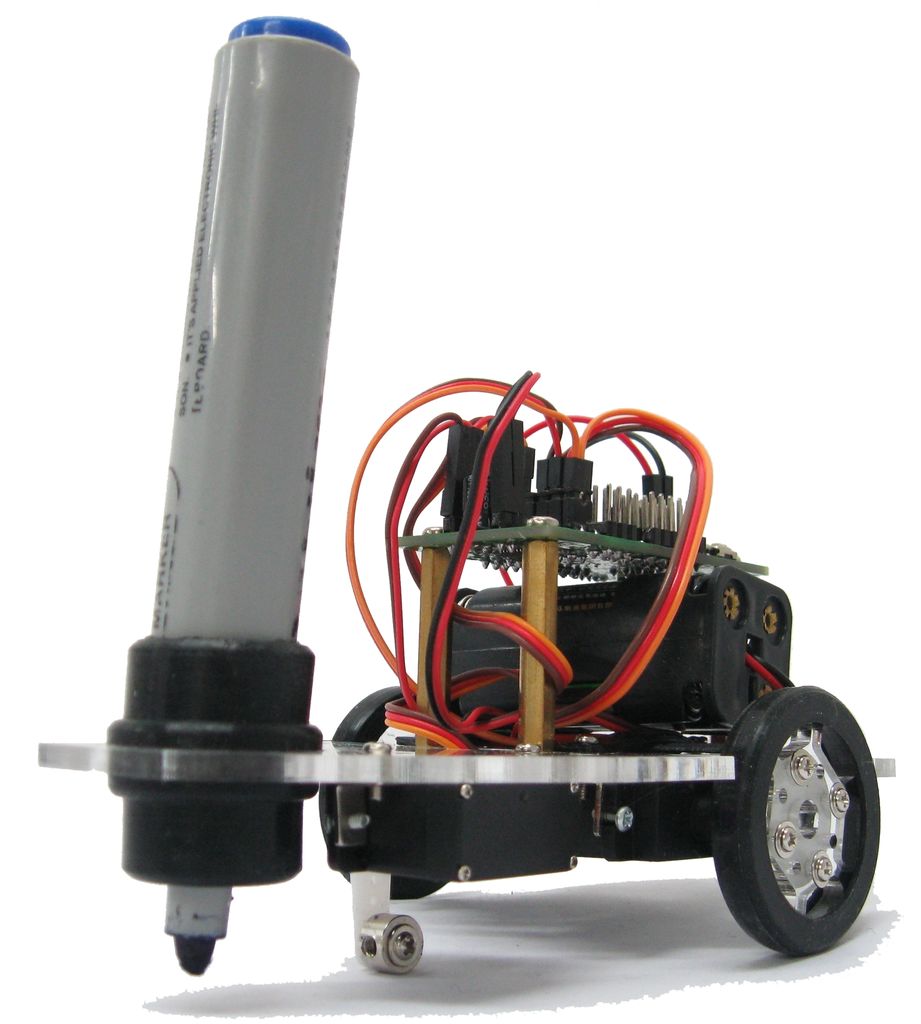
The Doodle Bot is a beginner-friendly robot kit designed to write messages using markers, chalk, or crayons. It features an Arduino-compatible controller, geared motors, and magnetic wheel encoders for precise movement tracking. Assembly involves mounting motors on brackets, attaching wheels with rubber tires, and installing encoder sensors and magnets to measure distance and speed. The kit includes all necessary hardware except batteries and a USB cable, supported by a detailed manual and online tutorials for customization.
Parts used in the Doodle Bot:
- Laser cut base plate (part #1)
- Laser cut wheels (part #2)
- Rubber tires (part #3)
- Geared motors (part #5)
- Servo motor (part #6)
- 90° angle brackets (part #9)
- M2x5mm screws (part #11)
- M2x8mm screws (part #14)
- Magnetic wheel encoder sensors (part #21)
- 8-pole wheel encoder magnets (part #22)
- Fiberglass strips (part #25)
A large, full colour manual is included to make assembly easy. The manual can be downloaded from here: https://sites.google.com/site/daguproducts/home/instruction-manuals. This instructable supplements the manual with additional colour photos and text to show the easiest way to assemble the robot.
There is a tutorial for creating font, symbols and pictures here: http://www.instructables.com/id/How-to-draw-pictures-and-create-fonts-using-the-Do/
Step 1: Check your parts
Step 2: Assemble your wheels
Step 3: Adding mounting brackets to your motors
The kit includes 6x 90° angle brackets (part #9) for mounting your motors and 2 sizes of M2 screws (5mm & 8mm). For this step we need six M2x5mm screws (part #11). Use the printed ruler to check the screw size.
As these motors have mounting slots rather than holes it is easier to partially insert our screws into the 90° brackets first. Then slide the bracket into the motor mounting slot and gently tighten the screws. You only need to tighten the screws a small amount.
Pay careful attention to the way the brackets are mounted as there is a left and a right motor plus the servo only mounts on the left side of the body.
Step 4: Mounting the motors and encoder sensors on the base
The easiest way to mount the left and right motors is to start with a single M2x8mm screw (part #14) passing through a fiberglass strip (part #25), through the base plate (part #1) and into the motor mounting bracket (part #9) on the other side. Do not tighten the screw yet!
While the screw is loose, slide your sensor under the strip as shown and then add your second M2x8mm screw. Align the sensor so it sits directly above the output shaft of the motor and gently tighten the mounting screws until the fiberglass strip bends slightly. Repeat these steps for the other motor.
At this point you can also mount the servo (part #6) using the last two M2x5mm screws.

Step 5: Mounting the wheel encoder magnets
Each wheel is fitted with an 8-pole magnet (part #22). This magnet has 4x north poles and 4x south poles. As the wheel spins, the magnetic sensor detects the changes in the magnetic field to give 8 counts per revolution of each wheel. The robot uses these to measure distance traveled and could even measure it’s speed with them if necessary.
For more detail: Building a Doodle Bot kit from DAGU
-
What components are required to program the Doodle Bot?
You need to supply 4x AAA batteries and a suitable USB cable to program the robot. -
How can you distinguish the servo from the geared motors?
The geared motors have only 2 wires, while the servo has a third wire that carries signals to its control circuit. -
Where does the servo mount on the robot body?
The servo only mounts on the left side of the body. -
What function do the magnetic sensors serve?
The sensors allow the robot to measure how far each wheel turns by detecting changes in the magnetic field as the wheel spins. -
How many counts per revolution do the wheel encoders provide?
The system provides 8 counts per revolution of each wheel due to the 8-pole magnet design. -
Which screw size is used to mount the motors to the base?
M2x8mm screws are used to hold the left and right motors to the base plate. -
What writing tools can the Doodle Bot use?
The robot can write messages using white board markers, jumbo chalk, or crayons.
