
Materials you will need
For making the board:
-1 piece of cardboard (I used the top of a paper box so my board would look more like a canvas)
-Black cotton material (20″x20″)
-Several different colors of felt ( I used blue and purple) for stars
-Piece of white felt (for moon)
-Scissors
-Adhesive velcro
-Needle and thread
-Copper wire (or any conductive wire) 12″
For the electronic part:
• LilyPad Arduino board
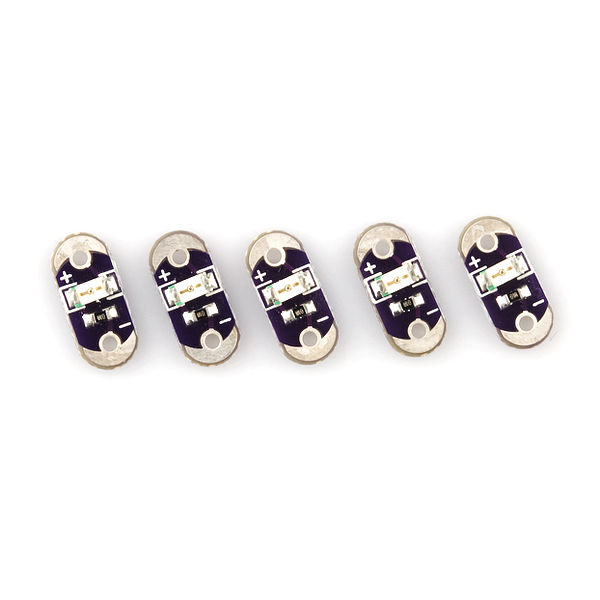
• LilyPad LEDs (6 white)
• Li-Po battery
• Conductive thread
• LilyPad tone for sound
• LilyPad FTDI basic
• Mini-USB cable
• FTDI driver
Step 1: Making a Plan
I then mapped out how I would sew to connect the LEDs to the board and complete the circuits. This prevents getting circuits crossed or having to sew inefficiently to complete the connection. To ensure that my negative lines didn’t intersect with my positives (which would prevent the circuit from working) I used the back of the board for the negative lines and the front for the positives. The circuitry sketches I used are attached.
All of my negative lines (from the LEDs and the tone button) went back to the same petal on the board– which I label as “Ground” on the sketch.
 positive.pdf1 MBpositive.pdf1 MB
Step 2: Building the Board
After finishing the stars, lay them out on your black material. Make sure 5 of your stars cover the 5 places that you’ve mapped out for your LEDs. Other than that, you can put the stars wherever you want on the material. I suggest leaving 4-5 inches around the boarder of you material empty–this will most likely wrap around the sides of the board anyway.
Now you’re ready to attach the LilyPad!
Step 3: Attaching the LilyPad
The plan for the board is to light up and play a lullaby when turned on (we’ll get to the actual coding part next), so you’ll start out by attaching the LEDs to the stars and then connecting the petals of the LED to the petals of the LiliyPad board. I sewed my LEDs on in a couple of different ways.
Initially I sewed the LED directly to the star, and then attached the star to the black material with the conductive thread as I connected it with the LilyPad petals. With a couple of the stars, I attached the LED directly to the material, sewed the connection, and then attached the star on top of the light with velcro. The second option makes the LEDs less visible, but gives the board a cleaner look. You can do either or both.
Sew all of the positive petals of the LEDs to a corresponding petal on the arduino board using the conductive thread and following the pattern of cicuitry you have created.
You will attach the negative petals with a separate piece of conductive thread, punching a needle-sized hole through the cardboard. Leave a few inches of thread hanging through the hole (you’ll attach this to the copper wiring).
Across the back of the cardboard piece attach the piece of copper wiring. I used tape to hold mine into place. Tie the loose end of thread from the negative petals to the wire. You will attach a new piece of thread to the end of this wire and push it back to the front side of the board, where it will attach to the ground petal of the arduino board. This will ground all of your LEDs and complete the circuit.
After doing these steps, you should be able to turn on the arduino and see your lights blink (that is, if you have uploaded the code from the next step).
For more detail: Bedtime Board using LilyPad Arduino