
Summary of Arduino Sketch SoftBlink2
This article describes the SoftBlink2 Arduino sketch, which creates a soft blinking effect by fading an onboard LED on and off using Pulse Width Modulation (PWM). The code demonstrates programming techniques like modular functions and loops to vary brightness ramp speeds and durations. It builds upon the SoftBlink1 example to show more advanced control over LED patterns.
Parts used in the Soft Blink project:
- Arduino Board
- Onboard LED (Pin 13)
- SoftBlink2.ino Source Code File
This sketch is used by Exercise: Soft Blink.
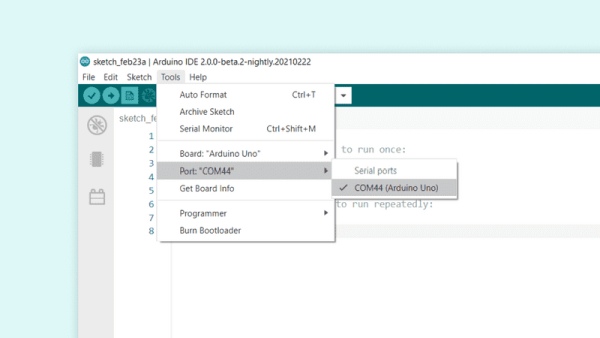
Full Source Code
The full code is all in one file SoftBlink2.ino.
// SoftBlink2 - fades the onboard LED on and off.
//
// Copyright (c) 2016, Garth Zeglin.  All rights reserved. Licensed under the
// terms of the BSD 3-clause license as included in LICENSE.
//
// This builds upon the SoftBlink1 example to demonstrate more programming
// technique.  Please see SoftBlink1 for the basic commentary.

// ================================================================================
// Define the period of the PWM waveform in milliseconds.
const int PWMPERIOD = 10;

// ================================================================================
// Configure the hardware once after booting up.  This runs once after pressing
// reset or powering up the board.

void setup()
{
  // Initialize the LED on pin 13 for output.
  pinMode(LED_BUILTIN, OUTPUT);
}

// ================================================================================
// Run one iteration of the main event loop.  The Arduino system will call this
// function over and over forever.

void loop()
{
  // Perform a pattern of brightness ramps, both up and down and with different duration.
  // These use the LED_ramp() function defined below.

  // basic ramp up and down, full brightness
  LED_ramp( 1000,  0, 10 );
  LED_ramp( 1000, 10,  0 );

  // now in double-time
  LED_ramp(  500,  0, 10 );
  LED_ramp(  500, 10,  0 );
  LED_ramp(  500,  0, 10 );
  LED_ramp(  500, 10,  0 );

  // now in triple-time, using the loop to avoid repetition
  for (int i = 0; i < 4; i += 1) {
    LED_ramp(  333,  0, 10 );
    LED_ramp(  333, 10,  0 );
  }

  // back to a second, but dimmer
  for (int i = 0; i < 2; i += 1) {
    LED_ramp(  1000,  0,  4 );
    LED_ramp(  1000,  4,  0 );
  }

  // keep off for a second
  delay(1000);

  // and repeat
}

// ================================================================================
// Define a function to perform a single brightness ramp according to the
// specified parameters.  It will not return until the full ramp has been
// performed, i.e., it will delay for the full ramp duration.  This condenses
// the redundant code found in SoftBlink1 into a modular software building
// block.
//
//   duration - ramp duration in milliseconds
//   start    - initial pulse duration, in milliseconds, must be no greater than PWMPERIOD
//   end      - final pulse duration, in milliseconds, must be no greater than PWMPERIOD
//
// The basic logic of the loop is the same as in SoftBlink1.

void LED_ramp(int duration, int start, int end)
{
  int num_steps = duration / PWMPERIOD;

  for(int i = 0; i < num_steps; i = i + 1) {
    int time_on = map(i, 0, num_steps, start, end);
    int time_off = PWMPERIOD - time_on;

    digitalWrite(LED_BUILTIN, HIGH);  // turn the LED on
    delay(time_on);                   // wait the specified number of milliseconds
    digitalWrite(LED_BUILTIN, LOW);   // turn the LED off
    delay(time_off);                  // wait the specified number of milliseconds
  }
}

// ================================================================================
Source: SoftBlink2 Arduino Sketch
- What is the purpose of the SoftBlink2 sketch?
The sketch fades the onboard LED on and off to demonstrate more programming techniques than the basic SoftBlink1 example. - How does the code define the PWM waveform period?
The period is defined as a constant integer named PWMPERIOD set to 10 milliseconds. - Which pin is configured for the LED output?
The setup function initializes the LED_BUILTIN pin, which corresponds to pin 13, for output. - Can the LED_ramp function be reused multiple times?
Yes, the function is called repeatedly in the loop to create various patterns of brightness ramps up and down. - Does the program repeat its sequence indefinitely?
Yes, the main event loop runs forever, calling the LED_ramp function and delays in a continuous cycle. - How are different ramp speeds implemented in the code?
Different speeds are achieved by changing the duration parameter passed to the LED_ramp function, such as 500ms or 333ms. - What happens after the dimmer brightness cycles complete?
The LED stays off for one second using a delay of 1000 milliseconds before the sequence repeats. - How does the LED_ramp function calculate time intervals?
It calculates time_on using the map function to transition from start to end values across the specified number of steps.
