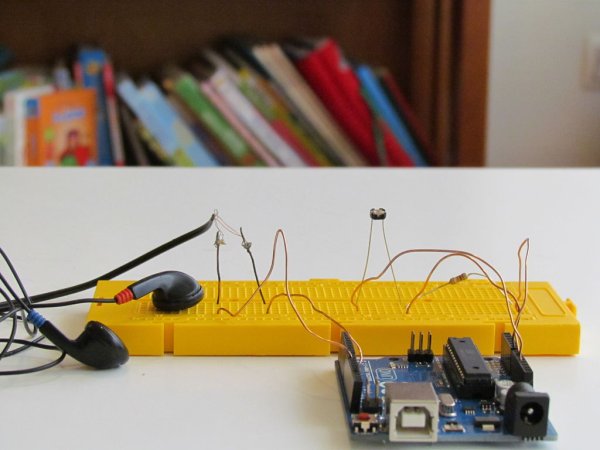
When I first became aware of Arduino, a theremin seemed like a natural project: sensor + actuator. It turned out to be quite affordable and fun to make. It is a naive design, using just one photocell and some hacked headphones. After some experimentation, I decided that a self-calibrating function was essential if I wanted repeatable performance in different light levels. Also, I decided to autotune it using math instead of a lookup table. To me, the pentatonic tuning is the most pleasant, although this can be adjusted easily to chromatic or other tuning schemes if desired.
Here’s a list of the materials I used:
* Arduino Uno (running on Mac OS X 10.7.4 Intel)
* USB cable
* Breadboard
* Super-cheap earbud style headphones (from a plane flight, I think)
* standard small photocell
* 10K Ohm resistor
* Some wire
* Soldering gun with solder
Step 1: Hack the headphones
In order to send signals to the headphones, I cut the wires and soldered them to some jumper wires. There are a few tricky points here.
First, once you cut the wires and strip off some insulation, you should see 4 wires, 2 from each side. Each pair forms a circuit with a single headphone. So we can effectively think of each pair as containing a + wire (usually colored red or blue) and a ground wire (usually copper colored). We can either just use 1 of the headphones (and thus one of the wire pairs), or we can combine the wires to use both, thereby achieving twice the fun. To do this, we will want to solder the + wire from each pair together to one jumper wire, and the ground wire from each pair to the other jumper wire. See detail photo of headphone hack above.
For more detail: Arduino Optical Theremin

