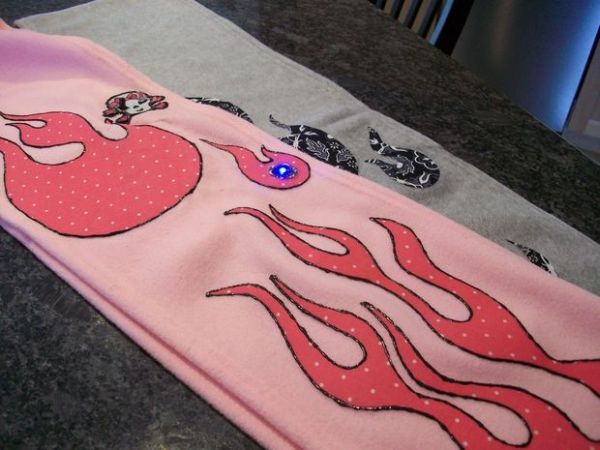
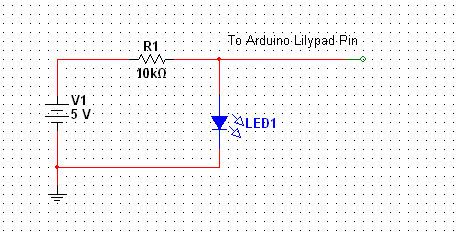
This was my first time working with an Arduino Lilypad. I have been wanting to try something that dealt with soft circuits for awhile now. This project is what I came up with. The concept is based off my friend Ethan Dicks from theFusefactory.org‘s emergent Sheep Sculpture project.
The Lilypad Interactive Passion Sensing Scarf works like so:
Scarf number one being worn by someone walking alone will light up with the color Blue for Lonely. When the wearer of scarf number two joins up with number one, the two scarves will sense each other and then light up Red for Love.

Future plans for capacitance touch: which will allow the colors to Pulsate for Passion if one wearer touches the other wearers scarf.
Below is a video so you can see how it works. Please note this is a work in progress, I only have the electronics embedded into one scarf right now. I am still working on and perfecting these. Please fill free to share your ideas!
Step 1: Materials
Here is a list of the items you will need to complete this project. For the Lilypad items, I purchased everything from FunGizmos.com. You will need two of each to make two scarves.
Savings Tip: If you need to save money, you could have one of the scarves work just as an emitter only, which would only need the IR transmitter and a battery.
Electronic Components
1. Lilypad Arduino Board
2. Lilypad Tri-Color LED
3. Coin Cell Holder
4. 3V Coin Cell Battery 20mm
(or you can use any of the other power and battery boards for the Lilypad)
5. Conductive Thread
6. Lilypad Button Board (optional)
7. (x2) Infrared Emitter and Phototransistor Detector – available at RadioShack
8. Resistors 10Kohm and 56ohm
9. FTDI Basic breakout Board (used to program the Lilypad)
Scarf Components – For the fabric needs, I went to my local craft store.
1. I used two different colored fleece scarves
2. Two different fabric prints ( I had 1 yd of each)
3. Heat’n Bond Ultra Hold Iron-On Adhesive
4. Fabric paint
5. Iron Patches (optional)
Step 2: Pattern Creation
For my scarves, I wanted flames for the designs. I used a old file folder and drew out the flame shapes on it to use as a pattern.
Once I had my pattern shapes, I used the fabric adhesive and ironed it onto the underside of the fabric. The adhesive has a paper back on one side (you want this side up).
With the adhesive now on the fabric, I traced my flame onto the paper side and then cut out the shape. Do not remove the paper yet! Keep this on until you are ready to iron it on to the scarf.
Tip: Iron on the adhesive before cutting your fabric pattern shapes. This will keep your fabric from frying!
For more detail: Arduino Lilypad Interactive Passion Sensing Scarf

