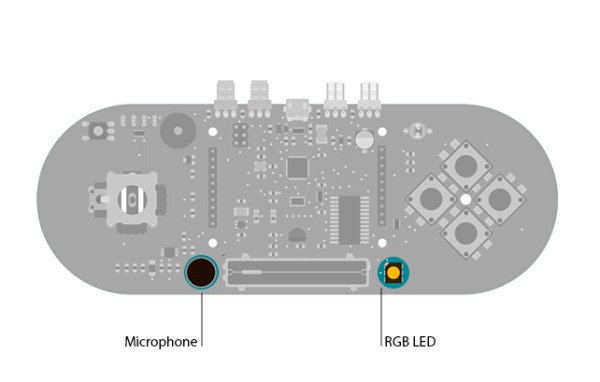
This sketch shows you how to read the microphone sensor. The microphone will range from 0 (total silence) to 1023 (really loud).
It uses the sound level to set a brightness level for the green LED. When you’re using the sensor’s reading (for example, to set the brightness of the LED), you map the sensor’s reading to a range between the minimum and the maximum.
Circuit
Only your Arduino Esplora is needed for this example. Connect the Esplora to your computer with a USB cable and open the Arduino’s Serial Monitor.
Microphone to send data to your computer from the Esplora
Code
To send data to your computer, you need to open a serial connection. use Serial.begin() to open a serial port at 9600 baud on the Esplora.
The Esplora.readMicrophone() function gets the value from the microphone. It will give you a value between 0 and 1023.
To send the values to the Serial Monitor, you call Serial.print(). When the Esplora is connected, and the Serial Monitor is open, you should start to see values reported like this:
sound level: 172 Green brightness: 42
sound level: 74 Green brightness: 18
sound level: 153 Green brightness: 38
sound level: 67 Green brightness: 16
sound level: 93 Green brightness: 23
sound level: 110 Green brightness: 27
Hardware Required
- Arduino Esplora
For more detail: Arduino Esplora Microphone (Sound Sensor)


