This sketch shows you how to read information from the Esplora’s joystick and use it to control the movement of the cursor on your computer. You’re making your Esplora into a mouse!
This sketch will take over the mouse movement of your computer. If you lose control of your cursor do the following :
- unplug the Esplora
- open the EsploraBlink sketch in the Arduino software
- hold the Esplora’s reset button down while plugging it back in to your computer
- while continuing to hold the reset button, click “Upload” in the Arduino software
- when you see the message “Done compiling” in the Arduino IDE, release the reset button
This will stop your Esplora from controlling your cursor while you upload a sketch that doesn’t take control of the mouse.
Circuit
Only your Arduino Esplora is needed for this example. Connect the Esplora to your computer with a USB cable and open the Arduino’s Serial Monitor.
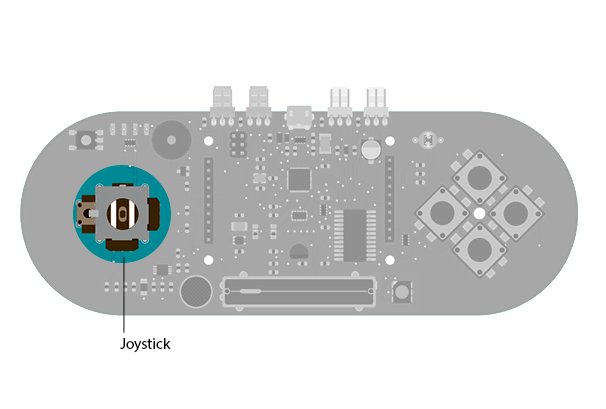
Joystick on the Esplora
Code
To send data to your computer, you need to open a serial connection. Use Serial.begin() to open a serial port at 9600 baud on the Esplora.
To start communication as a mouse, call Mouse.begin(). This makes the Esplora appear as a mouse to your computer.
To read the position of the joystick, call Esplora.readJoystickX() and Esplora.readJoystickY(), saving the values in variables. This gives you values between -512 and 512 for each axis. When the joystick is centered, the X and Y axes will report 0.
The joystick also acts as a switch when pressed. To read the button, call Esplora.readJoystickSwitch(). This will give you a value of 1 when pressed, and 0 when it is not.
Hardware Required
- Arduino Esplora
For more detail: Arduino Esplora Joystick Mouse


