
Summary of Arduino Cyclone Game
This article details the creation of a miniaturized reaction-time arcade game called "Arduino Cyclone Game." It features 32 LEDs arranged in a circle that chase sequentially. Players must press a button when a red LED lights up to score points, while hitting green ends the game. The project uses an Arduino Nano and four shift registers to manage the LEDs, with speed increasing after successful hits. A custom 3D-printed enclosure houses the electronics and includes an OLED display for scoring.
Parts used in the Arduino Cyclone Game:
- 29x green led
- 2x yellow led
- 1x red led
- 1x 12mm led push button
- 4x 74HC595
- 1x Arduino nano
- Ø3mm tube 46mm long
- 1x I2C OLDE display 128*32
- Wires
- 3D printer
- primer + paint
- sand paper
- soldering iron
- Mini USB cable + USB power source
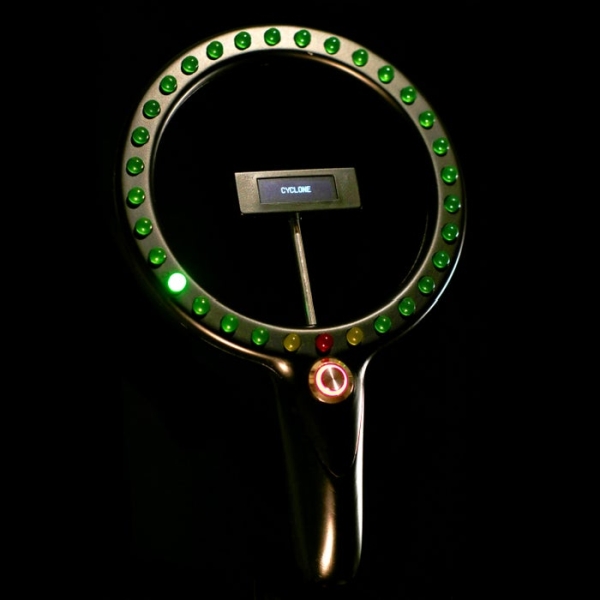
I have never played the real cyclone arcade game but I like the idea to play with our reaction time.
I designed a miniaturized game. It consists in 32 LEDs forming a circle, the LEDs lights up one by one as a led chaser. The goal is to press a button when the red LED lights up.
Supplies
- 29x green led
- 2x yellow led
- 1x red led
- 1x 12mm led push button
- 4x 74HC595
- 1x Arduino nano
- Ø3mm tube 46mm long
- 1x I2C OLDE display 128*32
- Wires
- 3D printer
- primer + paint
- sand paper
- soldering iron
- Mini USB cable + USB power source
Step 1: Rules
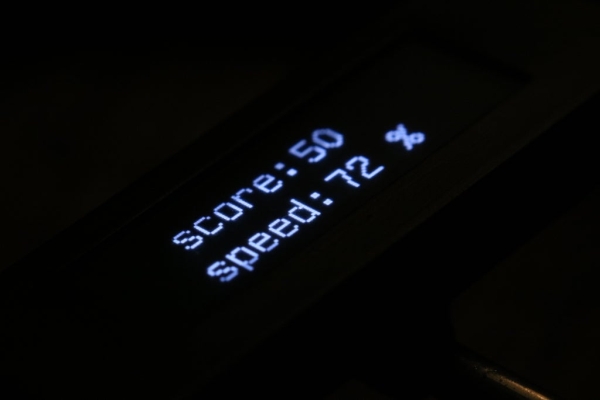
I added to this game its own score rules as well as speed changes to make it more challenging,
-if you stop on the red led : the score increases by a value between 4 and 20 depending on the speed. The speed increases by 2%.
-if you stop on a yellow led : the score increases by 2 and the speed increases by 10%
-if you stop on a green led : game over
I also added a bonus for really skilled players !
-if you stop on the red led 3 times in a row while the speed is above 80% : the speed returns to 20% ! (stars indicate the progression of that bonus)
the first LED to lights up is chosen randomly by the arduino as well as if it turns clockwise or counterclockwise.
Step 2: Prototyping

That was the step where I tested all kinds of scoring rules. The arduino nano board does not have enough output pins to drive 32 LEDs so I used four 74HC595 chips, each one driving 8 Leds, those are working really well and it uses only 3 arduino output pins !
I made this circuit diagram:
and here is the arduino code (you will need this library for the oled display and this library for the hc595 chips)
Step 3: The Enclosure

You can find the .STL and .f3d files on Cults3D HERE
3D Printing:
The upper body will require supports to print. I printed all the parts using PLA ice filament with default settings on Cura, and 3D printed on a Creality Ender3

Post-Printing:
For this project I wanted to try a finishing technique for 3D printing.
here is what the 3D print looks like …

I first sanded the pieces with 120 to 800 grit sandpaper
Step 4: Assembly

- place the 32 LEDs in the holes of the upper body (negative inside, positive outside)
- bend the negative legs in order to solder them together
- place the first 74HC595 here upside down and solder the LEDs according to the diagram on step 2
- link the four chips with really thin wires also according to the circuit diagram.
- solder four wires to the OLED display and pass those through the tube like that:
- solder all the wires to the Arduino.
- glue the arduino board in place with hot glue.
- clip the upper body on the lower body and clip the front oled box.
Step 5: Have Fun!
Now, you just have to plug the arduino to a 5V power source (power bank, laptop,…)
then it will start by itself.
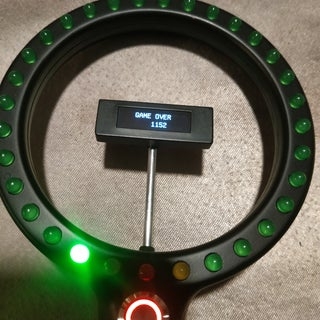
Try to make the highest score !
Mine is 1152 good luck!
Source: Arduino Cyclone Game
- How does the game determine the starting LED?
The first LED to light up is chosen randomly by the arduino. - What happens if you stop on a green led?
The game ends immediately. - How much does the score increase when stopping on a red led?
The score increases by a value between 4 and 20 depending on the current speed. - Can you reset the speed during gameplay?
Yes, if you stop on the red led 3 times in a row while speed is above 80%, it returns to 20%. - How many output pins does the Arduino use for the LEDs?
It uses only 3 arduino output pins because four 74HC595 chips drive the 32 LEDs. - What filament was used for the 3D printed parts?
The author printed all parts using PLA ice filament. - How do you power the device?
You plug the arduino to a 5V power source like a power bank or laptop. - Does the direction of the light chaser change?
Yes, the arduino determines if the light turns clockwise or counterclockwise randomly.
