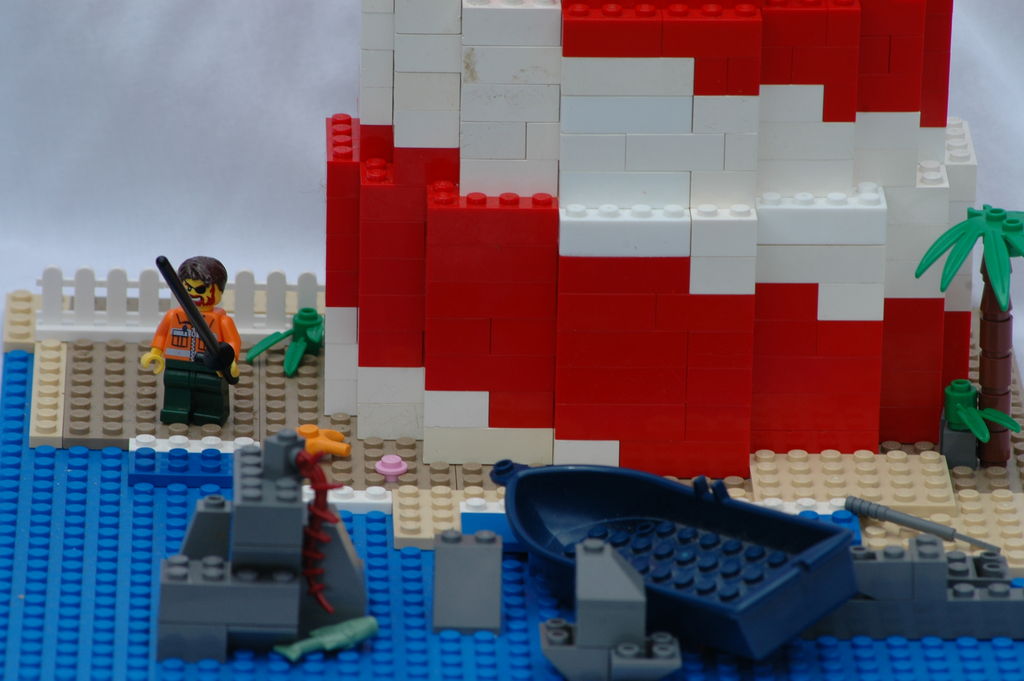
Lighthouses have been guiding boats to safety for thousands of years. One of the earliest and most notable of these was the Pharos of Alexandria. This huge structure stood for nearly two thousand years. When deciding on a lego project, I wanted to build something practical, yet at the same time fun. Although I won’t be showing you how to build one of the seven wonders of the ancient world, I will show you how to construct a lego lighthouse, which is a wonder in its own right.
My lighthouse is a fully automated, fully functional structure. Although it won’t be warning boats, it will be able to guide your steps during the darkest of nights. The light and motor inside the lantern room automatically turn on during low light levels. Also, the tri-colored LED can be adjusted between solid white light and alternating colors.
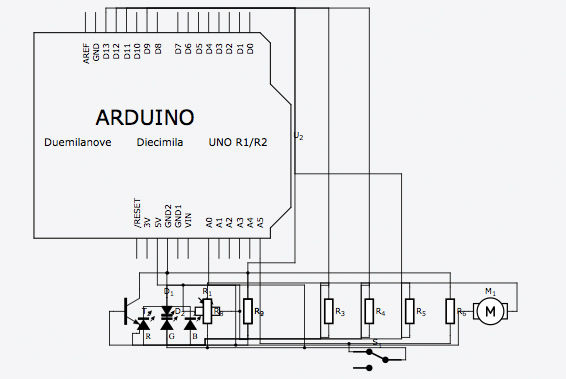
The purpose of this instructable is to instruct you on how to wire the electronics and think about the structure of the lighthouse. Although my instructions are detailed, I left room for customization. Making it according to the instructions makes this build functional, but building a custom lighthouse with your own colors, shapes, and designes makes it your own. I leave wiggle room for the building portion of the project, because I want you all to build your own lighthouses.
Step 1: Gather your materials
Before starting this project you are going to need the following components and materials:
1x small mirror (found these at Michael’s for real cheap)
1x switch
1x diode
1x NPN transistor
1x photocell
1x arduino (I used an arduino uno)
1x DC motor
1x tri-colored LED
1x breadboard (for prototyping the electronics)
2x 10K Ω resistors
3x 100 Ω resistors
1x 180 Ω resistor
1x 270 Ω resistor
You will also need quite a bit of the following:
Legos
J.B. weld
Jumper wires
Electrical tape
Multi-strand wire
Patience
Step 2: Sort your legos and get ready to build!
When building a large lego structure, I always recommend gathering large quantities of the colors you’ll be using the most. For my lighthouse, I used red and white as my primary colors. I find the fastest way to separate what you want from what you don’t want is to dump the legos on a large mat or piece of fabric. After you picked out all the necessary bricks, you can pick up the fabric and dump the additional bricks back into their proper containers.
Step 3: Build your foundation
A sturdy tower is started by first building a good foundation. Make sure that your arduino can fit in the base of your lighthouse. Also, remember to leave an opening for easy access to the power sockets. Inspect the shape of your lighthouse. Be certain it is in the shape you would like. At this point, think of what pattern and color scheme you would like. It helps to have these in mind while building. As you can see, I chose a spiraling pattern with white and red bricks.
For more detail: Arduino Controlled Lego Lighthouse


