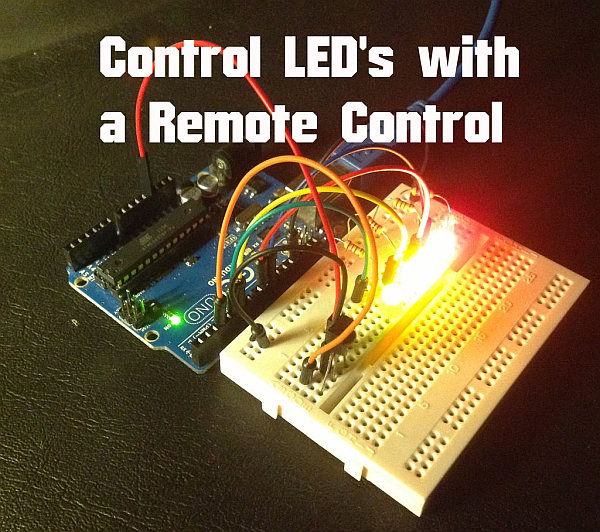
Summary of Arduino – Control LEDs with a Remote Control
This article outlines a project to control four LEDs using an Arduino and an infrared remote. The process involves installing the IR library, connecting components like an IR receiver and LEDs with resistors, and capturing specific hex codes from the remote's serial monitor. These codes are converted to decimal for use in the Arduino code to trigger different LED states based on button presses such as power, volume, and forward/reverse.
Parts used in the Control LEDs with a Remote Control:
- 1x Arduino
- 1x Breadboard
- 1x Remote control
- 1x IR receiver (TSOP4838)
- 4x LED's
- 4x 220ohm resistors
- Jumper cables
Step 1: IR library
First you need to go to this page and download the IR library. You just need to follow the read me file to install. I think that any IR remote control can do this, I’ll be using a Philips Universal one.
Step 2: Parts required
Parts list:
1x Arduino
1x Breadboard
1x Remote control
1x IR receiver ( I’ll be using TSOP4838)
4x LED’s
4x 220ohm resistors
Jumper cables
The infrared receiver has 3 pins:
First pin: Vout, outputs HIGH when no signal is present and LOW when a mark is received.
Second pin: GND.
Third pin: Vcc.
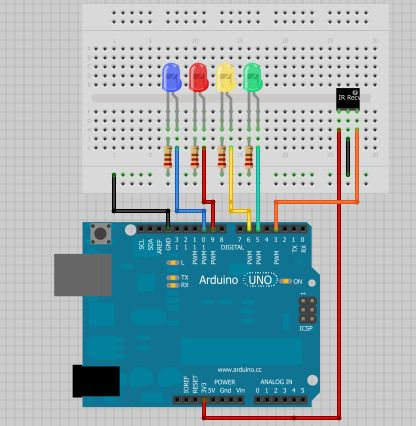
Step 3: Circuit diagram
You need to wire your circuit something like this.
And then I went to the arduino IDE > file>examples>IRremote> IRrecvDemo. You need to upload the sketch to your arduino, open the serial monitor and start using your remote control and see which values the arduino is receiving.
After a while I’ve wrote down which values appear in the serial monitor when you press the volume up key or any other key, and write it down for all the keys you want to use. And they were:
Power: E240
Forward: E250
Reverse: E248
Volume+: E244
Volume-: E254
Mute: E24C7
You will need to convert these hexadecimal numbers to decimal, you can use this tool for that.
Step 4: Upload the Arduino Code
Upload this code
/*
* IRremote Library – Copyright 2009 Ken Shirriff
* created by Rui Santos, http://randomnerdtutorials.wordpress.com
* Control LED’s with a remote control
* 2013
*/
1x Breadboard
1x Remote control
1x IR receiver ( I’ll be using TSOP4838)
4x LED’s
4x 220ohm resistors
Jumper cables
For more detail: Arduino – Control LEDs with a Remote Control
- How do I install the IR library?
You need to go to the provided page and download the IR library, then follow the readme file to install it. - Which IR receiver is used in this project?
The project uses a TSOP4838 infrared receiver. - What are the pin functions of the infrared receiver?
The first pin is Vout which outputs HIGH when no signal is present and LOW when a mark is received, the second is GND, and the third is Vcc. - Where can I find the example sketch to test the remote?
You need to go to the arduino IDE, select file, examples, IRremote, and then IRrecvDemo. - What values appear in the serial monitor for the Volume+ key?
The value E244 appears in the serial monitor when you press the volume up key. - How do I convert the hexadecimal numbers to decimal?
You can use a specific tool mentioned in the text to convert these hexadecimal numbers to decimal. - What is the purpose of the 220ohm resistors?
The 220ohm resistors are used as part of the required parts list to connect the circuit with the LEDs. - Can any IR remote control be used for this project?
Yes, the author believes that any IR remote control can do this task.