
Summary of Starry Night Ceiling Tiles using Arduino
The article details a DIY project to create a starry night ceiling using foamboard tiles. The author measures the room, maps out star positions, and cuts holes for LEDs. Components are soldered together with resistors for protection before being glued onto labeled tiles. This setup mimics the Utah sky by creating a custom constellation display.
Parts used in the Starry Night Ceiling Tiles:
- Foamboard
- Silver colored pencil
- X-acto knife
- LEDs
- Wires
- Helping hands tool
- Resistors (150 to 220 ohm)
- Glue
Hello! Are you ready to witness my biggest project yet?? Well lets get started!
It all started up in Utah, (I was visiting some friends) and the sky looked so beautiful compared to the star-less sky down south. So instead of creating my own stars I created my own stars! Confused? lets take a closer look…
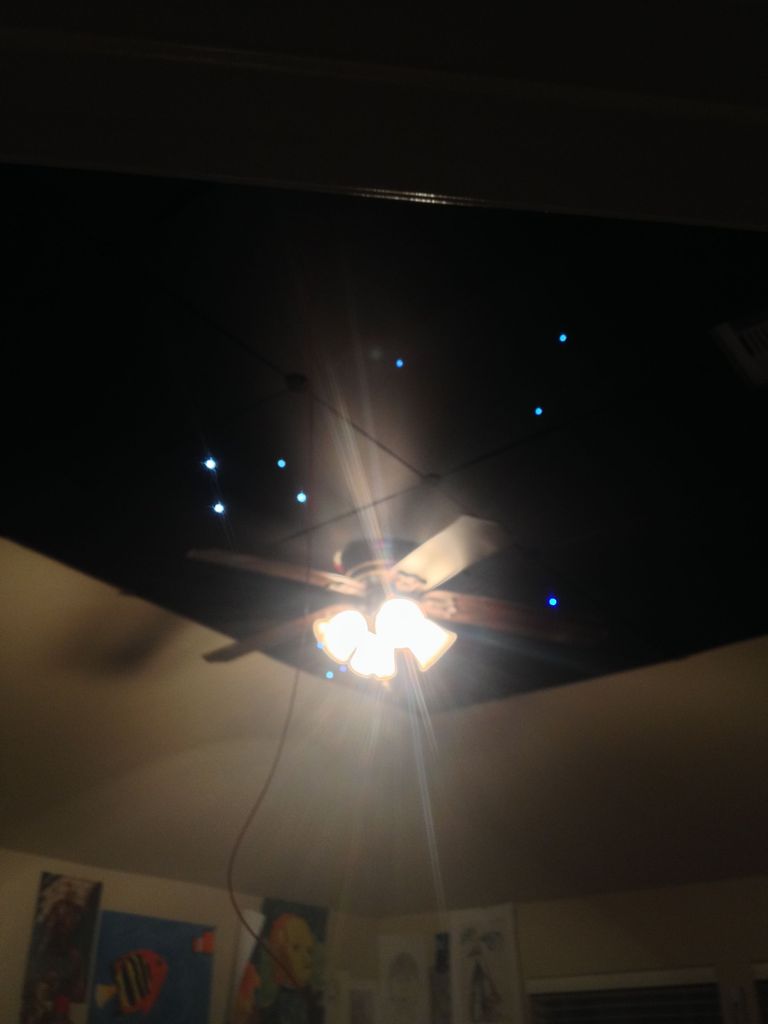
Step 1: Measure Your Room and Foamboard
First things first, you have to measure and draw an outline of your room from a birds-eye point of view. I used inches. This is important because you dint want to over-spend on unused supplies.
Step 2: Draw your Room and Select Stars
This is what I came out with, and I estimated the amount of needed tiles and than labeled each tile with a star name. (Thanks Google!!)
Step 3: Creating your Stars
I used a silver colored pencil to mark where the stars were going to go and than I used an x-acto knife to make some holes, DONT forget to label your stars and number them!
Step 4: Let the Soldering Begin!
Next solder your leds together, I did all of the negative leads first than the positive leads afterward so I don’t mix-up the connections. Tinning the wires will help you and is recommended in this but it is not required. And your helping hands are your best friends!!!
Step 5: Glue Down leds
Next I glued my leds onto the board so they wont come loose while I put them off.
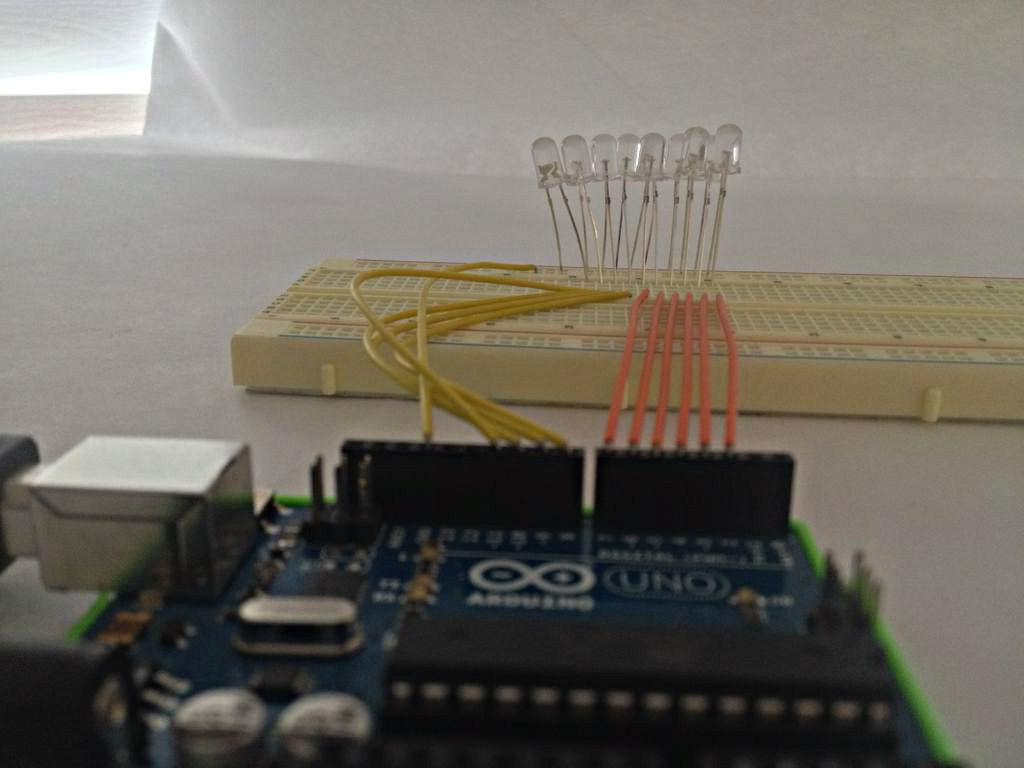
Step 6: Resistors!
Use anything between 150 and 220 ohm resistors to protect your circuit. Solder them onto the positive lead of the led, you wont want them to blow out while they are on your ceiling!
For more detail: Starry Night Ceiling Tiles using Arduino
- How should I measure my room?
You must measure and draw an outline of your room from a birds-eye point of view using inches. - Can I skip labeling the stars?
No, you must label your stars and number them after making holes. - What is the best way to solder the LEDs?
Solder all negative leads first and then the positive leads afterward to avoid mixing up connections. - Do I need to tin the wires?
Tinning the wires is recommended but not required for this project. - Why do I need resistors?
Resistors protect the circuit so the LEDs will not blow out while they are on your ceiling. - What value resistors should I use?
Use anything between 150 and 220 ohm resistors. - Where should I place the resistors?
Solder the resistors onto the positive lead of the LED. - How do I secure the LEDs to the board?
Glue the LEDs onto the board so they will not come loose while you put them off.
