For my school project ‘ if this, then that ‘ I had to make something Interactive with the use of an arduino. I chose to create this automatic dice tower. In this project I’ll show you how I put it together.
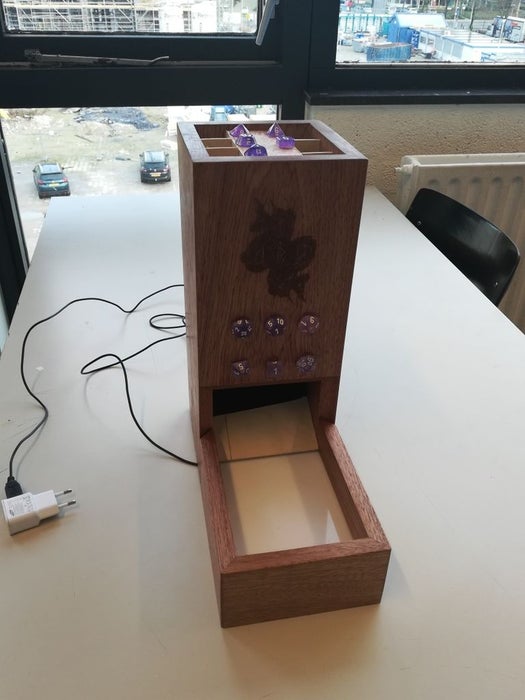
The tower itself is simple, its just a wooden case with an extra tray to catch the dice. On top of the tower are 6 different cases to put the dice, all closed by a hatch controlled by a servo motor.
The six buttons on the tower each controll a different hatch. The tray has leds underneath it that light up different colours when the buttons are pressed.
Step 1: Things You’ll Need
The things I used for this project:
- Arduino Uno
- WS2812B LED STRIP
- SG90 Analog Servo
- 6 tactile led button white
- Four battery clips
- Four 9 volt batteries
- Any set of clear polydice. I used Chessex Borealis purple/white
- printed wiring board
- Mahogany Planks
- Plexiglass, I used one that isn’t entirely see through
- Any clear ballpoint pen.
- Any kind of thin MDF wood
- A phone charger
Ofcourse you can switch a lot of the materials to something else of your liking, These are just the specifics for what I used.
Step 2: The Case
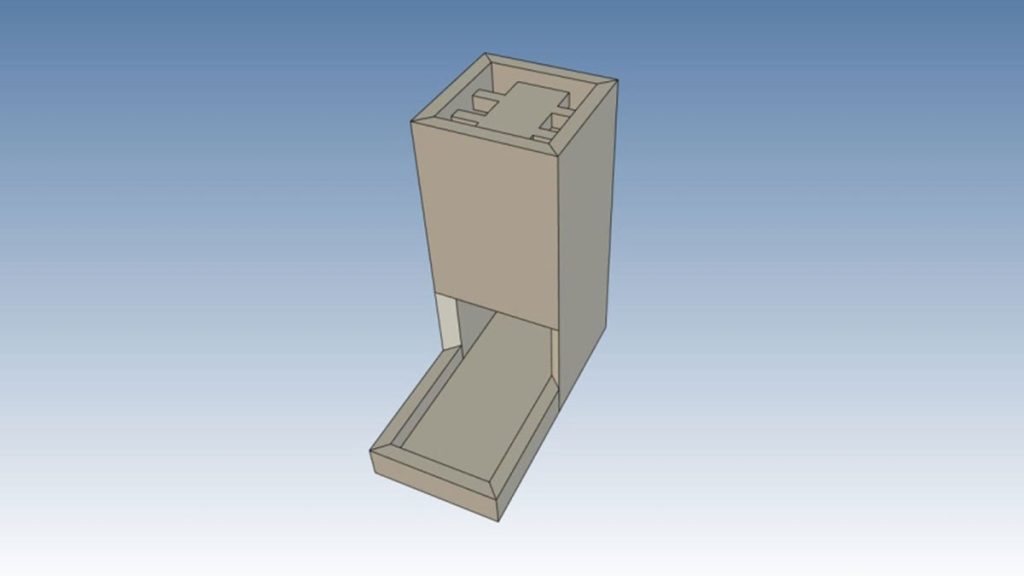
Creating the case is a fairly straight forward process.
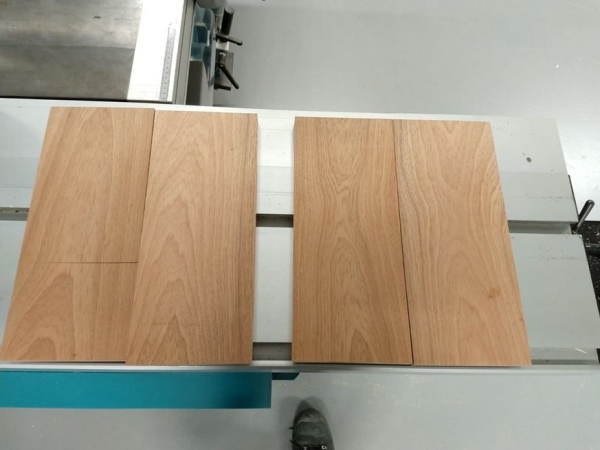
- For the sides and the back: cut 3 planks of your desired wood, 320 cm tall and 150 wide. To fit it together nicely in the end I cut the sides diagonally.
- For the front: You’ll have to create an entrance of your desired height. Keep in mind that you have to fit in the buttons, servos and the arduino itself so make sure you don’t run out of space.
- For the tray: Cut the side pieces 160 cm wide and cut the sides diagonally like the tower. This way you can easily slot it into the tower without necessarily having to attach it, Cut out two slits on each piece. One in the middle for the plexiglass, and one on the bottom so you can slot in the piece of wood with your ledstrip.
- For the buttons: Drill 6 holes justr above the entrance, make sure its spaced like you’ll space your buttons because they’ll be put behind them on the inside.
- For your charger : This is something I completely forget to do but I can absolutely recommend you do. Take out a little bit of wood on the botton of the backpiece, you can let your charger wire for the leds feed through this so your tower doesnt rest on it and wobble.
- Putting it together: Lay your pieces in the right order with the right side up. Apply tape diagonally along the seams and a few horizontal pieces for support. Then turn it around and apply generous amounts of glue. Fold them together and apply enough clamps to keep it all together. Dry overnight
Step 3: The Buttons
For this project I wanted the buttons to resemble the dice that were going to fall out when pressed. Because the buttons light up I thought it would be cool for the dice to be translucent.
I considered a few options here:
3d print them:
pros:
- Fairly cheap
- If you have knowledge of 3d programs it would be fairly easy to make
Cons:
- If you don’t have knowledge of 3d programms, its not that easy to model a set of dice
- 3d printing takes a while
- 3d printers are not accessible for everyone
- The result often is fairly rough
Resin Print them:
Pros:
- Clear and pretty result
- If you have knowledge of 3d programs it would be fairly easy to make
Cons:
- Resin printing takes a while
- Is even less accesible then 3d printing
Buy a set of dice , get the chainsaw:
Pros:
- You have to model nothing yourself
- Great range of colours, glitters , finish.
- Quick and easily obtainable
Cons:
- Fairly expensive
- Cutting them in half is quite the project
- Chance of breaking whilst cutting
- If you’re a dice fanatic like me , it hurts a little to buy a set only to destroy it
In the end I went for buying a set of dice because I did not have that much time left and I did like the thought of having a pretty colour.
Cutting them:
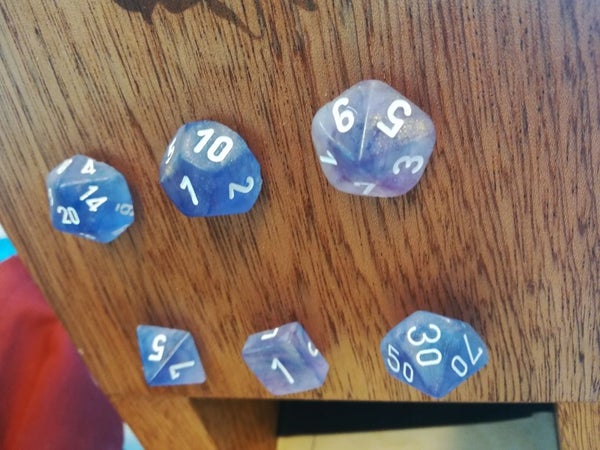
The nasty part about cutting these in half is that they conduct heat…extremeeely well. So if you go too quick you get a dice melted to your saw which is incredibly inconvenient to get off. What I did was take two pieces of scrap wood, drill a partial hole in them and wedge the dice inbetween. Then I took a handsaw and just slowly and steadily started to half them. Once I got through I got a fairly rough sandpaperblock and sanded the underside evenly. This worked for all dice except the d4, Its fairly thin and small and I just didn’t do it carefully enough, it ended up melting/breaking away. I replaced it with the d100 for aesthetic reasons but I can recommend just putting it on the button as a whole.
Assembeling the button:
Because the actual buttons are on the inside of the tower you’ll need something that reaches through the drilled holes and portrudes a little on the outside so you can press it. Because light needs to travel through it needs to be translucent aswell. To do this I simply took the barrel of a ballpoint pen, cut it in six equal pieces long enough to go through the holes and glued the halved dice on the other side. I didnt permanently attach mine to the buttons on the inside because this way I can take them out when travellling with the tower.
(I used the other half of the dice to put next to the hatches of the tower so you know in which one to put the corrosponding dice)
Source: Arduino Automatic Dice Tower