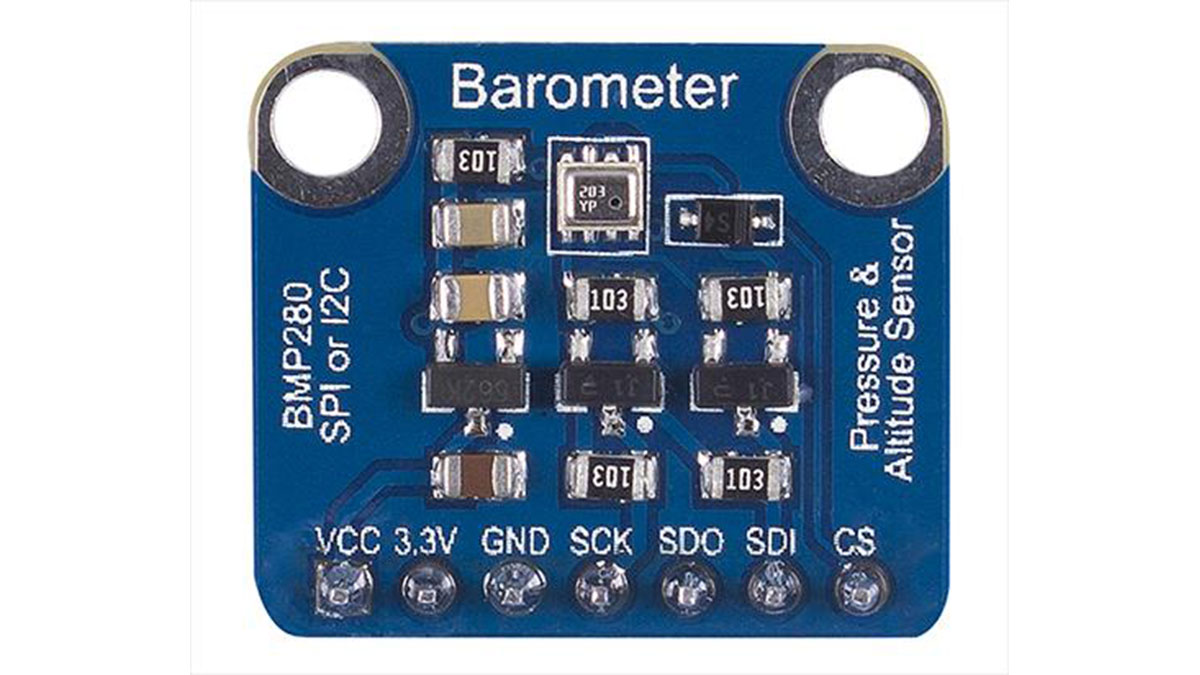
Weather stations are interesting projects for beginners and very useful for expert makers. They are usually quite simple to build but also provide fairly accurate and useful weather data. We have built a couple of them in different tutorials on this website, with the difference usually being, the combinations and sometimes the accuracy of the sensors used. For today’s tutorial, we will build another weather station, but this time, we will use the BMP280 sensor as the primary one and we will be able to monitor temperature, atmospheric pressure, and altitude.
The BMP280 is the next-generation sensors from Bosch and it is an upgrade to their previous range of sensors including the BMP085, BMP180, and the BMP183. The BMP280 is great for all sorts of weather sensing with a low altitude noise of 0.25m and the same fast conversion rate as the previous sensors. In addition, the BMP280 can be used in both I2C and SPI mode and the sensor board version from Adafruit has a 3.3v voltage regulator and level shifter on board which means it can be used with either 3.3v or 5v voltage supply.
Along with the BMP280, we will use the I2C-based, 128×32 OLED from Adafruit to show the values obtained from the BMP280 sensor. At the end of today’s tutorial, you would know how to use the BMP280 or any other i2c device with the Arduino and also know how to display data on an OLED display using the Arduino.
REQUIRED COMPONENTS
The following components are required to build this project;
- Arduino Uno
- Adafruit BMP280
- Adafruit OLED 128×32 I2C
- Breadboard
- Jumper Wire
The exact components used for this tutorial can be bought via the link attached to each of the components above.
Read more: ARDUINO AND BMP280 BASED WEATHER STATION

