This example simplifies the task of collecting data from the Esplora’s accelerometer and graphing it with your computer.
The Esplora sends keypresses to a connected computer about the state of the accelerometer. If you open a spreadsheet application, you can log the data from the accelerometer.
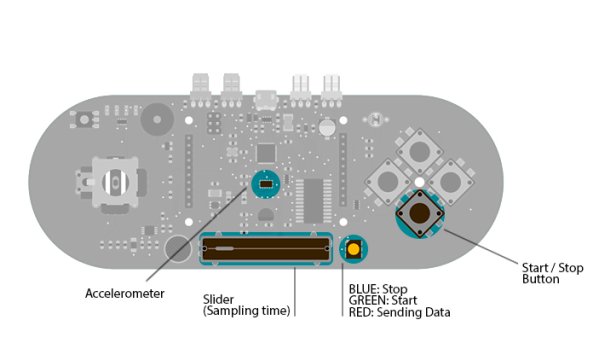
To start and stop the datalogging, press the down pushbutton. The Esplora’s LED will indicate the state of the logging. The slider is used to set the sampling interval.
Circuit
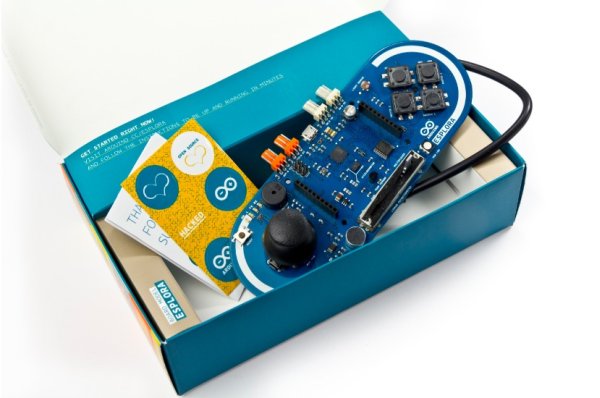
Only your Arduino Esplora is needed for this example.
Esplora datalogging setup
Code
In this example, the Esplora acts as a keyboard; once the you press the down button, it will send characters to a connected computer.
The characters sent to the computer are formatted to fit inside a spreadsheet’s rows and colums. Each row of the spreadheet will contain a timestamp and the 3 accelerometer axis readings.
To start sampling, press the direction down push-button. This begins communication as a keyboard with the computer. Changing the position of the linear potentiometer will change the rate at which samples are read from the accelerometer and written to the computer.
Hardware Required
- Arduino Esplora
For more detail: Accelerometer Table using Arduino Esplora


