Lets start with a warning: this project controls water. Electricity and water really don’t mix and there is a real risk of electrocution and or death if you are not careful. Build this project at your own risk and I won’t be held responsible for anyone who builds this. make sure you use a battery to power this NOT a mains transformer of any kind. just be smart and be safe.
Any and all damages/injury incurred by the implementation of the information in this publication are the sole responsibility of the end user, I cannot accept any responsibility.
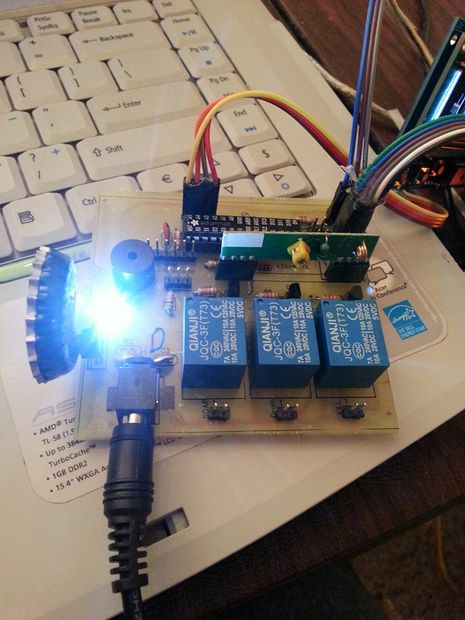
What is this? it is a arduino compatible (ATMEL 328p) based home bathtub controller.
this controller sets the depth, adds bubbles and monitors the temperature of a bathtub based on a user profile. v2.5 has support for Internet of things but it is not fully implemented.
But why? Well why not? ever wanted to have a bath ready at a touch of a button or from your smartphone(coming soon)?
Well now you can.
Basically this is an arduino compatible board that switches 3 relays, monitors the inlet temp with a DS18b20, the tub temp with a second arduino compatible board remotely via 434mhz and adds bubble bath via a hacked automatic soap dispenser. Version 2.5 will have wiznet Ethernet support.
This project was at Maker Faire NC 2013 & 2014 and was a hit.
Here is a video from Maker Faire NC 2013 where we had a full size demo going:
this is also my 1st instructable. Please vote for me in the competitions section if you liked it.
The Epilog Challenge VI Contest:
If i won the Zing, i would be able to make more enclosures for my projects along with laser etched pcb’s (silk layer) for the home made boards.
Step 1: Bill of Materials
Main Board:
Parts are all through hole
• 1x 328p Atmega with arduino bootloader
1x DS18B20 I used one like this:
http://www.adafruit.com/products/381
1x 434mhz receiver:https://www.sparkfun.com/products/10532
2x 10k resistor
2x 100ohm resistor
3x 2.2k resistor
1x 4.7k resistor
3x 1n4001 Diode (watch polarity)
3x n2222 transistors
1x 5mm led (I used white but any colour will do) – Optional power led
4x 0.1uf capacitors
1x 1000uf capacitor (watch polarity)
1x Power socket 2.1mm
1x 16mhz resonator: http://goo.gl/9ADtJh
3x 5v relays (only 2 used at this time)
1x LM7805 5v regulator with heatsink
1x Buzzer: http://goo.gl/E7XFmu
lots of 0.1inch Break Away Headers
•
a few 0.1inch female headers
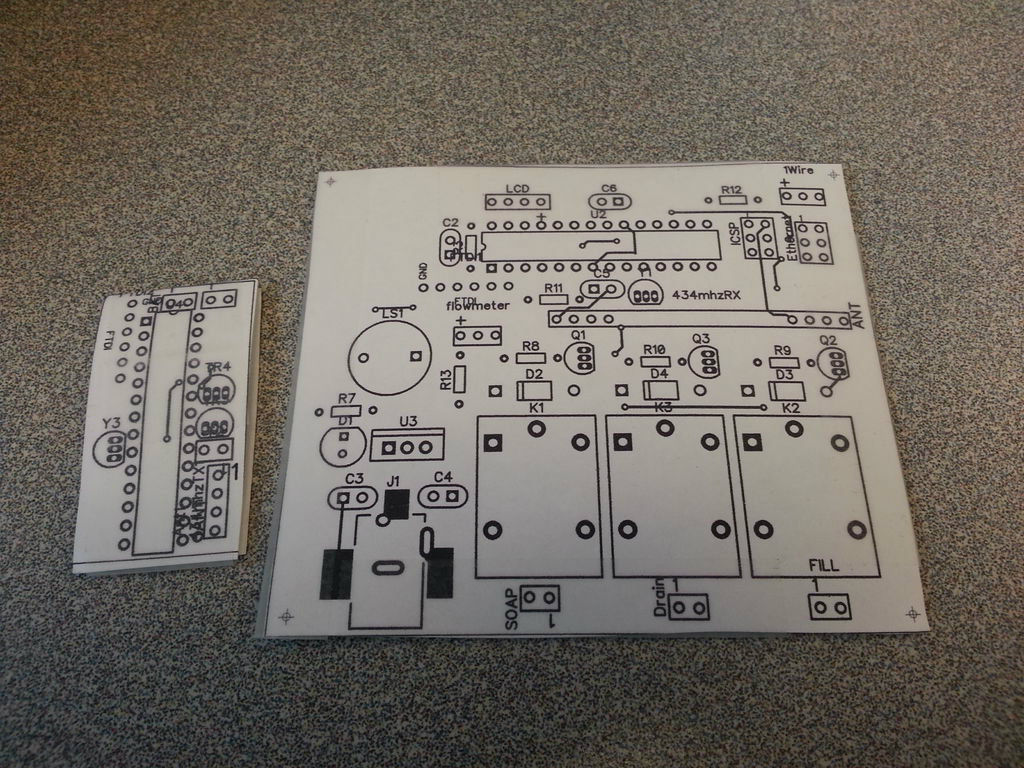
Custom PCB (see files)
1x 12v fill valve, if using a pump extra precautions should be used.* I used something similar to this:
•
http://www.ebay.com/itm/1-2-12VDC-Hose-Barb-Electr…
•
Duck:
resistors and capacitors are SMD805!!
• 1x 328p Atmega with arduino bootloader
1x 434mhz transmitter: https://www.sparkfun.com/products/10534
• 5x 10k resistor SMD805
• 4x 0.1uf capacitor
2x BC547
• 1x 16mhz resonator: http://goo.gl/9ADtJh
1x Custom PCB
1x Duck Enclousure Duckymeter: http://amzn.com/B0064CTIC4
a few 0.1inch female headers
•
Other Parts:
•
• 12v Sealed Lead Acid battery
FTDI programmer I used this one: https://solarbotics.com/product/39240/
1x Lysol No-Touch Automatic Hand Soap Dispenser: http://amzn.com/B006RHYSLM
crimp connections for the battery terminals and pumps
• In-line fuse http://amzn.com/B0002KR88A I put a 5 amp fuse in mine.
• 2.1mm barrel jack
Dupont cables to make the wires:http://goo.gl/vfFXOA
An Adafruit i2c lcd shield with buttons:http://www.adafruit.com/products/714
3x waterproof push buttons: http://goo.gl/PBCajq
Enclosure (I have included the laser cut files but please note it is NOT waterproof)
OPTIONAL: Arduino Ethernet Sheild
OPTIONAL: Flowmeter:http://goo.gl/Mr3Por
NOTE: pcb and code is OK now!
The PCB traces are not thick enough to handle a pump, so you will need to add extra wire to make sure it is ok.
For more detail: Arduino Compatible Bathtub controller


