
Summary of Make Voice Call using Arduino
This article describes an Arduino project that initiates a voice call from a GSM shield to a remote number via the serial monitor. It requires importing the GSM library, defining SIM PINs, and initializing connection classes. The sketch waits for network readiness before allowing the user to input a phone number to place a call, utilizing a speaker and microphone for audio.
Parts used in the Make Voice Call using Arduino:
- Arduino board
- Arduino + Telefonica GSM/GPRS Shield
- Microphone attached to the GSM shield
- Speaker attached to the GSM shield
- SIM card
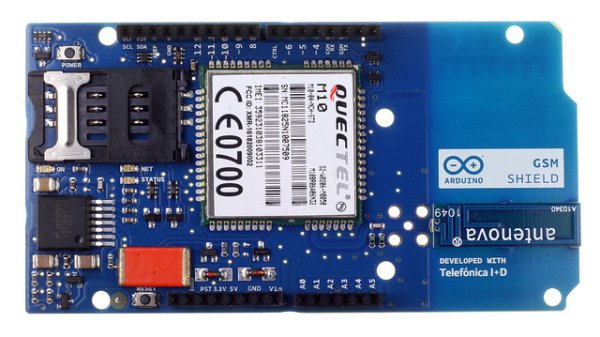
This sketch connects a voice call from your GSM shield and Arduino to a remote phone number entered through the serial monitor. You’ll need to attach a speaker and microphone to hear the connected phone and send your voice.
First, import the GSM library
#include <GSM.h>
SIM cards may have a PIN number that unlocks their functionality. Define the PIN for your SIM. If your SIM has no PIN, you can leave it blank :
#define PINNUMBER ""
Initialize instances of the classes you’re going to use. You’re going to need both the GSM and GSMVoiceCall class.
GSMVoiceCall vcs;
Create some variables to store the phone number you want to call :
char charbuffer[20];
In setup, open a serial connection to the computer. You’ll use this to send a phone number to the Arduino. After opening the connection, send a message to the Serial Monitor indicating the sketch has started.
void setup(){
Serial.begin(9600);
Serial.println(“Make Voice Call”);
Create a local variable to track the connection status. You’ll use this to keep the sketch from starting until the SIM is connected to the network :
Connect to the network by calling gsmAccess.begin(). It takes the SIM card’s PIN as an argument. By placing this inside a while() loop, you can continually check the status of the connection. When the modem does connect, gsmAccess() will return GSM_READY. Use this as a flag to set the notConnected variable to true or false. Once connected, the remainder of setup will run.
Circuit
 a
a
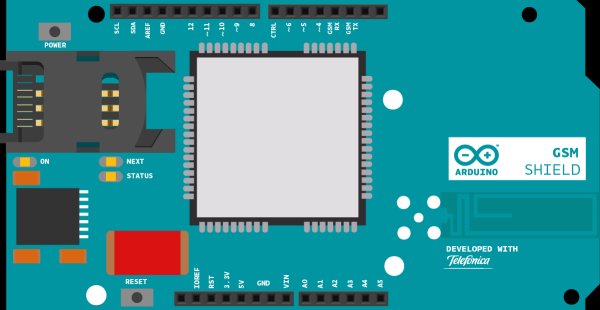
image of the Arduino GSM Shield on top of an Arduino Uno
{
if(gsmAccess.begin(PINNUMBER)==GSM_READY)
notConnected = false;
else
{
Serial.println(“Not connected”);
delay(1000);
}
}
Hardware Required
- Arduino board
- Arduino + Telefonica GSM/GPRS Shield
- Microphone and speaker attached to the GSM shield
- SIM card
For more detail: Make Voice Call using Arduino
- How do you connect a voice call from the GSM shield?
You enter a remote phone number through the serial monitor to initiate the call. - What libraries are required for this project?
The GSM library must be imported to handle the communication functions. - Can you use a SIM card without a PIN number?
Yes, if the SIM has no PIN, you can leave the PINNUMBER definition blank. - How does the code ensure the SIM is connected to the network?
A while loop continuously checks if gsmAccess.begin returns GSM_READY before proceeding. - What components are needed to hear the connected phone?
A speaker and a microphone must be attached to the GSM shield. - Which variables store the phone number data?
The String variable remoteNumber and char array charbuffer store the phone number information. - Does the sketch start immediately upon power up?
No, it waits inside a loop until the modem connects to the network successfully. - What baud rate is used for the serial connection?
The Serial connection is initialized at 9600 bits per second.
