
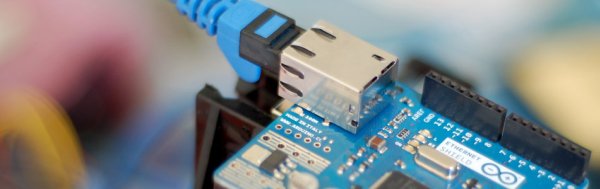
Summary of Web Client using Arduino
This article demonstrates creating an HTTP request with an Arduino Ethernet shield to perform a Google search. The code connects to a website via the SPI bus, displaying results in the serial window. Users must configure network settings and connect via an ethernet cable.
Parts used in the Web Client using Arduino:
- Arduino Ethernet Shield
- Shield-compatible Arduino board
- WizNet Ethernet controller
- SD Card (on later models)
- Ethernet cable
This example shows you how to make a HTTP request using an Ethernet shield. It returns a Google search for the term “Arduino”. The results of this search are viewable as HTML through your Arduino’s serial window.
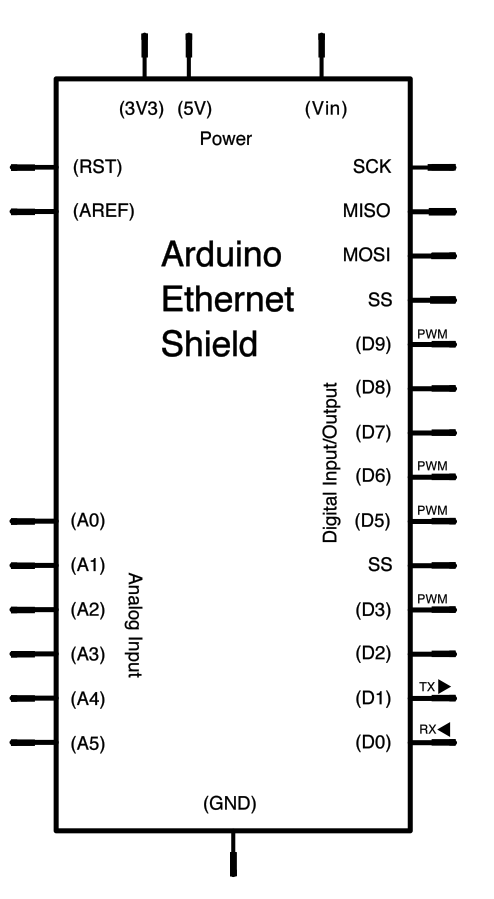
Circuit
The Ethernet shield allows you to connect a WizNet Ethernet controller to the Arduino via the SPI bus. It uses pins 10, 11, 12, and 13 for the SPI connection to the WizNet. Later models of the Ethernet shield also have an SD Card on board. Digital pin 4 is used to control the slave select pin on the SD card.
The shield should be connected to a network with an ethernet cable. You will need to change the network settings in the program to correspond to your network.
image developed using Fritzing. For more circuit examples, see the Fritzing project page
In the above image, the Arduino would be stacked below the Ethernet shield.
Schematic
Code:
/*
Web client

This sketch connects to a website (http://www.google.com)
using an Arduino Wiznet Ethernet shield.
Hardware Required
- Arduino Ethernet Shield
- Shield-compatible Arduino board
For more detail: Web Client using Arduino
- How do I make an HTTP request with this project?
The sketch connects to a website like http://www.google.com using an Arduino Wiznet Ethernet shield. - What pins are used for the SPI connection?
Pins 10, 11, 12, and 13 are used for the SPI connection to the WizNet. - Which pin controls the SD card slave select?
Digital pin 4 is used to control the slave select pin on the SD card. - Can I view the search results on my computer?
The results of the search are viewable as HTML through your Arduino's serial window. - Do I need to change the network settings?
You will need to change the network settings in the program to correspond to your network. - What hardware is required for this project?
You need an Arduino Ethernet Shield and a shield-compatible Arduino board. - Does the Ethernet shield have an SD card slot?
Later models of the Ethernet shield also have an SD Card on board. - How is the Arduino connected to the shield?
The Arduino would be stacked below the Ethernet shield.