Summary of Arduino Nano to Arduino Uno Adapter
The Arduino Nano is a compact, cost-effective alternative to the Uno, featuring the Atmega328 chip and extra analog pins A6/A7. However, it lacks compatibility with standard shields and DC jacks, and its internal 3.3V regulator has low current limits. This article details a custom adapter board that solves these issues, enabling shield usage and providing a dedicated 3.3V regulator while retaining the extra analog inputs.
Parts used in the Arduino Nano to Uno Adapter:
- Arduino Nano board
- Custom adapter board (PCB)
- Additional voltage regulator for 3.3V generation
- 40-pin 2.54 mm female headers
- Small jigsaw
- Sandpaper
- Standard expansion shields for Arduino Uno/Duemilanove
Arduino Nano is a nice, small and cheap member of the Arduino family. It is based on the Atmega328 chip, what makes it as powerful as the biggest his brother Arduino Uno, but it can be obtained for less money. In Ebay now Chinese versions can be bought for less than 3 USD. Additionally to its smaller size comparing with Arduino Uno, the Nano board has also the advantage to have two more analog inputs A6,A7. So far so good… But Arduino Nano has also some disadvantages compared with Uno.
- Extension shields can not be used directly with Arduino Nano;
- External power supply source different than 5V can not be used – no DC jack presents.
- For the generating of the internal 3.3V is used the embedded in the Atmega328 voltage regulator, which can not provide currents higher than 100-150 mA.
- Making small experimental projects require the presence of a breadboard.
All these problems are solved by the Arduino Nano to Uno conversion board developed by me.
This instructable describe the design of the adapter board.
Step 1: Nano – Uno Comparisson
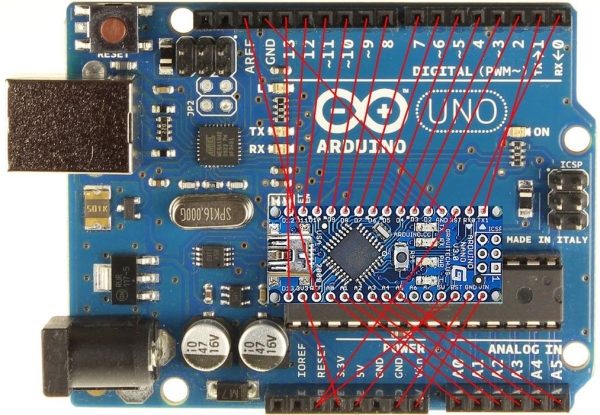
The picture shows the difference in the sizes of both boards and the correspondence between the pins.
It can be seen that the Nano board has two additional analog pins A6,A7 , which are absent in Uno.
On the adapter board these pins are added and can be used.
Step 2: The Circuit of the Adapter Board
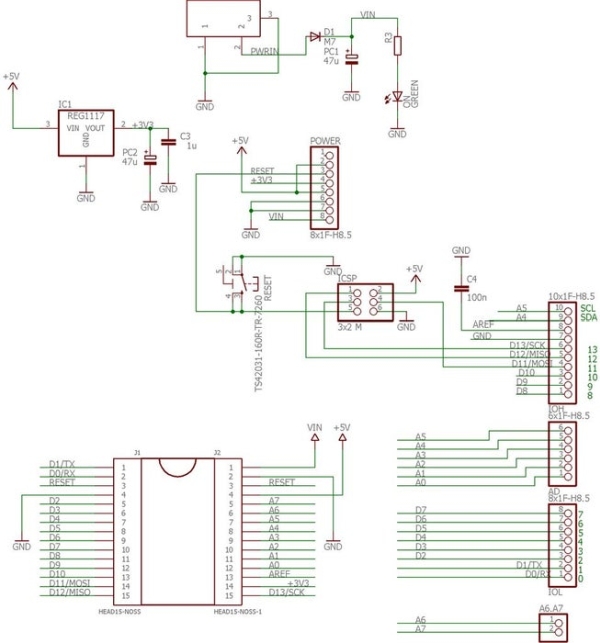
The schematic of the adapter board is presented on the picture. The most remarkable is that additional voltage regulator is used for the generation of the 3.3V supply.
Step 3: The PCB
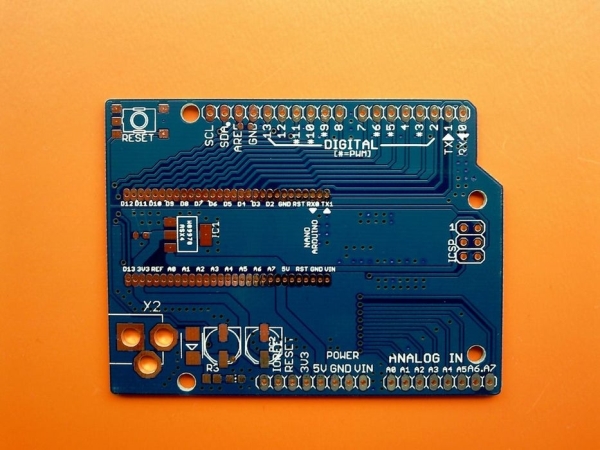
The gerber files of the PCB are attached at this step. They are generated according the rules of PCBway – Chinese PCB manufacturing company, which works very fast and with high quality. The prices are in contrary very low. Additionally you can chose the PCB colour without price increase. To produce and deliver the PCB’s them take only ten days. On the picture can be seen also that they can produce boards, which have a form different than simple rectangle.
Step 4:
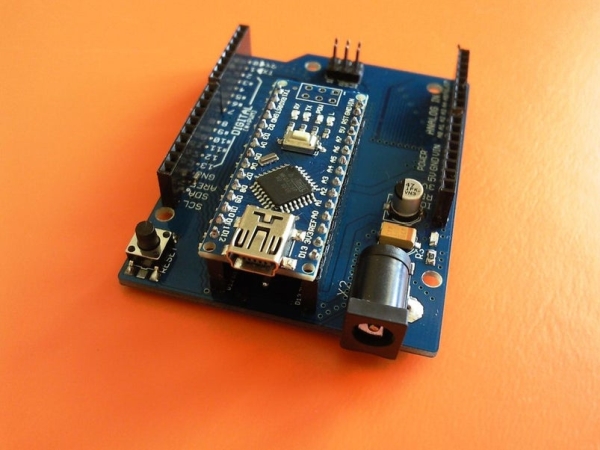
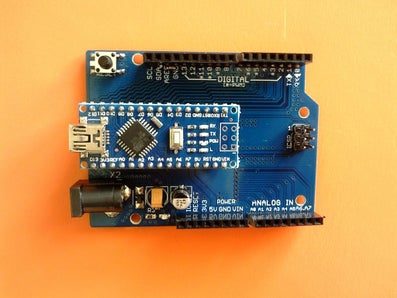
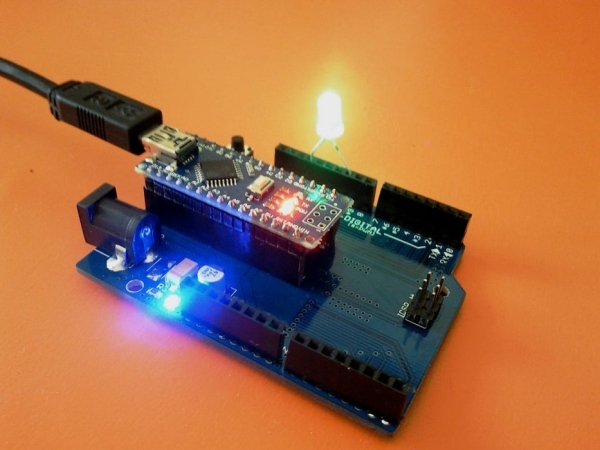
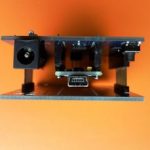
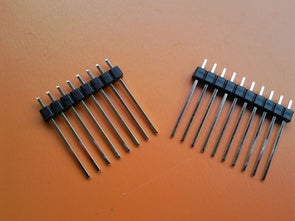
There are only few devices, which must be soldered on the board. The most complicated and time consuming operation is the cutting of the pin headers. I bought in eBay 40 pin 2.54 mm female headers, which I cut according the needed pin count. For that purpose I use small jigsaw and after that sandpaper. It can be seen that the Arduino Nano board is positioned at the edge of the conversion board to ease the access to the USB connector.
Step 5: Work With Shields
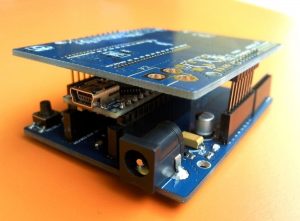
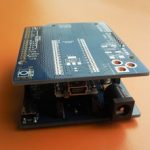
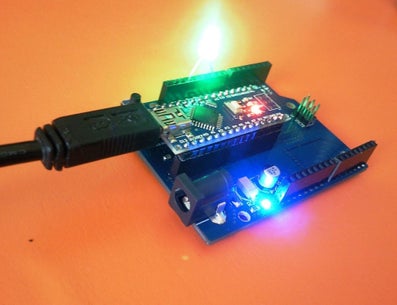
The board can be used with the standard expansion shields for Arduino Uno / Duemilanove and some of the Mega shields. The only requirement is that, the shield needs to have longer pins. Some of the spread shields have them (for example the ETH shield, which can be bought in eBay). If the shield has the shorter ones – they can be replaced with long ones. The pictures show how the union Arduino Nano – the adapter board – some extension shield will look like.
Thank you for the attention.
Source: Arduino Nano to Arduino Uno Adapter
- Can extension shields be used directly with Arduino Nano?
No, extension shields cannot be used directly with Arduino Nano without an adapter. - Does the Arduino Nano have a DC jack for external power?
No, the Arduino Nano does not have a DC jack for external power sources different than 5V. - What is the current limit of the internal 3.3V regulator on the Nano?
The embedded voltage regulator on the Atmega328 can provide currents higher than 100-150 mA. - How does the adapter board handle the 3.3V supply?
An additional voltage regulator is used on the adapter board for the generation of the 3.3V supply. - Which shields are compatible with the adapter board?
The board works with standard expansion shields for Arduino Uno/Duemilanove and some Mega shields. - What must be done if a shield has shorter pins?
If a shield has shorter pins, they can be replaced with longer ones to fit the adapter. - Where were the PCB gerber files generated according to the rules?
The gerber files were generated according to the rules of PCBway, a Chinese PCB manufacturing company. - Why is the Arduino Nano positioned at the edge of the conversion board?
The Nano is positioned at the edge to ease access to the USB connector.