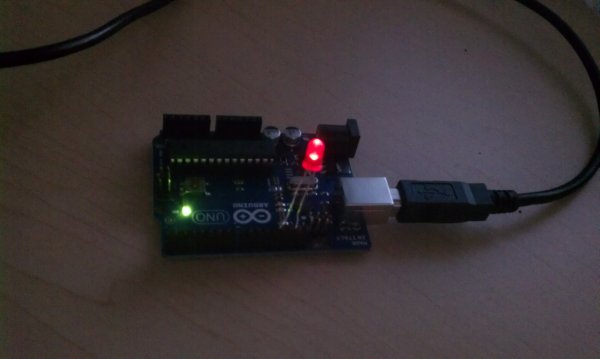
This is a basic example how arduino works. In this arduino projects you’ll see how arduino control LED on for 1 second and off for 1 second repeatedly.
Instruction;
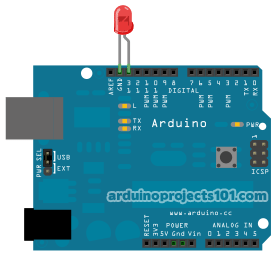
1) Connect cathode lead of LED (shorter lead) to ground pin and anode lead of LED (longer lead) to pin 13.
Upload this code to your arduino
/*
Blink
Turns on an LED on for one second, then off for one second, repeatedly.This example
code is in the public domain.

Code hosted at: arduinoprojects101.com
*/

void setup() {
// initialize the digital pin as an output.
// Pin 13 has an LED connected on most Arduino boards:
pinMode(13, OUTPUT);
}

void loop() {
digitalWrite(13, HIGH);   // set the LED on
delay(1000);              // wait for a second
digitalWrite(13, LOW);    // set the LED off
delay(1000);              // wait for a second
}
There is 2 section of code arduino running, first setup() function which run once and second loop() function running continuously.
In setup function pinMode 13 declare as OUTPUT.
Major Components in Project
Parts List;
1) 1x 5mm red LED
2) 1x Arduino
1) 1x 5mm red LED
2) 1x Arduino
For more detail: Arduino Hello World Blink Code