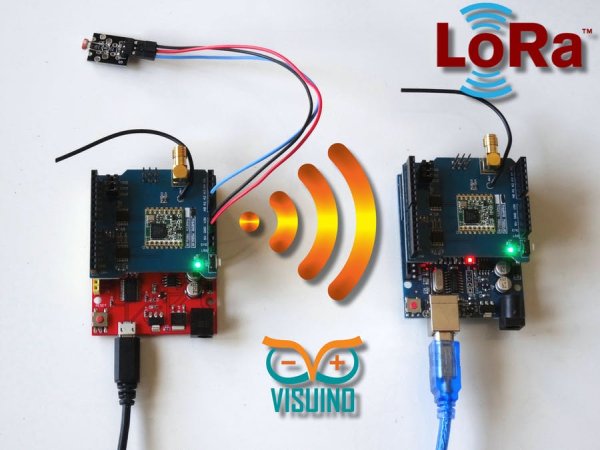
Summary of Long Distance Remote Light Sensor With RFM95W/RFM98W LoRa
This article presents a tutorial on using Makerfabs LoRa Shields with Arduino UNO boards to create a long-distance wireless communication system. By connecting two Arduino UNO boards with Makerfabs LoRa Shields (RFM95W 868MHz or RFM98W 433MHz) and a photoresistor sensor module, data can be transmitted over distances of 5 km or more. The tutorial guides through hardware assembly and programming using Visuino and Arduino IDE to achieve remote sensor data transmission via LoRa technology, ideal for areas without internet access.
Parts used in the Long Distance Remote Light Sensor With RFM95W/RFM98W LoRa:
- Two Arduino UNO compatible boards (including Maduino UNO from Makerfabs)
- Two Makerfabs LoRa Radio Shields (RFM98W 433MHz or RFM95W 868MHz)
- One Photoresistor Sensor module
- Three Female-Male jumper wires
There are many wireless communication options when connecting Arduino boards. One of the most popular ones is the Wi-Fi. It works well at small distances, and around Wi-Fi hotspots, however when the modules need to connect over long distance at areas where Internet is not present, Wi-Fi is not an option. Luckily there is a great and easily available alternative – the LoRa (Long Range Wide-area network) modules allow sending small packets of data between modules over very long distances (5 Km or more) .
Visuino has support for a number of LoRa Modules, and I was planning tutorial for quite some time, since I had some Adafruit LoRa modules. However, recently the great people at Makerfabs, sent me 2 RFM95W 868MHz based LoRa Shields, and even a great Arduino UNO compatible Maduino UNO board. The Makerfabs modules are of exceptionally good quality, and I decided to make this tutorial with them.
In this tutorial I will show you how easy it is to install the LoRa shields on 2 Arduino UNO boards, and program them with Visuino to transmit data over long distance.
Step 1: Components
- Two Arduino UNOcompatible boards (I use one Arduino UNO generic clone, and one Maduino UNO from Makerfabs, but any other will be just fine)
- Two Makerfabs LoRa Radio Shields ( RFM98W 433MHz, or RFM95W 868MHz ) Make sure both shields are the same type, otherwise they will not be able to communicate
- One Photoresistor Sensor module I got from this cheap 37 sensors set
- 3 Female-Male jumper wires
Step 2: Connect the Makerfabs LoRa Shield, and the Light Sensor Module to Arduino
First we will assemble the Sending Arduino project:
- Plug the LoRa Shield on top of the Arduino Uno as shown on the Pictures 1, 2, 3, and 4 and on the Video
- Connect Female ends of the Ground(Black wire), Power(Red wire), and Signal(Blue wire) to the Photoresistor Module (Picture 5)
- Connect the other end of the Ground wire(Black wire) to the Ground pin of the Arduino board (Picture 6)
- Connect the other end of the Power wire(Red wire) to the 5V power pin of the Arduino board (Picture 6)
- Connect the other end of the Signal wire(Blue wire) to the Analog pin 0 of the Arduino board (Picture 6)
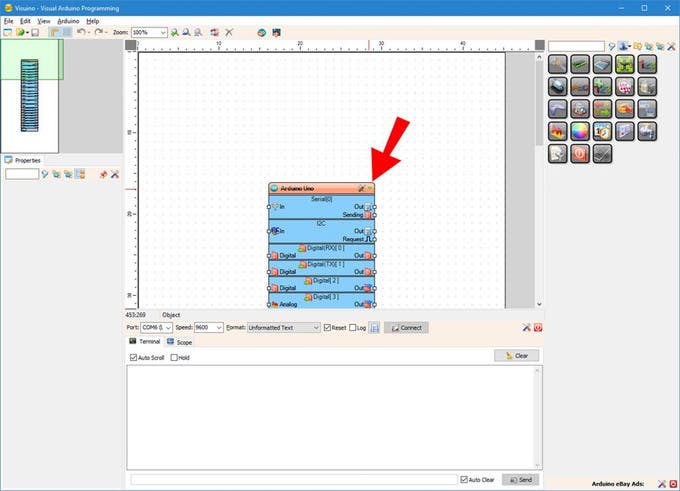
Step 3: Start Visuino, and Add LoRa Shield to the Arduino Component
To start programming the Arduino, you will need to have the Arduino IDE installed from here: http://www.arduino.cc/.
For more detail: Long Distance Remote Light Sensor With RFM95W/RFM98W LoRa

