There are many wireless communication options when connecting Arduino boards. One of the most popular ones is the Wi-Fi. It works well at small distances, and around Wi-Fi hotspots, however when the modules need to connect over long distance at areas where Internet is not present, Wi-Fi is not an option. Luckily there is a great and easily available alternative – the LoRa (Long Range Wide-area network) modules allow sending small packets of data between modules over very long distances (5 Km or more) .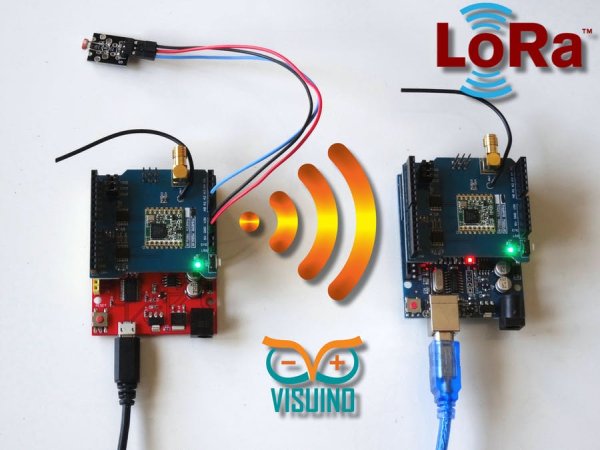
Visuino has support for a number of LoRa Modules, and I was planning tutorial for quite some time, since I had some Adafruit LoRa modules. However, recently the great people at Makerfabs, sent me 2 RFM95W 868MHz based LoRa Shields, and even a great Arduino UNO compatible Maduino UNO board. The Makerfabs modules are of exceptionally good quality, and I decided to make this tutorial with them.
In this tutorial I will show you how easy it is to install the LoRa shields on 2 Arduino UNO boards, and program them with Visuino to transmit data over long distance.
Step 1: Components
- Two Arduino UNOcompatible boards (I use one Arduino UNO generic clone, and one Maduino UNO from Makerfabs, but any other will be just fine)
- Two Makerfabs LoRa Radio Shields ( RFM98W 433MHz, or RFM95W 868MHz ) Make sure both shields are the same type, otherwise they will not be able to communicate
- One Photoresistor Sensor module I got from this cheap 37 sensors set
- 3 Female-Male jumper wires
Step 2: Connect the Makerfabs LoRa Shield, and the Light Sensor Module to Arduino
First we will assemble the Sending Arduino project:
- Plug the LoRa Shield on top of the Arduino Uno as shown on the Pictures 1, 2, 3, and 4 and on the Video
- Connect Female ends of the Ground(Black wire), Power(Red wire), and Signal(Blue wire) to the Photoresistor Module (Picture 5)
- Connect the other end of the Ground wire(Black wire) to the Ground pin of the Arduino board (Picture 6)
- Connect the other end of the Power wire(Red wire) to the 5V power pin of the Arduino board (Picture 6)
- Connect the other end of the Signal wire(Blue wire) to the Analog pin 0 of the Arduino board (Picture 6)
Step 3: Start Visuino, and Add LoRa Shield to the Arduino Component
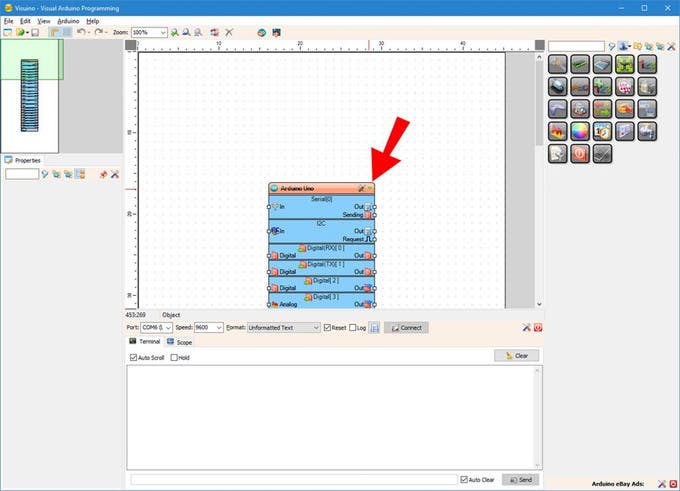
To start programming the Arduino, you will need to have the Arduino IDE installed from here: http://www.arduino.cc/.
For more detail: Long Distance Remote Light Sensor With RFM95W/RFM98W LoRa