A simple temperature sensor using one LM35 Precision Temperature Sensor , Humidity Sensor and Arduino, so you can hookup on your future projects. The circuit will send serial information about the temperature and humidity so you can use on your computer. I have taken data from my compost. The project is related to an existing product daily dump with which anyone can convert kitchen waste into compost at home. For more details about product go to http://www.dailydump.org/content/. Digicompost displays the changes (change in temp, humidity) happening inside dump

Step 1: Materials
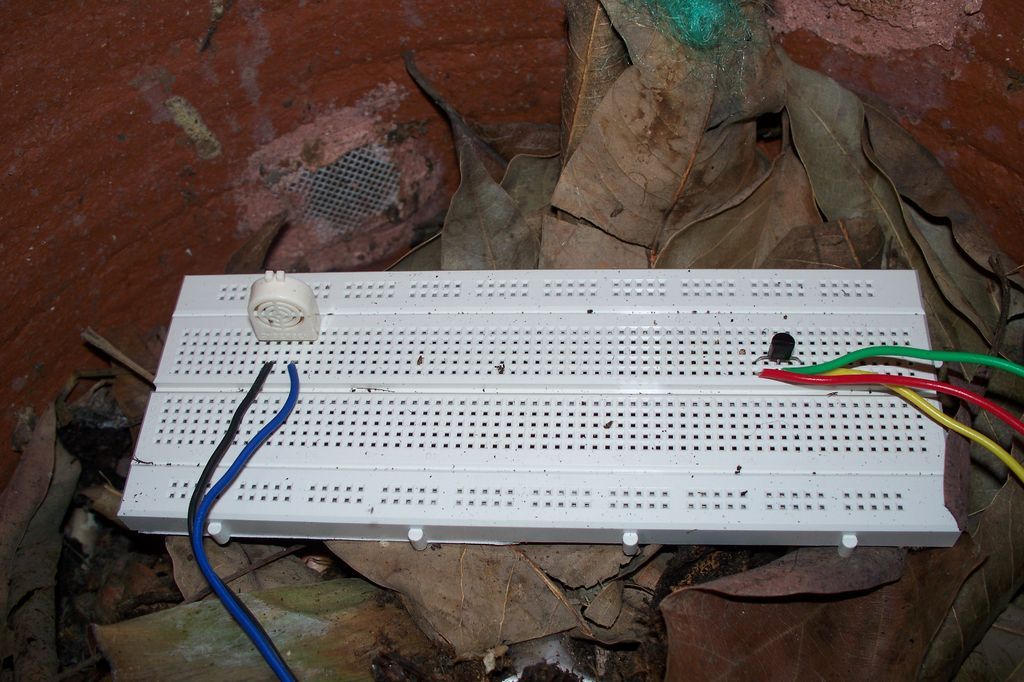
– Arduino (You can use other microcontroller, but then you will need to change the code).
– LM35 Precision Centigrade Temperature Sensor, you can get from any electronic store. Here is the DATA SHEET.
– BreadBoard.
– Humidity Sensor.
– Wires.
Step 2: Setting up Arduino + Temperature
Arduino is an open-source electronics prototyping platform based on flexible, easy-to-use hardware and software. It’s intended for artists, designers, hobbyists, and anyone interested in creating interactive objects or environments. For more information log on to (http://www.arduino.cc)
Connecting a temperature sensor:
The LM35 has three legs and looks like a transistor. The two outside legs are
+5v and Ground, and the middle leg develops the sample voltage.
The Analog to Digital Converter (ADC) converts analog values into a digital approximation
based on the formula ADC Value = sample * 1024 / reference voltage (+5v). So with a +5 volt
reference, the digital approximation will = input voltage * 205. (Ex. 2.5v * 205 = 512.5)
The LM35 is a precision linear temperature sensor that supplies 10mv per degree Celsius.
This means at 15 degrees Celsius, it would produce a reading of .150v or 150 millivolts.
Putting this value into our ADC conversion ( .15v * 205 = 30.75) we can get a close
approximation of the Celsius temperature by dividing the digital input count by 2.
If the LM35 were supplied by a different reference voltage (9v or 12v) we would have
to use a different conversion method. For this circuit, dividing by 2 works well.
Step 3: Connecting Humidity Sensor
There are two pins on to the humidity sensor one is for ground and other for out which goes on the pin 3 on to arduino. I have used a local made sensor for testing humidity/ moisture but one can go for SHT15 which have both temperature and humidity.
Step 4: Setting up code!!
Plug in your arduino to the computer, open the application select proper port and model no. before you start any coding. After everything is done write down the code as shown below
– BreadBoard.
– Humidity Sensor.
– Wires
For more detail: Arduino + Temperature + Humidity