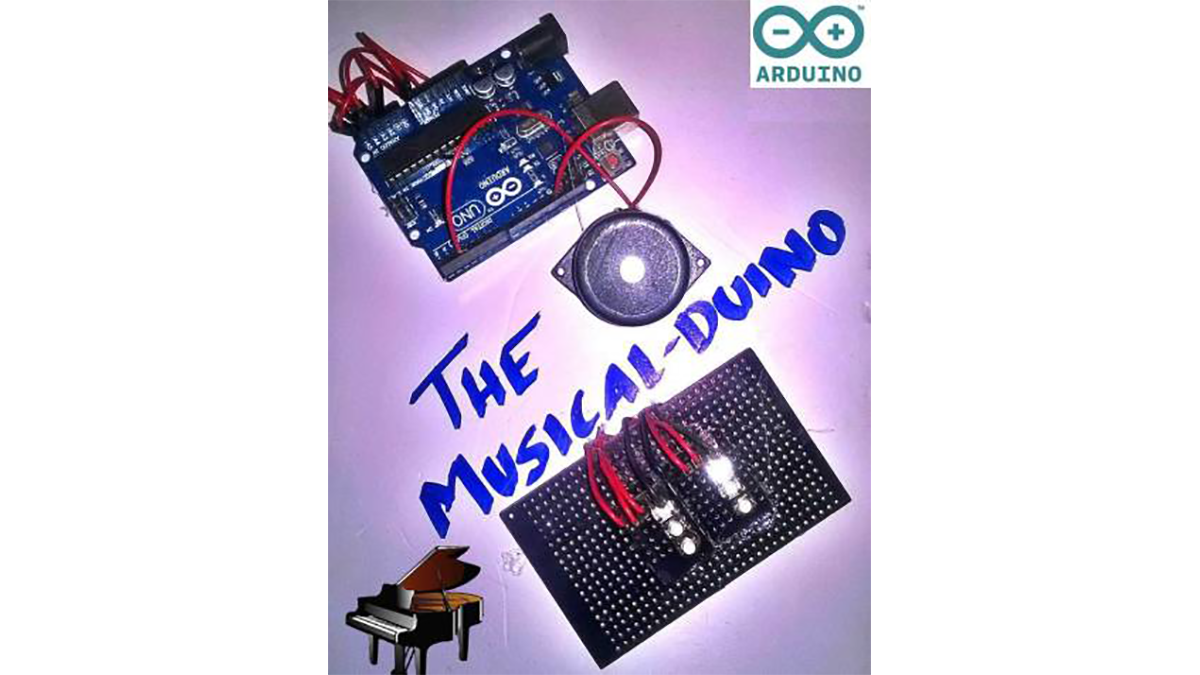
Making cool things with an Arduino is something, but making musical instruments out of an Arduino is something else! So behold, here comes the Musical-duino, an Arduino keyboard. To see what this does, check out the demo video at the bottom of this page.
They say that “You can become anyone”, so why not become Beethoven or Mozart? The only limit is your imagination.
The DIY Arduino keyboard or the Musical-duino has a few buttons. Pressing them makes different tones according to the pulse sent to it by the Arduino. Your Arduino can be used to make different instruments. It can even be used to make a proximity sensing device to help blind people, a device that detects obstacles and makes different voices depending on what they’re approaching. You can also make a Theremin out of an Arduino by attaching LDR’s.
After making one you could play the “legend of Zelda” and upload the video to YouTube so that we can share your work of art here on our website (Somebody please do it!)
Required Materials
- Arduino Uno, Mega, Freeduino, or any of its clones
- 2 Pushbuttons
- A Piezo Buzzer
- A 9 volt battery with the terminal caps
- A DC Jack
- Jumper Wires
How it Works
One end of each push button is connected to the VCC and the other end to three analog pins. The data from the push buttons are read by the analog pins. This is further compared with a threshold voltage.
Don’t know what’s a threshold voltage? Don’t you worry, we’re here to explain it to you!
Even when the switch is open, the analog pin connected to the button shows a value. When the button is pressed, the analog value reading changes. The value we get when the switch is open is usually referred as the threshold voltage.
In later steps, each button is identified in comparison. Corresponding frequencies are produced online Piezo buzzer using the Arduino.
Connecting the Push Buttons as Keys for the Arduino Keyboard

Connect all the 3 pins of the push buttons to the 5 volt output on the Arduino. It’s helpful to have a clearer picture of the Arduino’s structure. After connecting the buttons to the 5 volt output, the other end goes to analog 1, 2 and 3. After doing the connections, upload the following code to your Arduino:
void setup()
{
pinMode(A0,INPUT);
pinMode(A1,INPUT);
pinMode(A2,INPUT);
Serial.begin(9600);
}
int a,b,c;

void loop()
{
a=analogRead(A0);
b=analogRead(A1);
c=analogRead(A2);

Serial.print(a);
Serial.print(‘ ‘);
Serial.print(b);
Serial.print(‘ ‘);
Serial.print(c);
}
Next, do the following:
- Upload the code.
- Open the Serial Monitor.
- Note the analog values on the serial monitor without pressing the buttons as the threshold.
- Press the buttons and find the change in analog readings.
Read More: DIY Music Keyboard: How to Make Sounds With Arduino