Summary of Sending Email using Arduino and ESP8266 WiFi Module
This article guides readers on sending emails using an Arduino and an ESP8266 Wi-Fi module, an essential IoT functionality. It outlines required components, setting up the ESP8266 with Arduino, creating an email account at smtp2go.com, encoding credentials in base64, and programming the Arduino to send emails. The circuit involves connecting the ESP8266 to Arduino’s 3.3V and GND pins, with optional 16x2 LCD display for status messages. Serial communication uses Arduino pins 2 and 3 via Software Serial Library, allowing email sending through Wi-Fi.
Parts used in the Send Email using Wi-Fi and Arduino Project:
- Arduino UNO
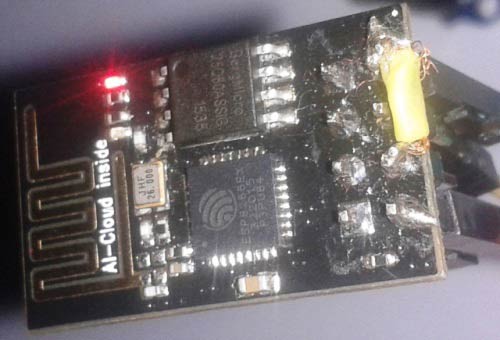
- ESP8266 Wi-Fi module
- USB Cable
- Laptop
- 16x2 LCD (optional)
- 10K POT (optional)
- Power supply
- Connecting wires
We are moving towards the World of Internet of Things (IoT). This technology plays a very important role in the Electronics and Embedded system. Sending an Email from any Microcontroller or Embedded system is very basic thing, which is required in IoT. So in this article, we will learn “How to send an Email using Wi-Fi and Arduino”.
For sending Email via Wi-Fi module and Arduino, first of all we need to have an Email account. So user can create email account at smtp2go.com. After signup, remember your new email address and password.
We can understand the whole process in below Steps:
Step 1: First arrange all the required Components.
- Arduino UNO
- ESP8266 Wi-Fi module
- USB Cable
- Laptop
- 16×2 LCD (optional)
- 10K POT (optional)
- Power supply
- Connecting wires
Wi-Fi Module ESP8266:
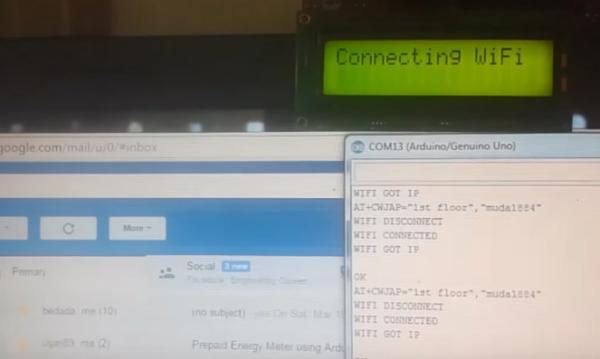
Step 2: In this step we will connect ESP8266 Wi-Fi module with Arduino and give it power supply from 3.3v pin of Arduino.
Step 3: In this step, we need to sign-up for Email address and Password (smtp2go.com). smtp2go.com provides the email services, to send the emails using outgoing email server.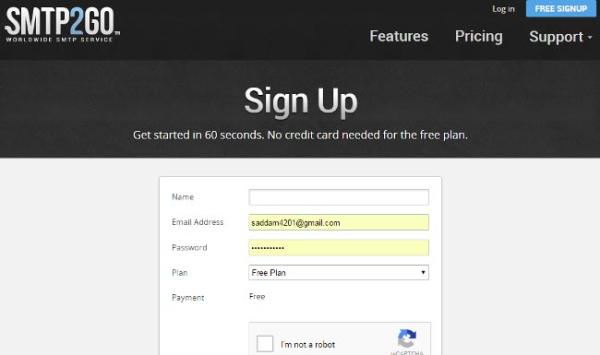
Step 4: We will need Username and Password in base64 encoded format with utf-8 character set. For converting the Email and Password in base64 encoded format use below given link. Keep the encoded username and password handy, we need it in our program to login at smtp2go.com.
Step 5: Now start writing code for sending Email. ‘Programming Explanation’ and Code is given at the end.
Circuit Explanation:
Circuit is very simple, for this project we only need Arduino and ESP8266 Wi-Fi module. A 16×2 LCD is also connected for displaying the status messages. This LCD is optional. ESP8266’s Vcc and GND pins are directly connected to 3.3V and GND of Arduino and CH_PD is also connected with 3.3V.
Tx and Rx pins of ESP8266 are directly connected to pin 2 and 3 of Arduino. And Pin 2 of Arduino is also shorted with Tx pin (Pin 1) of Arduino. This pin is shorted for displaying response of ESP8266 directly on Serial monitor of Arduino. Software Serial Library is used to allow serial communication on pin 2 and 3 of Arduino.
Read More: Sending Email using Arduino and ESP8266 WiFi Module