Step 1: Parts List
You will need:
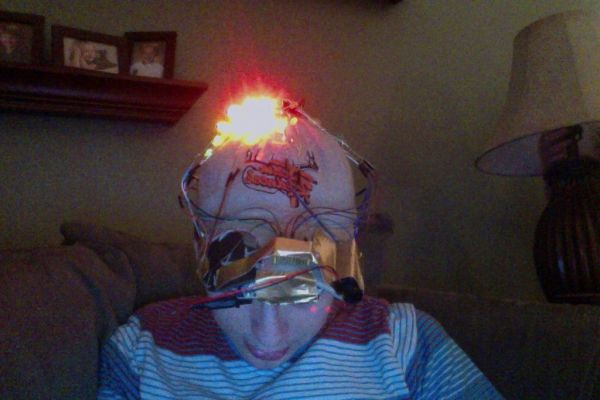
A hat (of course)
16 paperclips
24 LEDs for the version pictured – Radioshack sells a bundle of red, yellow and green LEDs, which is what I used x2
Jumper wires
Duct tape
9V battery
9V connector or plug
Electrical Tape
Fishing line or string
Very small breadboard
Arduino Uno, Leonardo, etc.
Step 2: Parallel vs. Series
It might be simpler, but building the circuit with the LEDs in series (with the positive leads connected to the negative ones of the next; 5th picture) requires more voltage than the Arduino can provide. Two LEDs work, but for this design with three LEDs I used a parallel circuit. When connected in this way, like the in first four pictures, the Arduino can power at least four LEDs at once, although they are slightly dimmer.
Step 3: Construct the Ground Circuit
Since the Arduino Uno has only 3 ground ports, you’ll need a circuit that you can plug all 8 LED strips into. With a super-small breadboard (this one is 5×10), plug one wire into the ground pin on the Arduino and a row on the breadboard, and two more wires from that row into two other rows.

Step 4: Assemble the LED Strip
Straighten out 2 paperclips and bend the leads on the LEDs as shown in the first picture. Wrap the positive leads around the paperclip while leaving some of the it exposed on both ends, then do the same for the negative leads. The more times you wrap it around, the better it will stay connected. Also, it may be helpful to have one paperclip longer than the other at the green end so you know which one is positive and vice versa. If necessary, add electrical tape around the connections to keep them together some more; however, the residue from the tape can interfere with the contact between the leads and the paperclips. Finally, connect jumper wires to the green end of the paperclips.
Repeat all that as many times as you want strips on the hat; for this Instructable I used 8 (this is also the amount you can make using two LED bundles from Radioshack).
Very small breadboard
Arduino Uno
For more detail: LED Pattern Hat using an Arduino