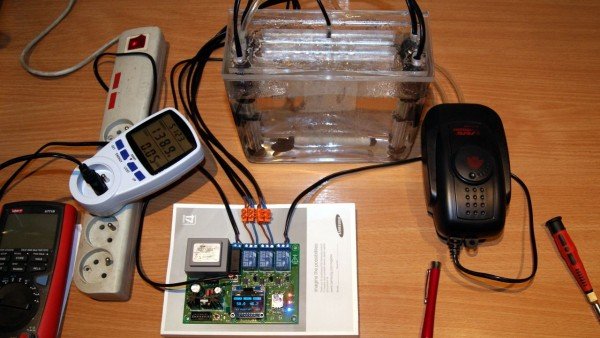
Quite by accident I came across a long time ago on video in YouTube, which focuses on domestic production of PCBs. Personally, I am convinced that it is better to perform the PCB in a professional company – you know: aesthetics, double-sided layout, descriptions, solder mask, tin holes etc. But for small, home projects, not specifically require it. Do not forget that it comes to the cost of a few dozen gold and długaśny waiting time. So I decided to make myself the right tools to perform such fototransferu tiling method, ie UV platesetter and wytrawiarki PCBs.
People tracking me on Google+ or Facebook on a regular basis could observe the progress of project development, so this entry will treat about how the project was created and its final outline.
UV exposure
- The head of the UV LED 30W
- OLED display 1.3 “
- Control via the illuminated encoder RG
- UV LED Cooling Peltier TEC1-12710
- An independent temperature measurement of UV LEDs and heat sink
- Active cooling heat sink fan
- Dew point with a sensor SHT11 (air humidity, ambient temperature)
- LED Driver LDU4860S1000 with an efficiency of 95% and PWM control
- UV LED power adjustment range 0 ÷ 100%
- Monitoring operating parameters using UV LEDs INA226 (voltage, current and power)
- Step-Up Converter 36V
- Efficient, low-profile power supply Mean Well RPS-320-12 power of 320W
- The driver is based on ATmega328P / Arduino IDE
Wytrawiarka
- Aquarium of working age, with a capacity of 1.6 liters
- OLED display 1.3 “
- Control via the illuminated RGB encoder
- The ability to digest the two PCB 120mm / 120mm
- The total power output of 120W (4x30W)
- Two-channel heating system (for heating and maintaining the temperature)
- Continuous temperature measurement solution
- The aeration system: mixing, cooling
- The driver is based on ATmega328P / Arduino IDE
For more detail: UV exposure and PCB wytrawiarka

