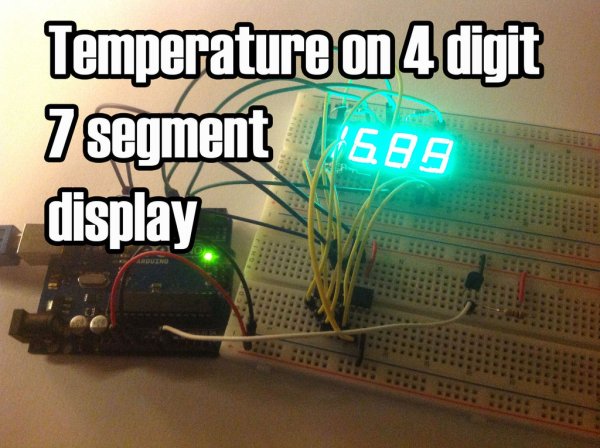
In this project I’ll display the temperature in a 4 digit 7 segment display (common anode).
The sensor is the cheapest you can find so actually the temperature changes pretty easily which makes the display to show always different temperatures.
But the idea is to apply this code to other projects with 7 segment displays that I might do later. if you want to learn a bit more of 7 segment displays you can read more at this post I’ve made.
This project is great to learn more about:
- Reading sensors (in this case temperature)
- 7 segment displays (4 digit 7 segment displays)
- 8 bit Shift Registers (74HC595)
- Pratice wiring
and for more project and tips you can also check my website:
http://randomnerdtutorials.com/
You can see this project working right now:
Step 2: Schematics
I think it’s a bit hard to follow the yellow connections with this schematic.
So i recommend that you take a look at the 74HC595 pins and to the internal circuit diagram of the 4 digit 7 segment display (common anode).
So how does the yellow connections were made?
Basically the pin 11 connects to the QA, the pin 7 to the QB and so one…
Parts Required
- 1x Arduino Uno
- 1x Temperature Sensor (I’m using the LM335Z)
- 1x 4 Digit 7 Segment Display (common anode)
- 1x 74HC595 8 Bit Shift Register
- 8x 220 Ohm Resistors
- 1x 4700 ohm Resistor
- 1x Breadboard (or two)
- Jumper Cables
For more detail: Temperature Displayed on 4 Digit 7 segment using Arduino


