
It tells you if tomorrow’s going to be a snow day!
Is it snowing tonight? Will you have the day off from school or work tomorrow? Put this snow globe next to your bed when you go to sleep to find out. Then when you wake up in the morning (or middle of the night) you can give the snow globe a shake and it will light up in a specific color to tell you whether you can stay home from work or not. If it’s a snow day you can roll over and go right back to sleep without having to check your radio/phone/etc.
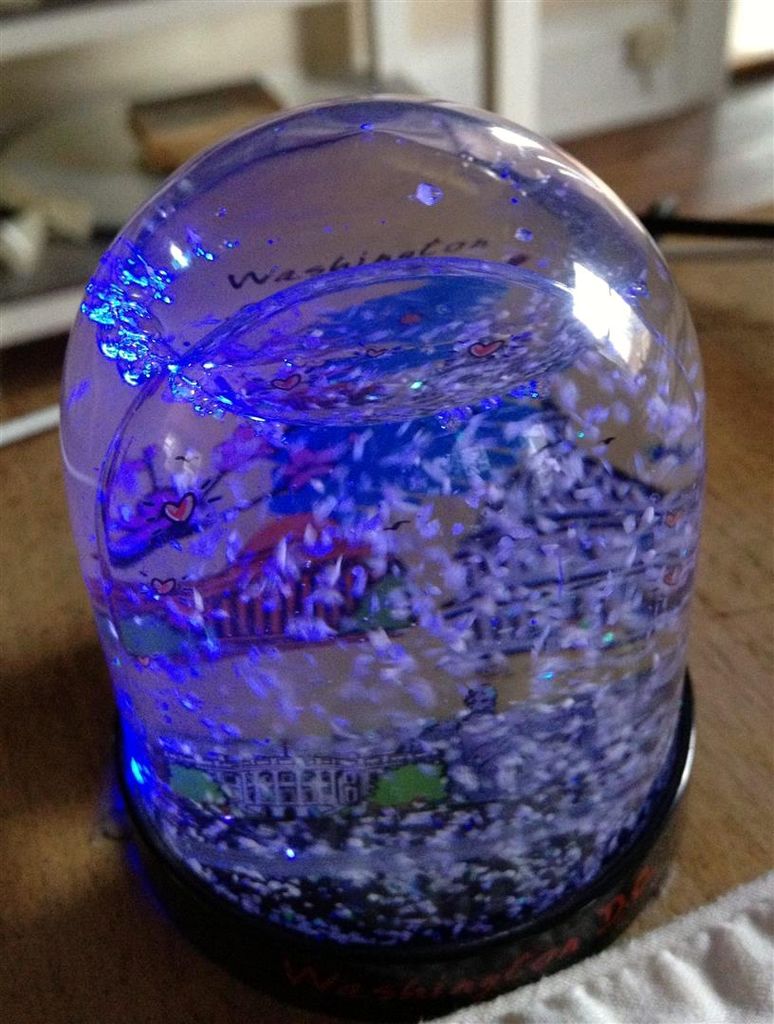
The snow globe checks the internet for a specific status message and changes color based on tomorrow’s status. But you don’t want a bright list flashing next to your bed all night, so the snow globe only lights up when you shake it (that’s what snow globes are for)!
Where I live in Washington, DC, the federal government has a website advising employees when federal offices are closed due to weather. Many local schools and businesses follow this status as well. The snow globe checks this website to determine tomorrow’s status.The snow globe will light up using the same status colors as the federal government website:
Green = open for business
Yellow = delayed start (you get two extra hours to sleep in)
Red = closed (stay in bed as long as you want!)
Blue = snow globe is working but has received no status information from the internet
Read on to see how to make one.
NOTE: I’m a complete beginner at using Arduino – I only learned in the last month or so. And I’m new to electronics projects too and only a novice programmer too. So I can testify that this is a pretty easy project to do.
 OPM_Status.pde1 KBOPM_Status_Flora.ino3 KB
Step 1: Gather The Supplies
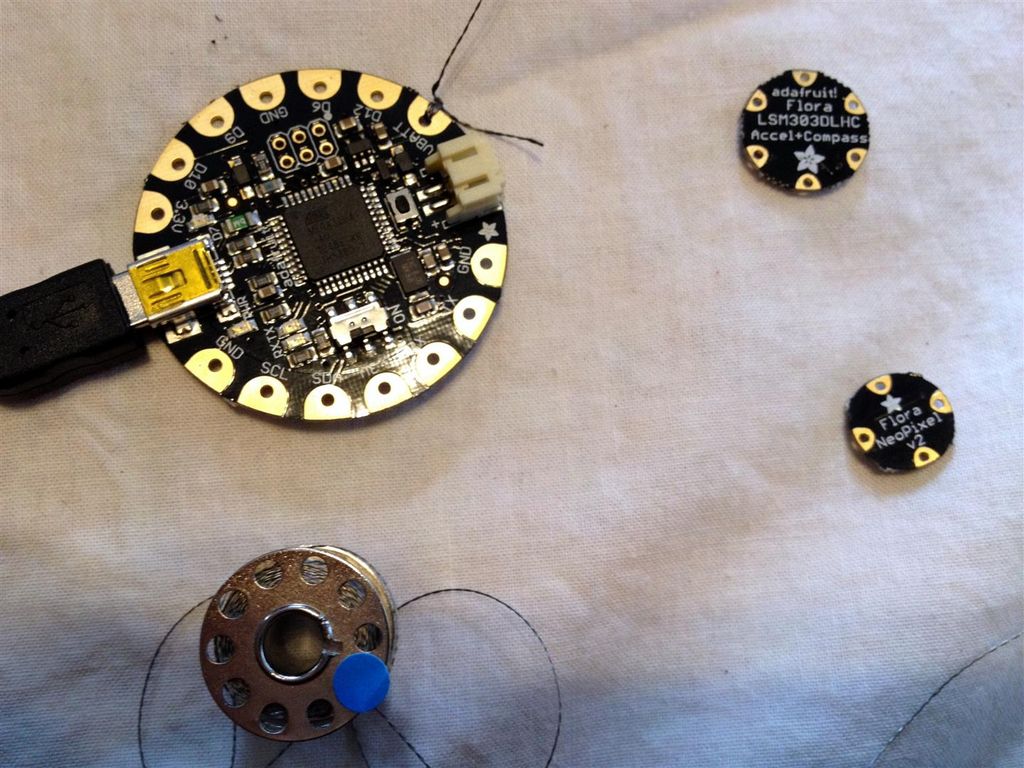
For electronics I used Adafruit’s Flora platform, which worked great. It’s nice and compact and makes the wiring very simple.
Overall supplies list:
1. Snow globe
2. Adafruit Flora platform
3. Adafruit Flora Accelerometer
4. Adafruit Smart NeoPixel RGB LED
5. Stainless steel conductive thread (or you can use wire and solder it)
6. Rubber cement
7. tape or glue
8. toothpick for applying the rubber cement
9. Dremel or other small rotary grinding tool
10. USB-mini cable for programming Flora
11. PC for programming and checking the internet for snow-day status
Step 2: Wire The Electronics
The picture below shows the Flora attached to the USB cable, which makes it easier to hold onto. Just make sure the other end of the cable is not plugged into your computer while you are doing the wiring – there should be no power flowing through it while you make the connections!
Wire up the parts as follows. I used conductive thread to do this because I don’t know how to solder (yet – that’s next on the list). To use the thread you use it like you would regular thread of you were sewing a button on a jacket – wrap the thread through the hole 3-5 times to create a good connection on the gold pad. Tie it off. Then connect the other end of the thread to the other device in the same way. Tie it off. Make sure you leave the right amount of thread between the connections that you’ll need to position the parts where you want them – not too little and not too much. Leaving extra thread is a problem because if it’s flopping around it could make contact with another part of your project or another thread and cause a short circuit.
Use a toothpick to dab a tiny bit of the rubber cement onto your knots. The thread tends to want to untie itself and this will make your knots stay tied.
Here are the connections:
NeoPixel LED to Flora
1. Connect the pad with the tiny arrow facing toward the center of the LED on the NeoPixel to the “D6” pad on the Flora.
2. Connect the “+” pad on the NeoPixel to the “VBATT” pad on the Flora.
3. Connect the “-” pad on the NeoPixel to the “GND” pad on the Flora. Notice that there is more than one pad marked “GND” on the Flora. Make it easy on yourself and connect to the one that’s right next to the “D6” pad so you don’t end up with crossed wires later.
Accelerometer to Flora
First, look at your accelerometer. On the front (the side with the chips sticking out) there are a pair of pins on each side marked “SCL” and “SDA”. One edge of the accelerometer has a “Z” in a circle with arrows point to “X” and “Y”. You want to use the SCL and SCD pads that are on the opposite edge of the accelerometer from this Z. Don’t use the SCL and SCD pads that are on either side of the Z. Now make your connections:
1. Connect the “SCL” pad on the accelerometer to the “SCL” pad on the Flora.
2. Connect the “SDA” pad on the accelerometer to the “SDA” pad on the Flora.
3. Connect the “3V” pad on the accelerometer to the “3.3V” pad on the Flora.
4. Connect the “GND” pad on the accelerometer to the “GND” pad on the Flora. Make it easy on yourself and use the GND pad next to the SCL pad to avoid crossed wires.
Check that all your connctions are tight, you have the right length of thread/wire, and you have dabbed a bit of glue onto each knot to keep them tight.
Fold the accelerometer over and tape it to the back of your Flora as show here. If you have done the wiring correctly, you will have four straight wires connecting them, and no crossed wires/threads.
Leave the NeoPixel LED hanging off to the side. It should fac in the opposite direction form the Flora, so that if the Flora is lying on the table face-down, the LED is face-up. This is because you want the Flora upside down so you can access the button on it from bottom of the snow globe.