Summary of Smart Coffee Table
This project creates a Smart Coffee Table that illuminates its environment based on the weight of a drink placed upon it. Using an Arduino Nano and HX711 weight sensor, the system adjusts RGB LED colors: red for empty, yellow (0-50g), green (50-100g), blue (100-150g), and near-white for weights over 150g. Epoxy resin is applied to diffuse light effectively, while 3D printed parts and wood provide structural support.
Parts used in the Smart Coffee Table:
- Arduino Nano
- HX711 Weight Sensor
- RGB Led Strip
- BD135 Transistors
- 10K Resistors
- On - Off Switch
- Main Body
- Cup Holder
- Battery Case
- Shoes
- Cup Holder Support
- Epoxy Resin
- Wooden pieces
- Glass
- Glue
We are in the joy of making a project that has been in our mind for a long time and sharing with you. Smart Coffee Table. Because this table is really smart. It illuminates your environment according to the weight of your drink.
Step 1: Summary
We are in the joy of making a project that has been in our mind for a long time and sharing with you. Smart Coffee Table. Because this table is really smart. It illuminates your environment according to the weight of your drink.
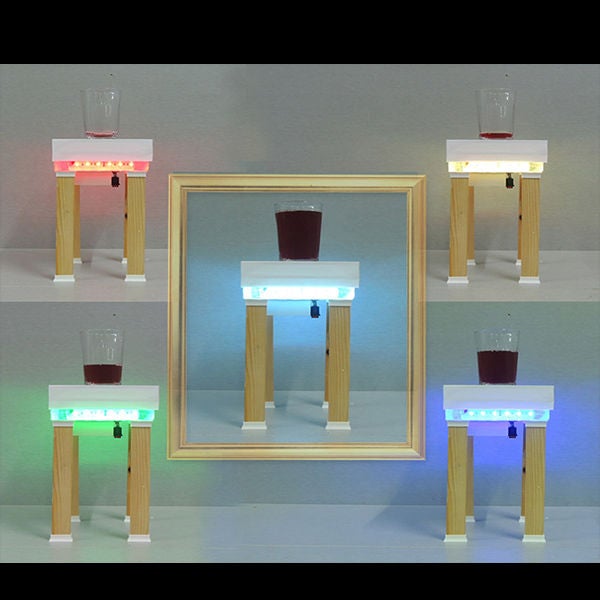
How Does? We have used a weight sensor on the smart coffee table. Thanks to this sensor, we can adjust the desired color to the desired weight to the RGB strip led that we have connected to the Arduino outputs.
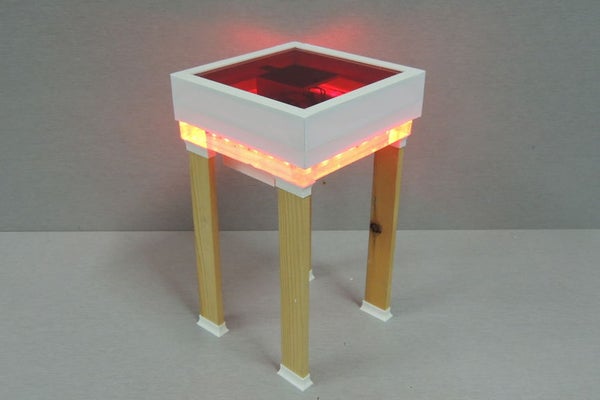
If the cup is empty, the red color is lit.
Between 0-50 gr, the yellow color is lit.
Between 50-100 gr, the green color is lit.
Between 100-150 gr, the blue color is lit.
150 and higher, close to white color.
And we used epoxy again in this project. Thus, the lights from RGB are better spread to the environment.
Step 2: Equipment & Materials

If you decided to make this project or you are wondering, have to have some materials and equipments.
We used 4 groups in this project ;
– Elektronics
– 3D Printed Parts,
– Epoxy Resin
– Others
Step 3: Electronics

You will find below list:
– Arduino Nano
– HX711 Weight Sensor
– RGB Led Strip
– BD135 ( * 3)
– 10K (* 3)
– On – Off Switch
Step 4: 3D Printed Parts
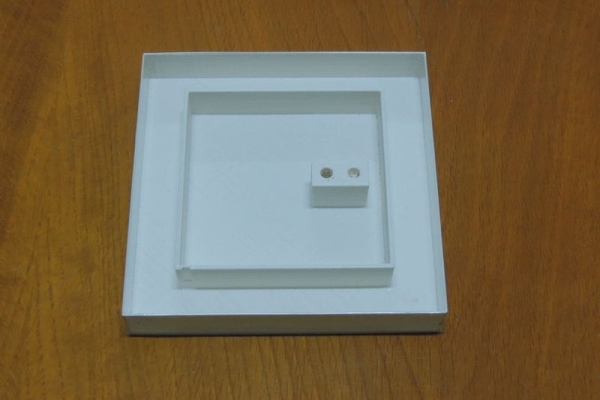
You will find list below;
– Main Body
– Cup Holder
– Battery Case
– Shoes (* 8)
– Cup Holder Support
Step 5: Epoxy Resin

We used epoxy resin in this project for good spreading.
Step 6: Others
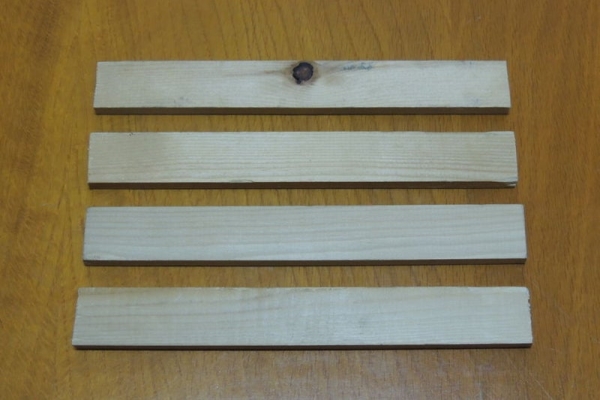
we used some materials too.
– Wooden (* 4)
– A glass
– Glue
Source: Smart Coffee Table
- How does the table illuminate?
The table uses a weight sensor to adjust the desired color of the connected RGB strip led based on the weight of the drink. - What color lights up when the cup is empty?
If the cup is empty, the red color is lit. - Which color corresponds to a weight between 0 and 50 grams?
Between 0-50 gr, the yellow color is lit. - Does the table change color if the weight exceeds 150 grams?
Yes, at 150 grams and higher, the light turns close to white. - What material is used to spread the lights better?
Epoxy resin was used so that the lights from the RGB are better spread to the environment. - Can I build this project without 3D printed parts?
The project description lists specific 3D printed parts like the Main Body and Cup Holder as essential components. - What electronic components control the RGB strip?
An Arduino Nano, HX711 Weight Sensor, three BD135 transistors, and three 10K resistors are used. - What supports the glass in the table structure?
A Cup Holder Support and Wooden pieces are used along with glue to hold the glass.