
This article shows you how to build a small radio station at home and share music with others. The station can also be used for making announcements in colleges, industries, hospitals, schools and other places using a condenser mic amplifier circuit.
In this project an FM transmitter V2.0 module is used, as shown in Fig. 1. It is available on www.ebay.com and www.amazon.in. The module can modulate your voice or music on FM radio. If you have a radio receiver, you can receive and listen to it.
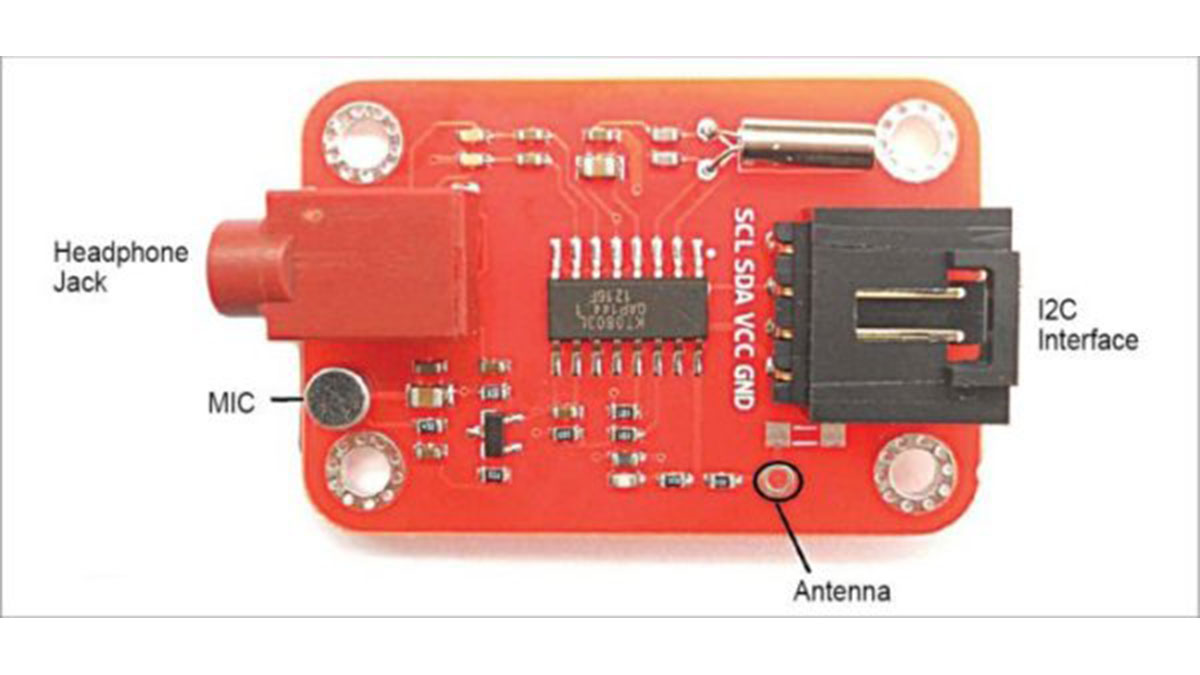 FM transmitter V2.0 module
This module communicates with Arduino Uno R3 or another microcontroller through I2C interface. All commands are sent through I2C interface. Here, Arduino Uno R3 along with Arduino library file is used for giving commands to control and vary different frequencies within 88MHz – 108MHz FM band.
Circuit and working
The FM transmitter V2.0 module has the following four pins:
1. Vcc (5V)
2. GND
3. SDA (serial data I2C pin)
4. SCK (serial clock I2C pin)
A standard 3.5mm male-to-male audio cable (Fig. 2) is used for connecting with the MP3 player, mobile or computer.
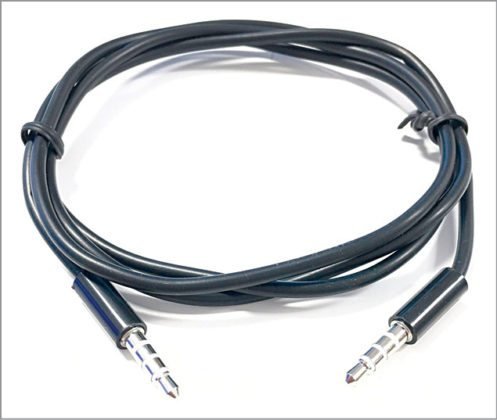
3.5mm male-to-male audio cable
Block diagram of the short-range FM station is shown in Fig. 3 and its circuit diagram in Fig. 4. It is built around Arduino Uno R3 (BOARD1), FM transmitter V2.0 module (TX1) and a few other components.
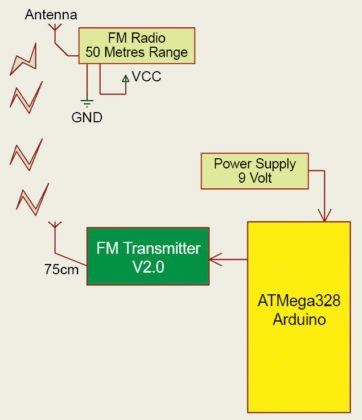
Block diagram of FM station

Circuit diagram of FM station
Setting up input in FM band
Step 1. Download fmtx.cpp and fmtx.h libraries, and save these on your PC under, say, fxtx folder. Copy this folder to Arduino\libraries folder.
Step 2. Open fmtx_demo.ino code from Arduino IDE. Compile it and upload the program/sketch to Arduino board.
Step 3. Connect Arduino board to an audio source like mobile phone or MP3 player. You can also use a mic to transmit your voice.
Step 4. Turn on your FM receiver and set it to 90.1MHZ frequency. Enjoy the music.
Step 5. Open Serial Monitor window from Arduino IDE to change the frequency, as shown in Fig. 5.
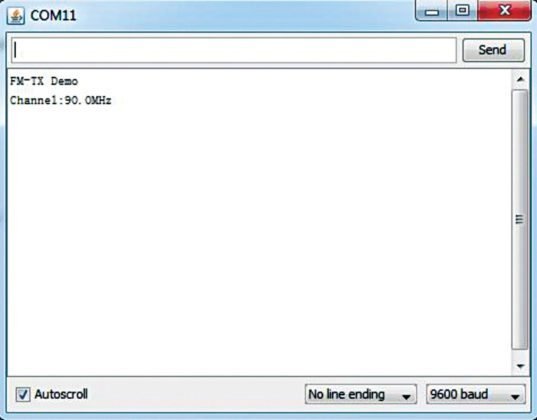
Serial Monitor window Fig. 6: Author’s prototype
Step 6. You can change or set a different frequency from Serial Monitor by simply entering the frequency using & symbol. For example, to change frequency to 99MHz type &0990 in the Serial Monitor and press Enter key.
Similarly, to change frequency to 99.5MHz type &0995 (for frequency 101MHz type &1010 and for 102.5MHz type &1025) in the Serial Monitor.
Software
Circuit operation is done using the software (fmtx_demo.ino) loaded into the internal memory of Arduino Uno R3. The program implements all required functionalities including handling user inputs with the help of serial port interface. The program is written in Arduino programming language.
Arduino IDE 1.6.4 is used to compile and upload the program to Arduino board. The important thing is to set any frequency (within FM band), as shown in Fig. 5. In the program, default frequency is set to 90.1MHz, as given below:
float fm_freq = 90.1;
When you apply 9V power supply to Arduino board, it starts broadcasting the audio signal at 90.1MHz frequency.
You can simply tune to the same frequency in the FM receiver or mobile phone. You can now listen to music or message announcements from up to a distance of 50 metres.
Note that, an external antenna is required for FM transmitter module. Connect any metal wire to the pad that could serve as an antenna. Theoretically, the ideal antenna length for 100MHz is around 75cm.
Construction and testing
You do not need a PCB for this project. Connect GND, 5V, A4 and A5 pins of Arduino board to GND, Vcc, SDA and SLA pins of FM transmitter module, respectively, using external wires/jumpers.
Connect a USB cable to Arduino Uno R3 for compiling and uploading the program. Remove the cable after uploading it. Connect a 9V battery/adaptor as power supply to Arduino Uno R3.
Connect FM transmitter V2.0 module to any audio source like MP3 player/mobile phone/computer using a 3.5mm audio cable. Your circuit will transmit at 90.1MHz frequency, which can be received by any FM radio by tuning to the same frequency. The author’s prototype is shown in Fig. 6.
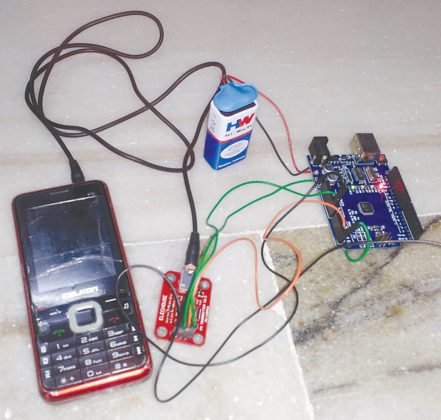
Author’s prototype
Download source code
Read More Detail :Short-Range FM Radio Station