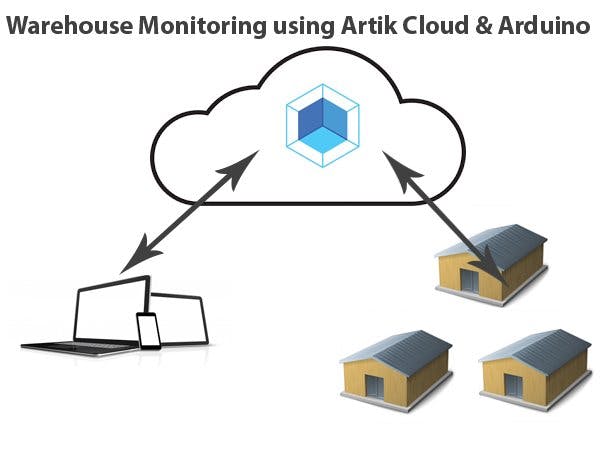
In this Article i will demonstrate how to connect Arduino MKR1000 with Artik Cloud & monitor salt/Dairy warehouses Temperature & Humidity.
Things used in this project
Story
Background
Humidity & Temperature Monitoring is very important factor in Salt/Dairy warehouses. Instead of taking manual readings from Digital meters I plan to make a device which will automatically stream real time statistics of warehouses to Artik cloud. By this way we can get real time result any where any time and take decisions on time to save products from damage.
Prerequisites
You must have basic knowledge about programming Arduino MKR1000. Also you need Artik Cloud (Samsung) account. For Arduino IDE, libraries WiFi101 and ArduinoJSON are required.
Basics of Artik Cloud
1-Create a account at https://artik.cloud/
2- Login to https://developer.artik.cloud/ and click on Dashboard
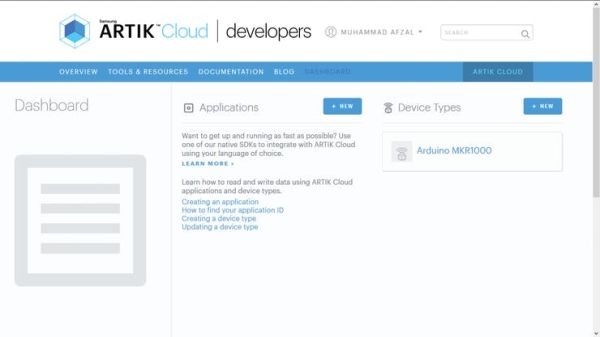
3- Now click on New button for Device Types to Create new device type
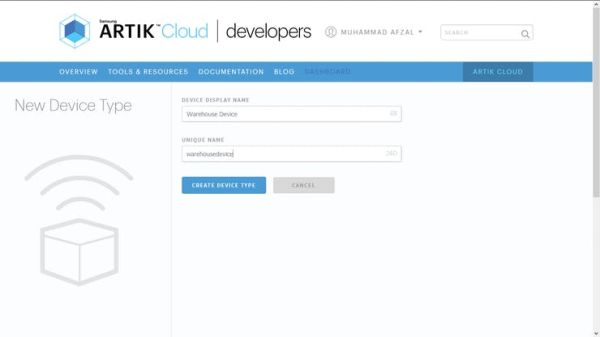
Enter Device Name & Unique Name and click on Create Device Type button
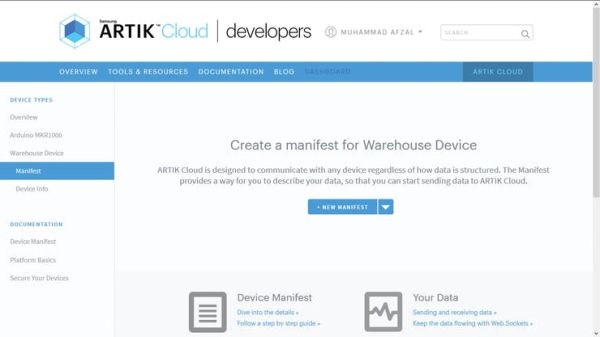
4-Click on Create Manifest button to Create Manifest for Device in this we need to create 2 fields Temperature & Humidity.
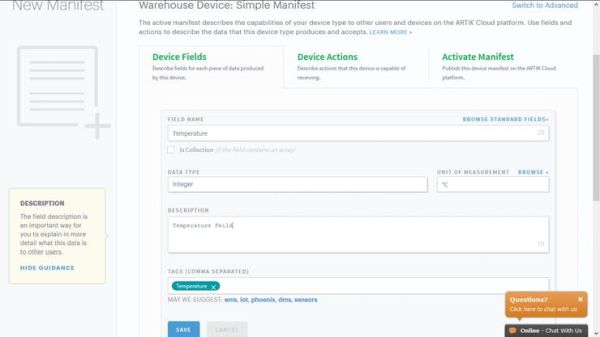
Click on Save and create new field for humidity again.
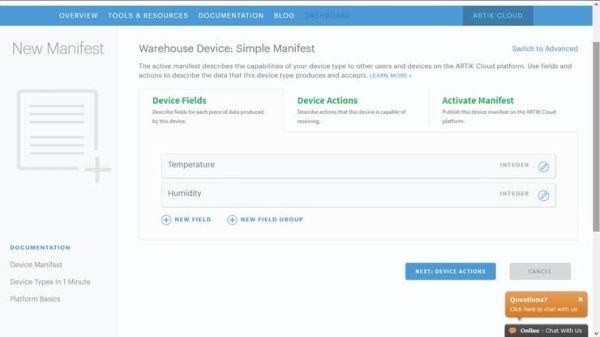
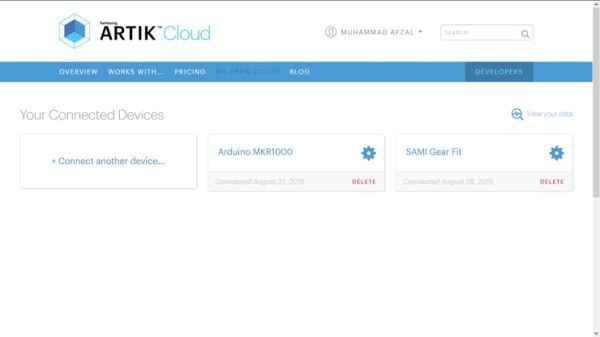
5- After creating fields for devices click on “Next” button to create Device Actions and then “Next” and then click on “Activate Manifest” button to save all the settings. Now we need to connect Device with Device Type. to connect device go to https://artik.cloud/my/devices URL and click on “Connect Another Device”
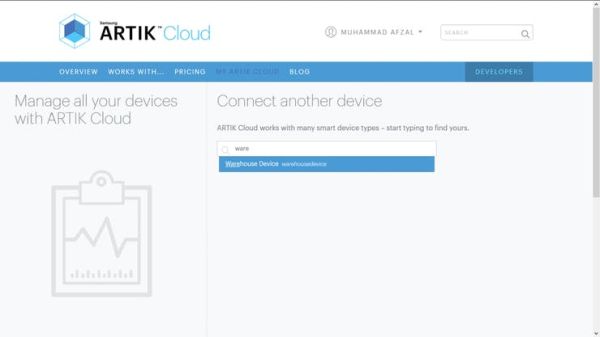
6- Search your Device in case of this Article our Device Name is “Warehouse Device”
7- Select the Device and click on “Connect Device” button
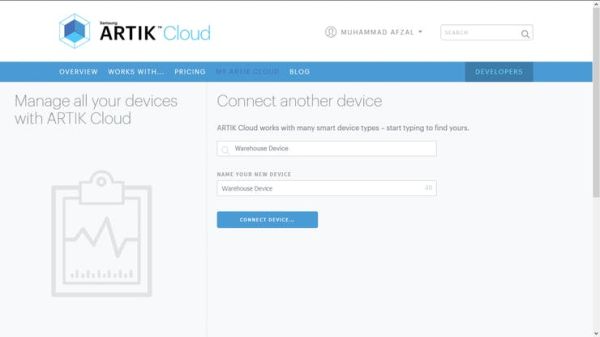
8- Now you can see all of your connected Devices and also “Warehouse Device“.
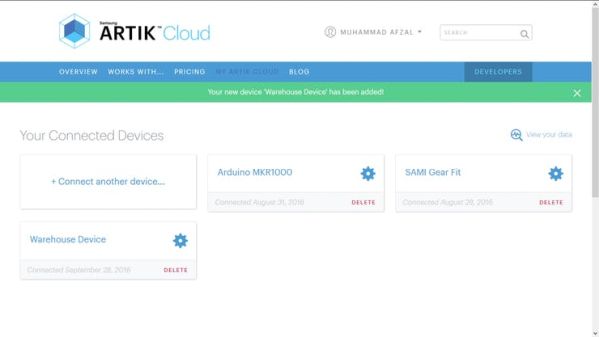
9- Click on “Warehouse Device” Setting Icon to get the Device ID & Device Token. For Device Token first time you need to click on Generate Device Token.
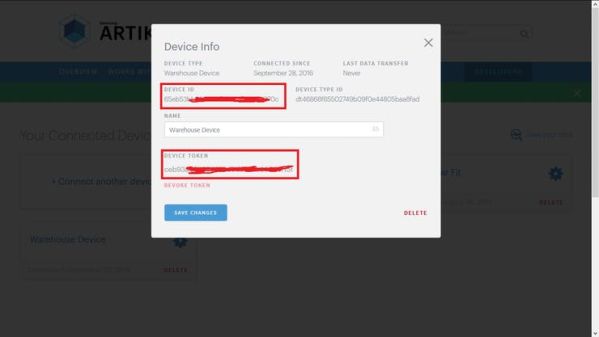
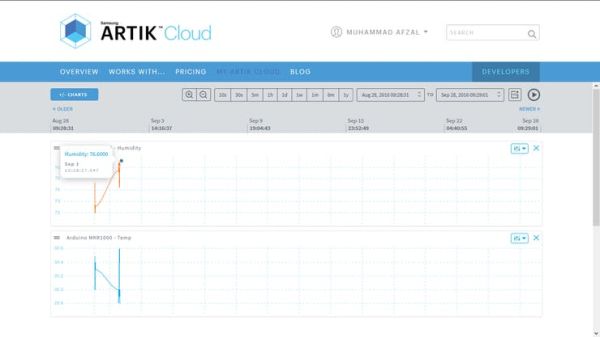
10- Now Device setup has been completed you can use Device ID & Device Token in your Arduino Code and start streaming your data to Artik Cloud but from where we can view the streamed data hmmm. for you need to click on “Warehouse Device” and you can see the live result & old result by changing the date & time.
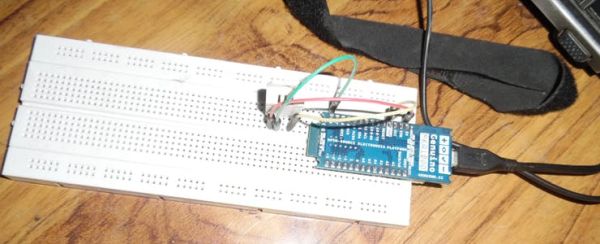
This picture will show the Arduino MKR1000 & DHT22 device connection. if you already not familiar with DHT22 & Arduino please read the Temperature Monitoring With DHT22 & Arduino Article
Below video will also demonstrate the complete Artik Cloud setup and device connection.


