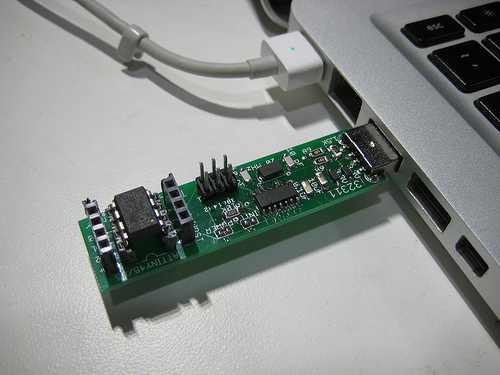
This tutorial shows you how to program an ATtiny45, ATtiny85, ATtiny44 or ATtiny84 microcontroller using the Arduino software. These are small, cheap ($2-3) microcontrollers that are convenient for running simple programs. The ATtiny45 and ATtiny85 have eight legs and are almost identical, except that the ATtiny85 has twice the memory of the ATtiny45 and can therefore hold more complex programs. The ATtiny44 and ATtiny84 have 14-legs and more inputs and outputs. Thanks to Mark Sproul for his work on making the Arduino core portable across processors.

ATtiny45/85 vs. an Arduino Board
The ATtiny45 or 85 is a great option for running simple Arduino programs: it’s small, cheap and relatively easy to use. It does, however, have some limitations relative to the ATmega328P on an Arduino Uno. There are fewer pins, meaning you can’t connect as many components. There’s less flash memory (4KB or 8KB instead of 32KB), meaning your programs can’t be as big. There’s less RAM (256 or 512 bytes instead of 2KB), meaning you can’t store as much data. And there’s no hardware serial port or I2C port (Wire library), making communication trickier. (There are workarounds, like the SoftwareSerial library or the TinyWire library, but they’re not as robust and flexible.)
In short, then, if your project requires only a few simple inputs and/or outputs, you’re probably fine using an ATtiny. If you’re trying to hook up more components or do more complex communication or data processing, though, you’re probably better off with something like the ATmega328P on an Arduino Uno. If you want something smaller and cheaper than a full Arduino board, you might try using an ATmega328P on a breadboard instead.
For More Detail: Programming an ATtiny w/ Arduino 1.6 (or 1.0)
