Do you ever get frustrated trying to park in just the right spot?
Have you gotten tired of using a tennis ball as a guide?
Is it time for something a little smarter?
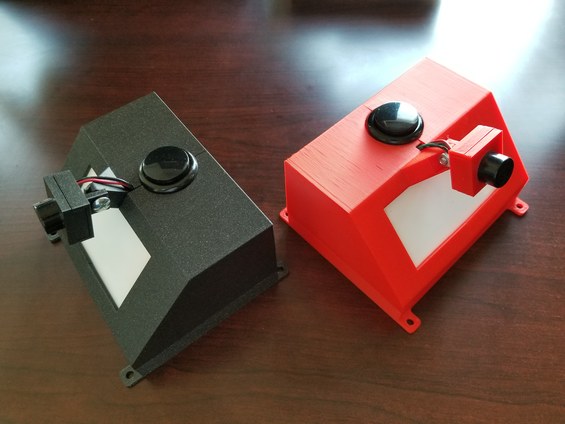
Now you can upgrade your garage with an Ultrasonic smart parking assistant that has a large LED indicator to let you know when it is time to stop.
Supplies
I get a commission on purchases made through some of these links:
https://amzn.to/2HgloAu Arduino Uno
https://amzn.to/33Kn5Oc Arcade buttons
https://amzn.to/2FNcJ82 16 foot USB cable
https://www.adafruit.com/product/1621 White LED Backlight Module
https://www.adafruit.com/product/979 Maxbotix Ultrasonic Rangefinder – LV-EZ0
Step 1: The Parts
This project is fairly simple. The only skilled part is some soldering.
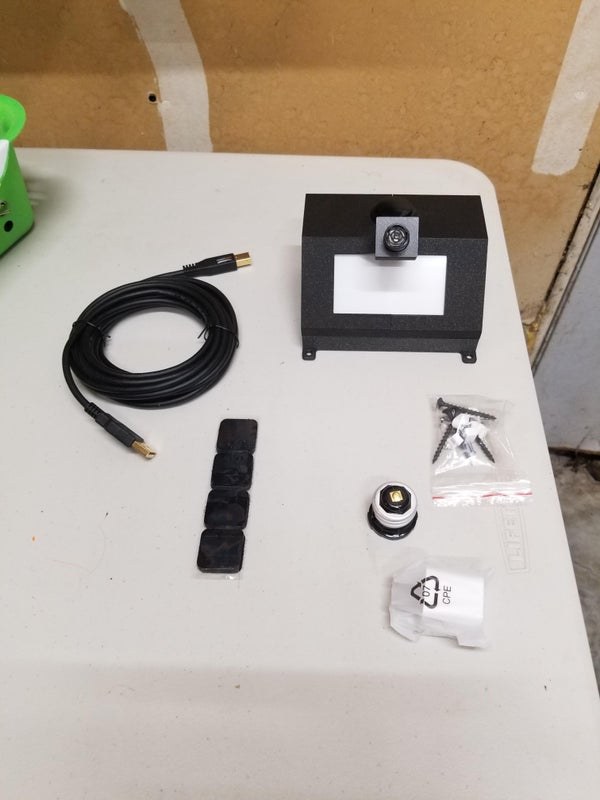
The electronics you’ll need are:
- An Arduino Uno
- An Arcade style button of about 1.25 inches in diameter
- A Large rectangular White LED I got from Adafruit
- And a Maxbotix Ultrasonic sensor that I also got from Adafruit
3D printed parts:
- I designed have published at thingiverse: https://www.thingiverse.com/thing:4601418
- Fully printed it is about 115 grams of filament
Don’t forget to pick up:
- 4 screws to mount your Arduino to the housing
- A #8 nut and bolt, half inch long or 12mm
- 4 dry wall screws or strong double sided adhesive to mount to ceiling
- A long 16 ft USB A to B type cable
- A USB AC wall charger
- Some red, black, and green solid core 22 gauge copper wire
- An optional light socket to outlet adapter
By having the light socket adapter you can have the device only turn on when your garage opens. It then automatically turns off when your garage light goes out in a few minutes.
Step 2: Putting It All Together
Disclaimer – I will not be responsible for any damage you may cause related to this device. Having said that, I do run 2 of these in my 2 car garage and rarely have trouble.
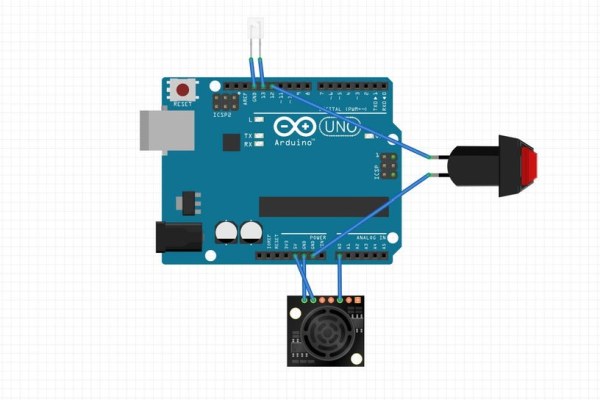
See the electronics layout in the picture above of what we need to do.
Download the code for the Arduino from this link on github: https://github.com/vincestechshop/parking-assistan…
Load the code on to your Arduino. Here is a link to Arduino’s own tutorial on how to load code on an Arduino https://www.arduino.cc/en/Guide/ArduinoUno if needed.
Cut and strip the ends of wires to these lengths
- LED Red 1 wire 16 cm / 6 inches,
- LED Black 1 wire 16 cm / 6 inches,
- Sensor Red 1 wire, 20 cm / 8 inches
- Sensor Black 1 wire, 20 cm / 8 inches
- Sensor Green 1 wire, 20 cm / 8 inches
- Button Green 2 wires, 20 cm / 8 inches each
Solder the LED wires to the LED. Remember, red for the longer lead.
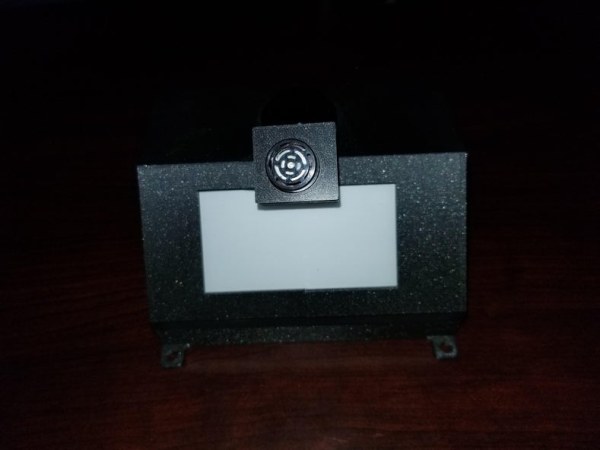
Solder the 3 wires to the sonic sensor. See the picture of the green sensor for where the wires need to be.
Solder the button wires to the button.
Cool, now lets plug them in like this:
- Secure the arduino with screws to the base housing plate.
- Run the LED wires through the holes built in to one half of the top part of the housing. The red wire goes in 13 and black to GND. Note that the Arduino has a resistor built in to pin 13 already to make the very common task of plugging in an LED that much easier.
- Run the sensor’s 3 wires through the hold in the round hole in the sensor housing. Run the 3 wires in the notch for them to access inside the main housing. The sensor’s red goes to 5v, GND to GND, and AN to A0 (Analog) on the arduino
- The Button connections go in pins 12 and GND
Step 3: The End
As you have seen, this is a pretty simple device. The only thing left to do is mount this to the ceiling and run a power connection to either an outlet your light socket in your garage door opener. I use a long USB cable to a USB to outlet brick, that plugs in to a light socket outlet. This makes for a pretty cool automatic power on only when its needed, as the light socket in my garage door opener comes on when the door opens and says on for a couple minutes.
See it in action and watching me build one in this video:
Source: Parking Assistant Arduino Project