
Summary of MKR1000 Christmas IoTree with Cayenne Project Builder
This project automates a Christmas tree using two Arduino MKR1000 boards to control lights and detect motion. One board acts as an ornament on the tree with a PIR sensor, while the other sits on an office desk to trigger an alarm light and send text alerts when movement is detected. The system uses myDevices Cayenne for scheduling lights at sunrise/sunset, managing triggers, and handling notifications via an IP camera.
Parts used in the Automated Christmas Tree Project:
- Arduino MKR1000
- PIR Motion Sensor (generic)
- Jumper wires (generic)
- Relay (generic)
- IP Camera
- Alarm Light
Automate your Christmas tree and get notified when motion is detected around the tree!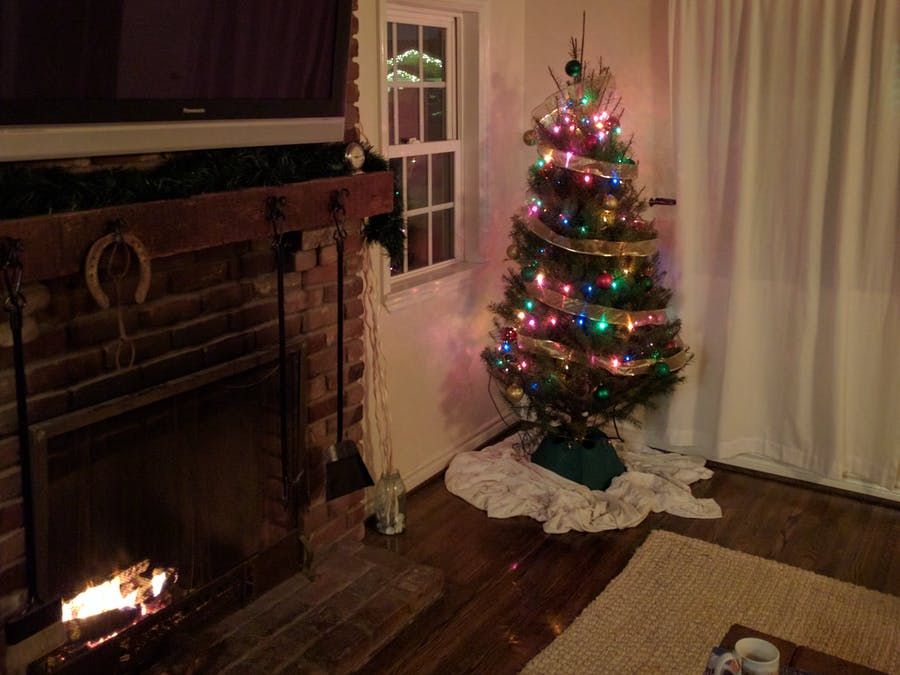
Things used in this project
Hardware components |
||||||
 |
|
× | 2 | |||
 |
|
× | 1 | |||
 |
|
× | 1 | |||
|
× | 2 | ||||
Software apps and online services |
||||||
 |
|
|||||
 |
|
|||||
Story
Overview
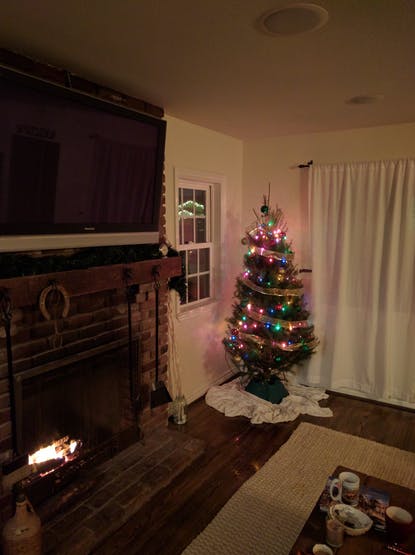
I wanted to automate various aspects of my Christmas tree, namely the lights. I also wanted to know if there is any activity around the tree. This could include someone peeking too early at a present, or even when Santa Claus arrives. I have an IP camera pointed at the Christmas tree so I can view the activity when motion is detected.
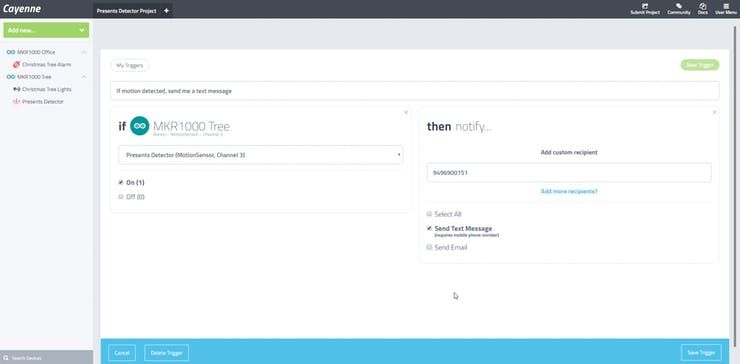
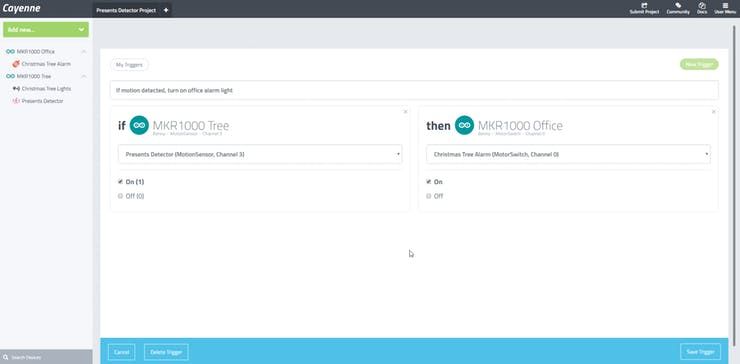
One MKR1000 is location on the Christmas tree (it looks like an ornament!) and the other MKR1000 is located on my office desk. The MKR1000 on my office desk will turn on an alarm light if motion is detected by my Christmas tree at home. I will also receive a text message when motion is detected.
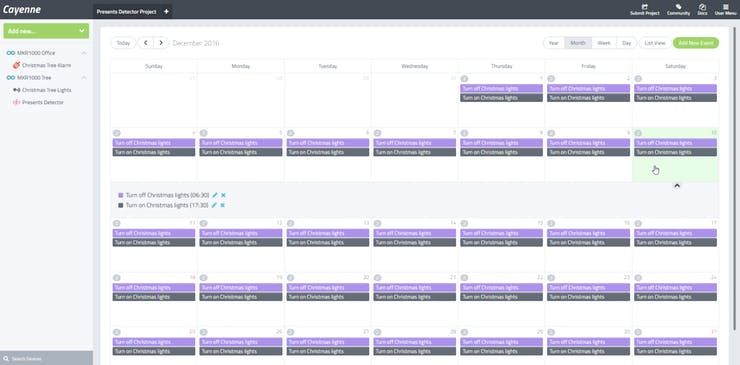
I used the MKR1000 and Cayenne Scheduling to turn my Christmas tree lights on at sunrise and off at sunset.
I used an Arduino MKR1000 with Cayenne IoT Project Builder. Cayenne handled all of the automation, trigger events, scheduling, and text message notifications used in the project.
Here is an overview video I created:
Arduino MKR1000 Automating Christmas Tree Using Cayenne
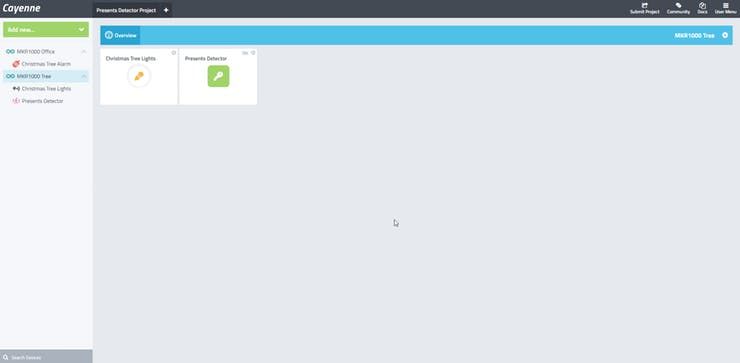
Cayenne Web Dashboard:
Scheduling Christmas Lights
MKR1000 Triggers and Notifications
Christmas IoTree Setup:
Code
-
How can I automate the timing of my Christmas tree lights?
You can use the MKR1000 and Cayenne Scheduling to turn your Christmas tree lights on at sunrise and off at sunset. -
Can this project notify me if someone approaches the tree?
Yes, the system detects motion around the tree and will send you a text message when activity is detected. -
Does the system support viewing activity remotely?
An IP camera is pointed at the Christmas tree so you can view the activity when motion is detected. -
What happens if motion is detected by the Christmas tree?
The MKR1000 located on your office desk will turn on an alarm light to alert you. -
Which software handles the automation and trigger events?
Cayenne handled all of the automation, trigger events, scheduling, and text message notifications used in the project. -
How do I configure the code for the MKR1000?
You copy the example sketch into the Arduino IDE, input your user auth token, and set your WiFi credentials before compiling. -
Is the relay component difficult to install?
No, it is described as a really easy relay to use that is plug and play. -
Where should the second MKR1000 be located?
The second MKR1000 is located on your office desk to receive signals from the tree.
