I have been designing and building a robot.
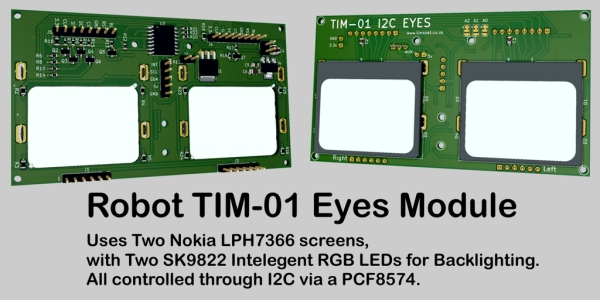
It got to the stage where it was time to do a head for it, but before I did the head I needed to design some Eyes for it using the Nokia screens found cheaply on eBay.
There was certain criteria I wanted this project to meet. One of the criteria was that I wanted to control the eyes via I2C (Two Wire).
This instruction is on how to make the prototype, before making the PCB you see above.
Supplies
Some things needed are:
2 x Nokia Screens.
1 x PCF8574 I2C GPIO Expander.
1 x Breadboard with a selection of Connecting wires. (I recommend having an 830 version)
1 x Arduino setup, UNO or NANO.
2 x ribbon cable (FFC).
Some 2.54mm headers.
2 x 4 way Bi-Directional Logic Level Shifters
2 x 100nF Capacitors’ (104)
2 x 270 Ohm Resistors. (red, purple, brown) can be lower.
Step 1: Nokia Screens
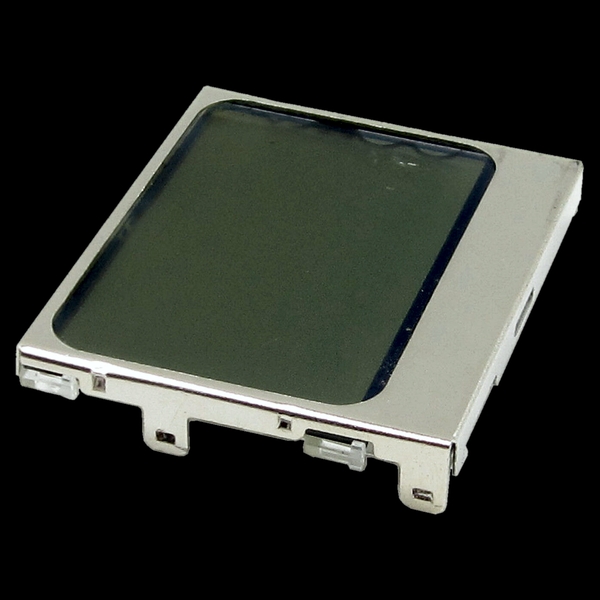
There are two types of Nokia Screens available.
You can get them on a breakout board or loose on there own.
The screens are not the same, you can’t fit one supplied loose to the breakout board of the other.
One has 8 pins (spring contacts) and one has 9 pins (Zebra Strip).
As I was eventually going to make my own PCB, I went for the cheaper option and got screens without the breakout board.
Step 2: Connecting Screens to Breadboard
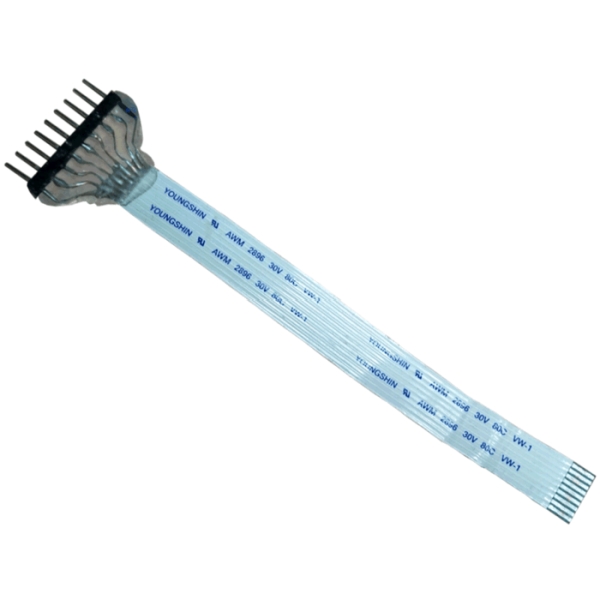
As I got the screens without the breakout board, I needed a way to connect them to the Breadboard.
To do this I used ribbon cable (FFC) that has nine tracks with a 1mm pitch. It is the type you find in Flatbed scanners and printers.
At one end I used scissors to separate the cables. I just used the heat of the soldering iron to remove the plastic insulation when soldering the cables to the header pins. (plenty of flux)
I then set that end in UV Resin to hold things in place.
I then made a holder on my 3D printer to hold the cables in place.
But any sort of clamp to hold them in place will do.
Step 3: 3D Printed Holder
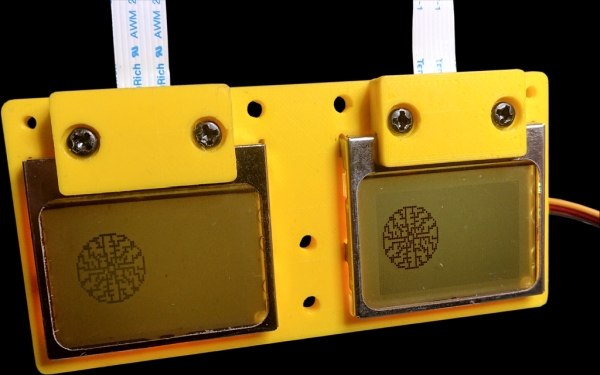
If you have a 3D printer here are the STL files to make one.
4 x M3x10 Pan head flat tail self tappers will be needed.
Step 4: Connecting Screens to Arduino
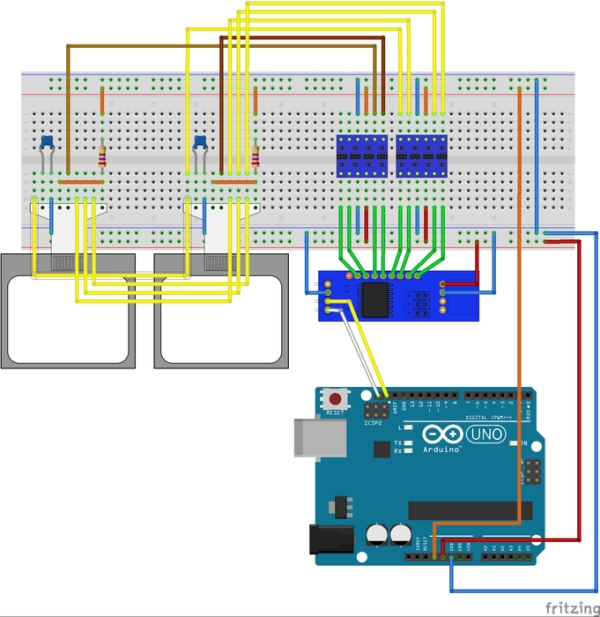
I have done a fritzing to aide connecting the screens to Arduino.
I have made some fritzing components, they should be included with the fritzing file.
In the fritzing Schematic you will see that I have identified each pin of the Screens.
If you would like to do this with the Screens sold on a breakout board, then OSC is not needed. Also VOUT and capacitors’ are not needed, as the capacitors will be on the breakout boards.
Step 5: A Template to Make It Look Cool
I cut out a piece of paper to make it look better.
I have attached a DXF drawing of what I made.
Step 6: Adding the Code to the Arduino
To make things easy and because I will be making this into a module, I have made a library for this setup.
I have put the Library on GitHub.
Download the Zip.
Un-Zip the file. (should create a folder)
Inside the folder there should be another folder with all the files in.
Place this folder inside your Arduino Library Folder and rename the folder “Tims_I2C_Nokia_Eyes_Library”.
If you have Arduino IDE running you will need to restart the IDE.
To use the library you will need to include:
#include <Wire.h>
#include <Tims_I2C_Nokia_Eyes.h><br>
In your sketches.
Step 7: Example Code
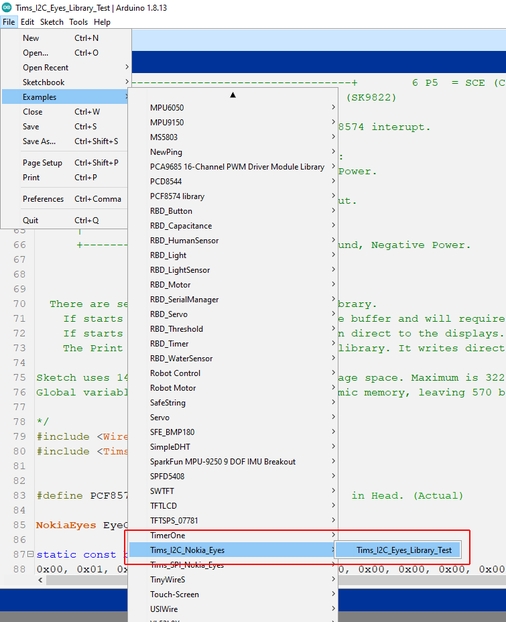
If the Library has been installed correctly:
In the Arduino IDE select “File” (top left). Select “Examples”. Scroll to “Tims_I2C_Nokia_Eyes”.
Select “Tims_I2C_Eyes_Library_Test”
This should open a new IDE window with the code to test the Nokia Eyes setup.
Upload it to the Arduino NANO or Arduino UNO.
If you look at the functions in the sketch you will get an idea of how to use the library.
There are several types of command in my library.
- If starts with Buffer_??, this alters the buffer and will require the command PCD8544_UpdateDisplay to display any changes to the buffer.
- If starts with PCD8544_??, this is written direct to the displays.
- The Print command uses the Arduino Print library. It writes direct to the screens, the text position will need to be set first.
Step 8: Me Rambling On
This is a video of the prototype with the test sketch running.
Step 9: After a Successful Prototype
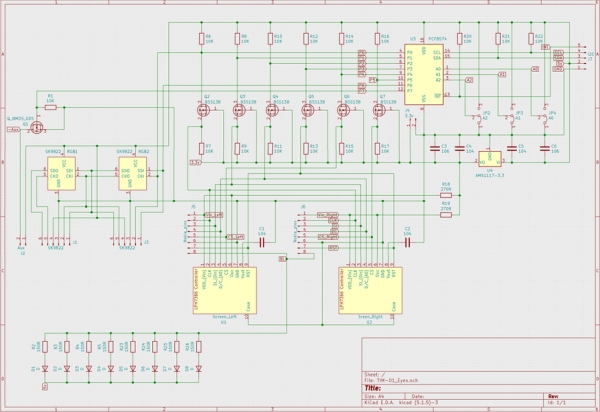
The next step after a successful prototype is to make it into a module.
This instruction was just to show making a prototype with the Arduino.
If you would like to make the finished Module I have shared the PCB at PCBWay.
Also more info can be found at my blog site.
Source: Making a Prototype With Arduino (TIM-01 EYES)
