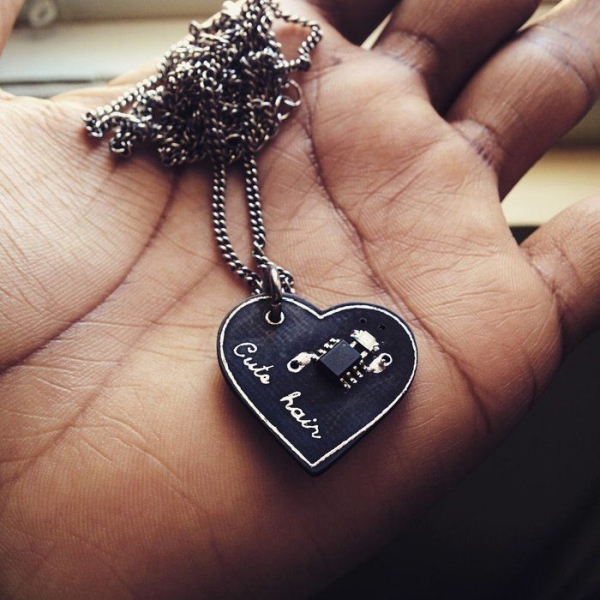
Love Spark is a heart-shaped pendant that blinks an LED every three seconds, I loosely based that on an incomplete psychology research by a friend that not-so-factually estimated that people thought of & interacted with their friends & loved ones every 3 seconds on average. So I guess I could say it’s not all just a fancy, blinky-blinky pendant. Every time that LED blinks, it reminds you how often you’re thought of by the people who love you and that’s a special feeling. Also, it’s an excellent conversation starter! Don’t think I could have cooked up a better Valentine’s day present for her in over a weekend.

Very minimum parts used, programmed using Arduino, the code looks just like Blink!
Parts required:
- ATtiny13 (replaceable with a Tiny25/45/85)
- Red SMD LED (1206/0805)
- 3V button cell (1220/1225)
- Cell holder (I made it myself)
- Dual layer copper clad (preferably fiberglass)
- SMD STDP switch (KPS-1290)
- Some craft skills + patience
- A valentine
- Lots of love
The last three parts are priceless, the rest cost me roughly 300 INR (~5 USD)
Step 1: Cutting & Shaping

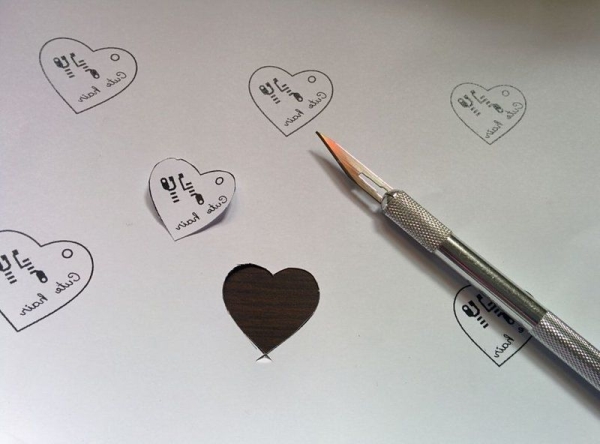
- Print the template, pick a desirable pendant size and cut it out.
- Trace the heart-shaped outline on the copper-clad using the paper template.
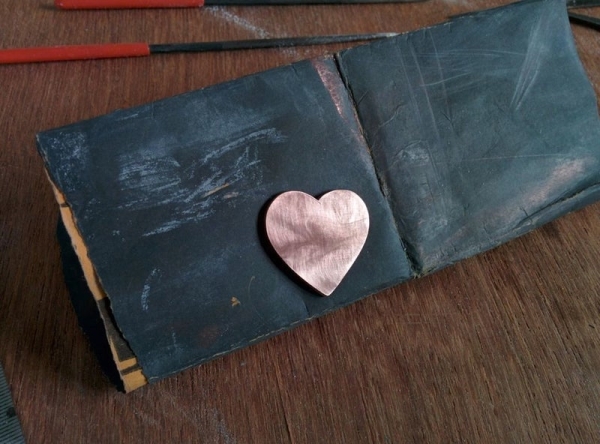
- Make a crude cut out the board with a fine hacksaw or a coping saw.
- Finish off the bare copper-clad with some fine-grit sandpaper & files into a nice heart shape.
Step 2:

I masked the PCB using the toner transfer method on one side and permanent marker on the other side and etched using Ferric Chloride solution. Although, now I’d prefer the hydrogen peroxide solution after staining my shirt.
You can find the PCB template in the Download link on the last step, download it and print it on a laser printer. For the rest of the how-to, there are tons of Instructables on how to etch PCBs at home, most of those articles do a better job of explaining the process than I ever could.
This Two-sided PCB using toner method by jmengel does an amazing job of explaining the process.
Step 3: PCB Mask, Soldering & Programming

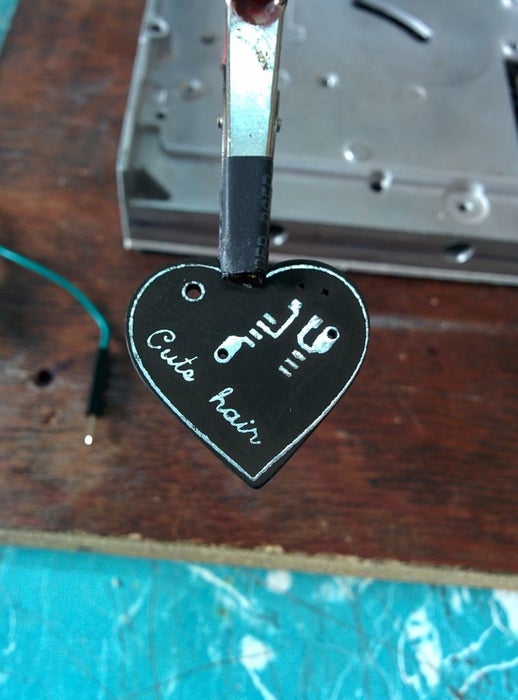
I’m not a big fan of the bare yellowish color of etched fiberglass PCBs, I did some searching on how to color homemade PCBs easily and came across this nice article. He uses fabric dye & I didn’t have any fabric colors laying around so I used some black hair dye, boiled the PCB in the dye-water mix for about 10 mins and the PCB was transformed!
Make sure your PCB traces are tinned before you dunk it in the hot dye mix or you’ll have to deal with the dye gunk when you apply the solder later.
Program the ATtiny, solder all components and you’re good to go!
This is my third prototype. The first one I tried to etch the top layer forgetting to mask the bottom layer and you know, there was nothing left of it. The second one, I messed up the switch circuit and soldered the ATtiny13 in the wrong orientation, really really silly mistakes. The third one, the most beautiful etched PCB in my DIY history, it was all worth it.
In all, It cost me four LEDs, three microcontrollers, two switches, ferric chloride stains on my favorite shirt and a weekend hidden away in my workroom, she better like it!
In case you’re wondering why cute hair!
DIY files: DOWNLOAD
This whole project could be pulled off with a simple 555 timer IC and a few discrete components, but I took the microcontroller route because I hadn’t really worked on anything beyond the breadboard prototypes with Arduino.
If you end up making one yourself, do share it, I’d love to see your build! Good luck.
Source: Love Spark
