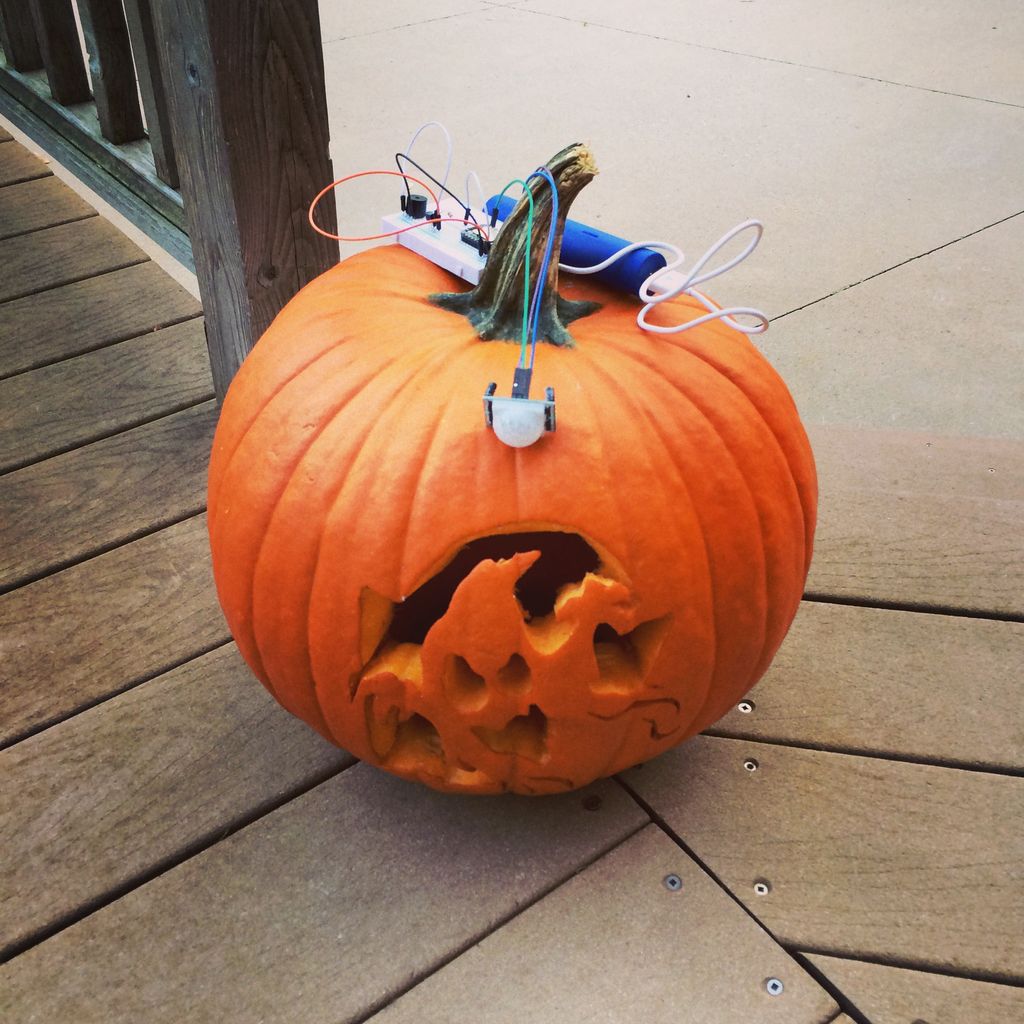
This was originally going to be a tutorial on how to hook up a pumpkin to the internet so that the lights inside it could be controlled via twitter, text message, motion or more.
To get started I carved a pumpkin for the first time in 20 years. Needless to say I was proud of the results. I set it out on my deck here in Minneapolis to await the addition of a Core the next day.
However, my neighborhood squirrels were evidently in the mood for pumpkin that night because within 24 hours my pumpkin masterpiece had been destroyed.
Thus was born: The Jack’o’Lantern Squirrel Early Warning System.
(also known as a fun way to bring hardware and the interwebs into your Halloween)
**Huge thank you to my friend and colleague David for helping me out with this!
Step 1: Gather your supplies
Carving tools
Garbage collector (this may just be a paper bag but seriously, it’s important)
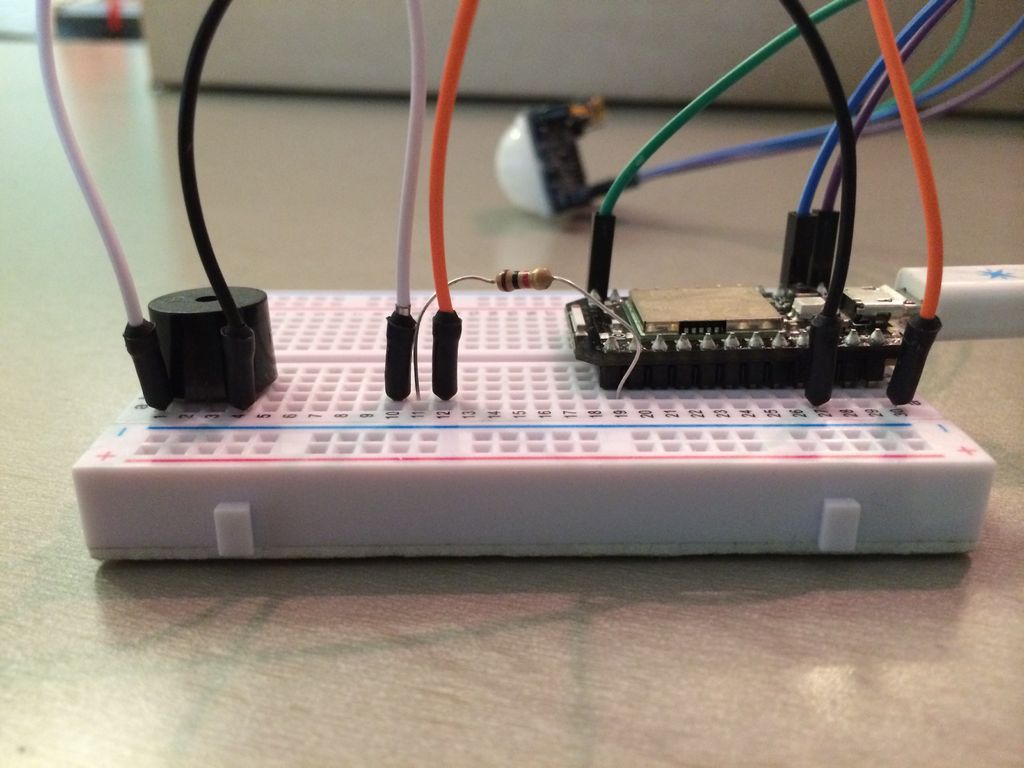
Spark Core + breadboard + usb cable
6 – Jumper Wires (6)
1 – PIR sensor (link is for similar sensor as the one used in the project)
1 – Piezo Buzzer
1 – 1K Ohm Resistor (order of lines on resistor = brown-black-red-gold)
1 – NPN Transistor
1 – USB Power Bank
I got a bunch of this stuff from a Spark Maker Kit we had at the office, but you can also order parts via Adafruit, MakerShed or SparkFun. Pumpkin and carving kit were purchased at my local grocery store Kowalski’s.
Step 2: Carve a pumpkin
Most of you have carved a pumpkin before, and there are other awesome Instructables specifically about this so I won’t go into much detail. Technically you could make this without a carving but to attract the squirrels you want to make sure they can smell the pumpkin 🙂
I originally bought that $5 carving kit as a joke – but honestly it’s kind of awesome. I’d like to say my artistic sensitivities allowed me to craft both pumpkins but really it had a lot to do with tracing and just general perseverance.
After spending several hours gutting and then carving your pumpkin it becomes a lot more evident why it’s upsetting when a squirrel eats it only minutes after you’ve finished.
Step 3: Set-up your Spark Core
1. Set-up your Spark account – You can either set one up via the Spark Core app on your phone (set-up screen is pictured above) or visit spark.io/build which is where you’ll be writing your code later on.
2. Connect your Core – You can follow instructions found here: http://docs.spark.io/connect/
3. Name your Core – This is an important step. Do you want to go for a pumpkin or squirrel pun? A frightening name to scare off pesky squirrels? Maybe a simple nod to Doug from UP? I went simple and chose “apumpkin” – partially out of laziness and partially because I had already overextended my wit trying to come up with pumpkin tweets.
For more detail: The Jack’O Lantern Early Warning System using Arduino


