
Summary of Holiday Wreath Automation
This article details a DIY project to automate a holiday wreath using an Arduino MKR1000. The system features programmable NeoPixel lights, a piezo buzzer for holiday tunes, and motion detection via a PIR sensor. Users can control the lights through a web interface and receive SMS or email notifications when visitors arrive using IFTTT integration.
Parts used in Holiday Wreath Automation:
- Arduino MKR1000
- NeoPixel strip
- Buzzer
- Breadboard (generic)
- Jumper wires (generic)
- Li-Ion Battery 1000mAh or Lithium Ion Polymer Battery 3.7v 1200mAh
- PIR Motion Sensor (generic)
- Zip ties
- Electrical tape
- 3D Printer and STL files
- Soldering iron
- IFTTT Maker service
Automate your holiday wreath using an Arduino MKR1000, NeoPixels, and a buzzer. Get notified via SMS/email when someone is at the door.
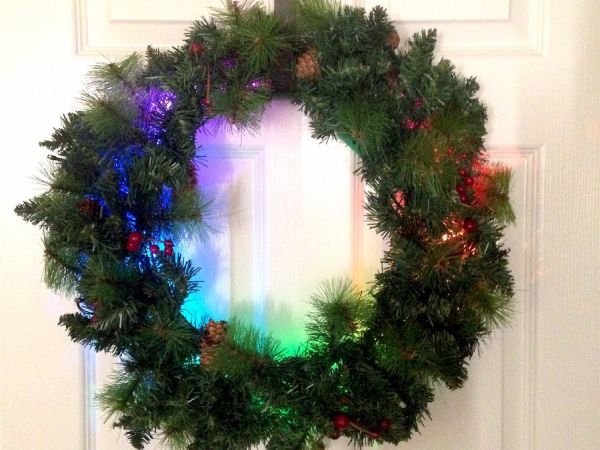
Things used in this project
Hardware components |
||||||
 |
|
× | 1 | |||
 |
|
× | 1 | |||
 |
|
× | 1 | |||
 |
|
× | 1 | |||
 |
|
× | 1 | |||
 |
|
× | 1 | |||
 |
|
× | 1 | |||
Software apps and online services |
||||||
 |
|
|||||
 |
|
|||||
Hand tools and fabrication machines |
||||||
 |
|
|||||
 |
|
|||||
Story
Here is a great way to modify and add that extra wow factor to your holiday wreath that hangs outside your front door! This your cousins and neighbors will appreciate and admire when they visit you for the holidays.
For this project, you can keep it simple or go all in implementing all the features:
- Add Neopixels to the wreath, which are going to be controlled by a web app hosted on the Arduino MKR1000.
- Then add a Piezo buzzer to play your favorite holiday tune.
- Add a PIR sensor to detect motion in front of the door; this will trigger the NeoPixels on the wreath and play a tune.
- Send yourself an email/SMS, so that you can get to the door as soon as possible and not miss out on a group of carol singers.
Follow the steps below to automate your holiday wreath.
Add the Neopixel strip to the Wreath
Using zip ties, secure the Neopixel strip to the back of the wreath as shown in the pictures below.
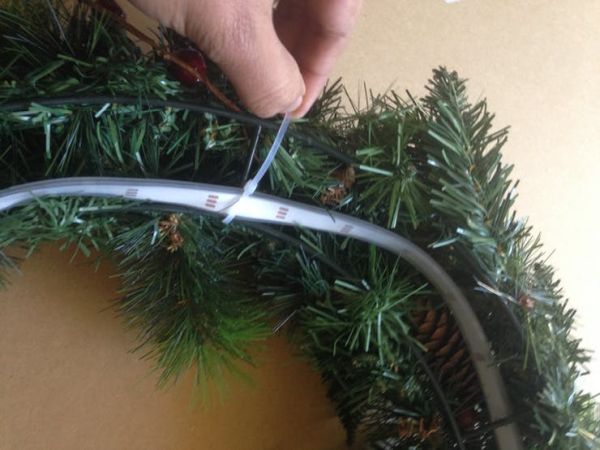
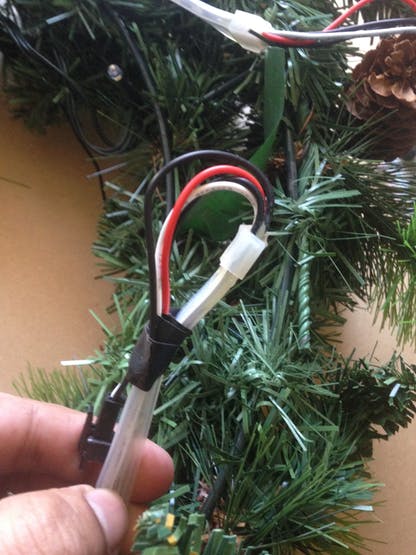
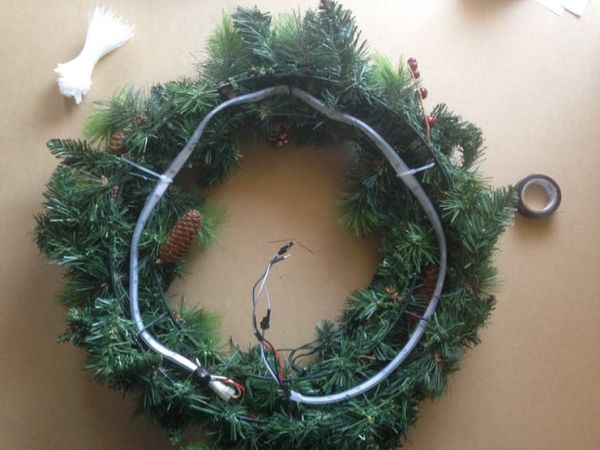
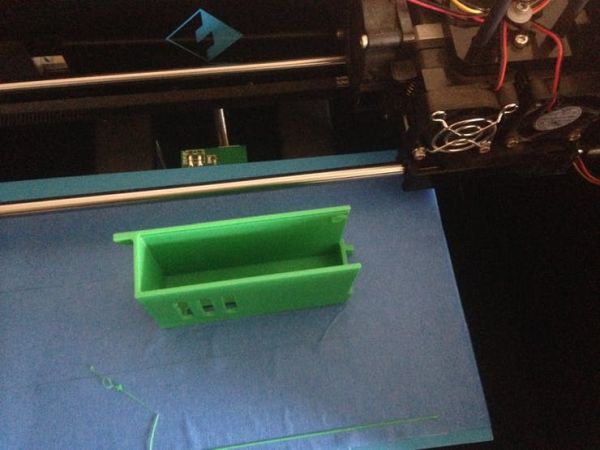
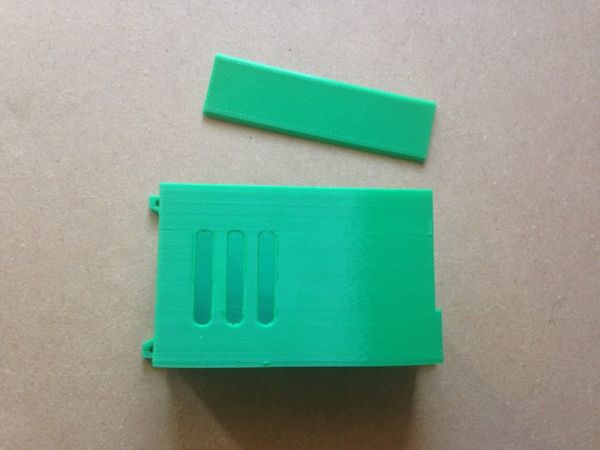
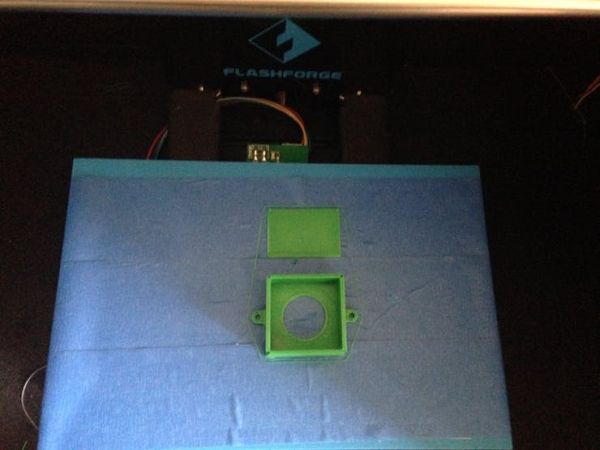
3D print the STL files attached
3D print the STL files attached below. In my case, I am using a Flashforge Creator Pro. Here are some suggested 3D printer settings:
- 0.3 mm layer height
- Fill density of at-least 25%
- Temperature -205 (in my case I am using Hatchbox 1.75mm Green PLA)
3D printing should take about 2 hours depending on you printer settings.
This is an optional step, but remember to build some kind of DIY enclosure for the breadboard to prevent short circuits.
Build the circuit
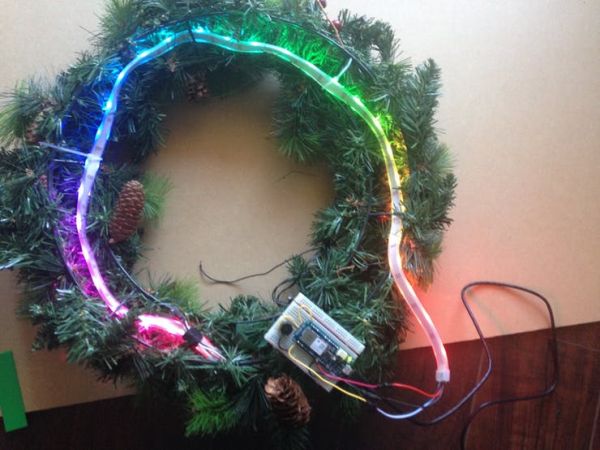
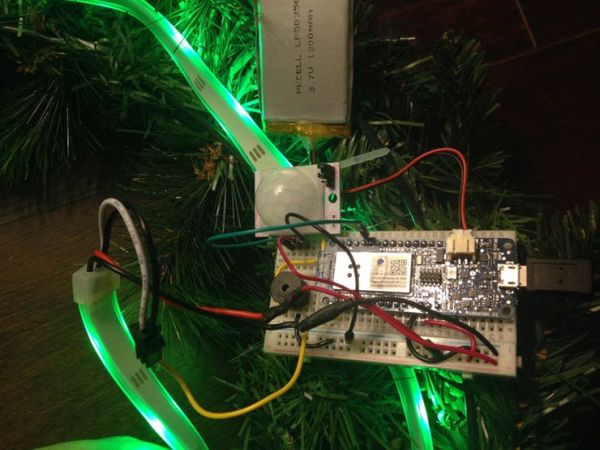
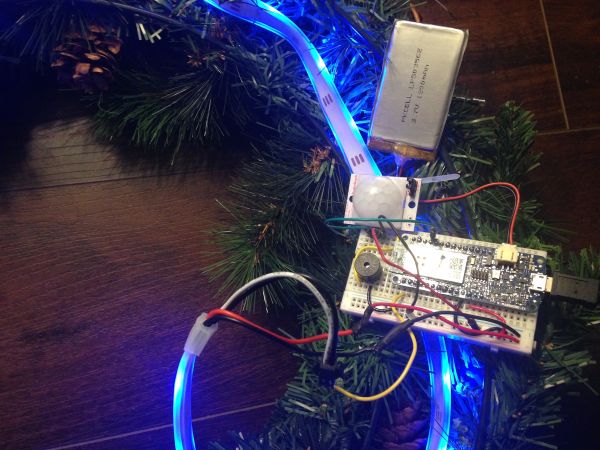
Add the Arduino MKR1000 to the breadboard. You may also have to solder breadboard wiring to the end of the NeoPixel strip to make the ends breadboard-friendly.
- Connect the NeoPixel to pin 6 of the Arduino MKR1000
- Connect the Piezo buzzer to pin 5
And if you plan on going with the advance setup:
- Use the PIR sensor connected to pin 2
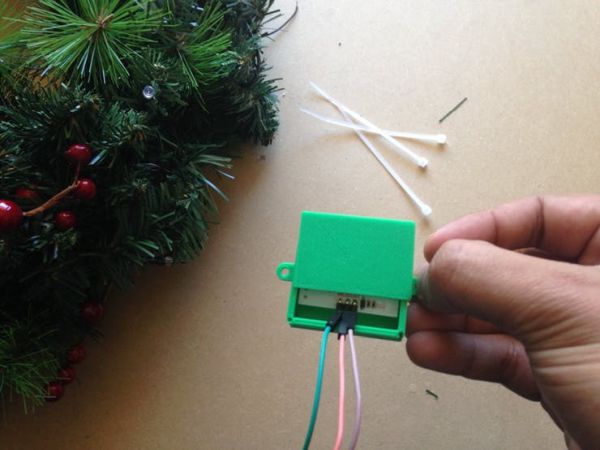
Add circuit to 3D-printed parts
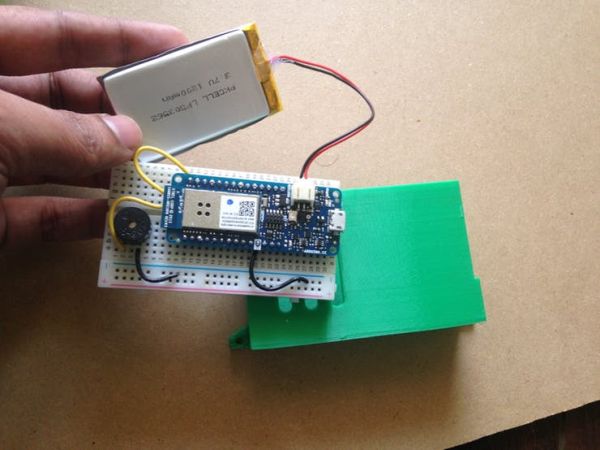
Connect the LiPo battery to the MKR1000 JST holder and cut the top +Ve and GND rail of the breadboard.
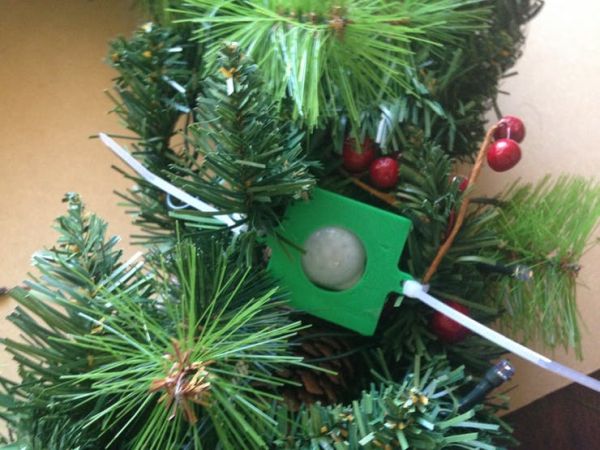
Re-connect Neopixel wires to the breadboard. Then add the breadboard and LiPo to the 3D-printed holder.
Then zip tie the 3D-printed part to the wreath as shown in the third picture below
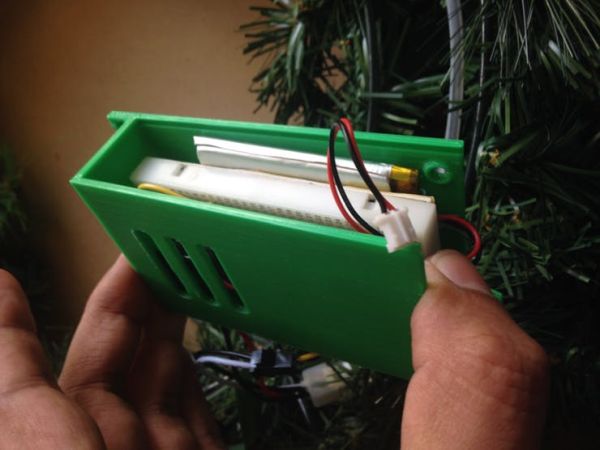
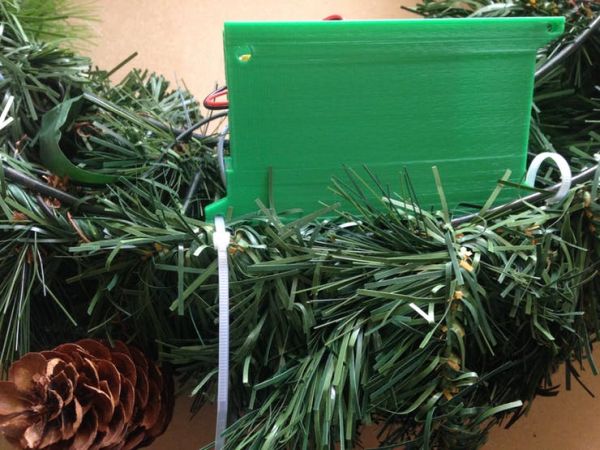
Upload the code
Before you upload the code to the Arduino MKR1000 using the Arduino IDE, you will have to download the following libraries as part of the Arduino IDE:
- Arduino SAMD Board(32-bits ARM Cortex-MO+) by Arduino
- NeoPixel by Adafruit
As the code is uploaded to GitHub, you have multiple options for the basic setup.
- If you just have Neopixel use the .ino file – HolidayWreath_onlyNeoPixel.ino.
For the code, update your WIFI router name and password, and make a note of the IP address from the serial monitor of the Arduino IDE. To control the Neopixel, use the IP address in your browser from your laptop/mobile device as shown in the picture below.
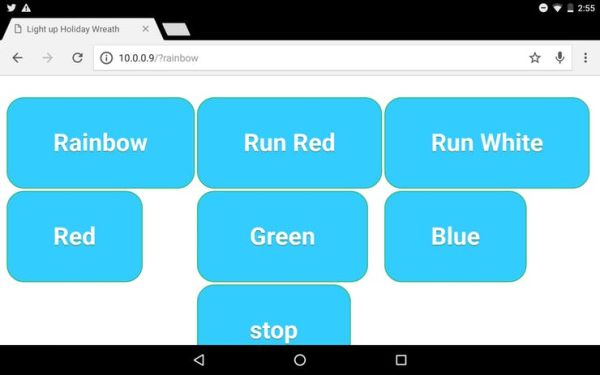
- If you want to add a Piezo buzzer to trigger a tone and change the color via the web app (as shown in the first section of video above when the “Red” button is clicked), use the file HolidayWreath_NeoPixel_Piezo.ino.
- If you want to trigger the tone automatically when someone is in front of the door/wreath, use a PIR sensor to play a tune while folks wait at the door to keep them entertained. Use the code: HolidayWreath_addedPIR.ino.
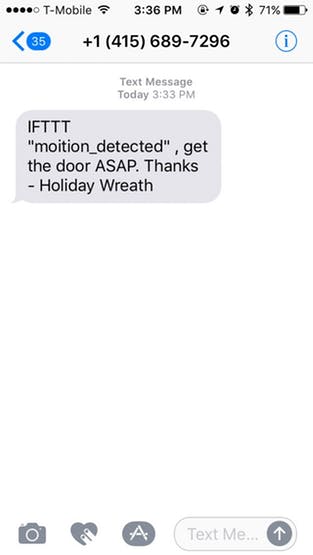
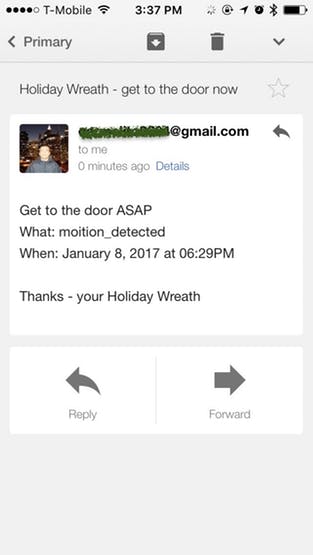
- In addition, if you want to receive an email or SMS to be notified when you have someone at the door, follow the section below to set up recipes on IFTTT.com using the maker service. And upload the code file: HolidayWreath_NotificationIFTTT.ino to the Arduino MKR1000.
Setting up Email/SMS notification using IFTTT
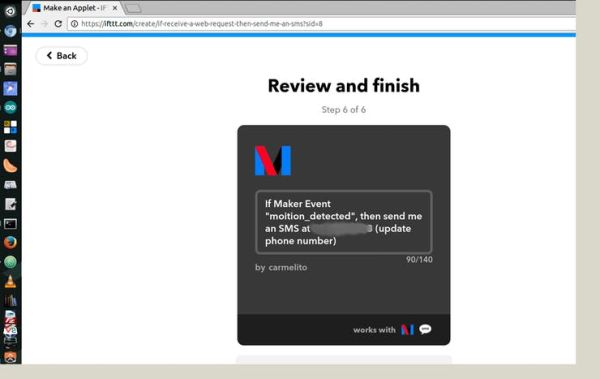
Login/create an account with IFTTT.com and then create a new applet.
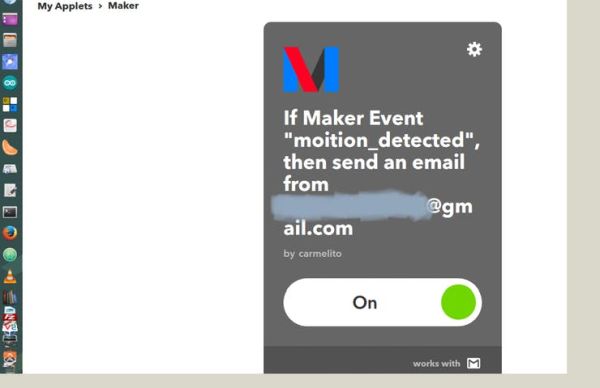
In the IF section, select Maker – which basically receives a web request from the Arduino MKR1000. For the process, you will be asked for an event name here. Type “motion_detected”.
And then in the THAT section, if you want to send a SMS, select SMS and add your phone number. Here a code will be sent to you to confirm your number and, once done, hit the create action button.
And if you want to send your send yourself an email, in the That section select email (in my case Gmail). Here you will have to enter your email, and you can edit the subject and body sections if you want to.
For the code, change the key section for the ifttt_motion_detected()function, which you can find the settings for here.
Custom parts and enclosures
Schematics
Circuit
Connect the Piezo buzzer to pin #5And if you plan on going with the advance setup
Use the PIR sensor connected to pin #2
Code
- How do I connect the NeoPixel strip?
Connect the NeoPixel to pin 6 of the Arduino MKR1000. - Can I play music with this project?
Yes, connect a Piezo buzzer to pin 5 to play holiday tunes. - Does the system detect visitors automatically?
Yes, a PIR sensor connected to pin 2 detects motion to trigger lights and sounds. - How do I receive notifications at the door?
Use the IFTTT Maker service to send SMS or email alerts when motion is detected. - What code file should I use for basic lighting only?
Use the HolidayWreath_onlyNeoPixel.ino file if you only have Neopixels. - How do I enable automatic sound and light triggers?
Upload the HolidayWreath_addedPIR.ino file to activate the tone and colors via the PIR sensor. - What libraries are required for the Arduino IDE?
You must download the Arduino SAMD Board library and the NeoPixel by Adafruit library. - How do I power the circuit?
Connect a LiPo battery to the JST holder on the Arduino MKR1000.
