Summary of Earth Globe Rotating With Arduino Or Raspberry Pi Controlled Stepper Motor using arduino
This article explains how to motorize a desktop globe using a geared stepper motor controlled by an Arduino or Raspberry Pi. It covers trimming the globe axis so the rotating plate sits flush, drilling the arm to accept a wheel axle, and mounting/gluing a wheel to drive the globe, with emphasis on staying on axis and using strong epoxy or removable hot glue. The result is a slowly rotating globe useful for demonstrations of day/night and seasons.
Parts used in the Globe Motorization Project:
- Desktop globe (example: Elenco 11 Desktop Political)
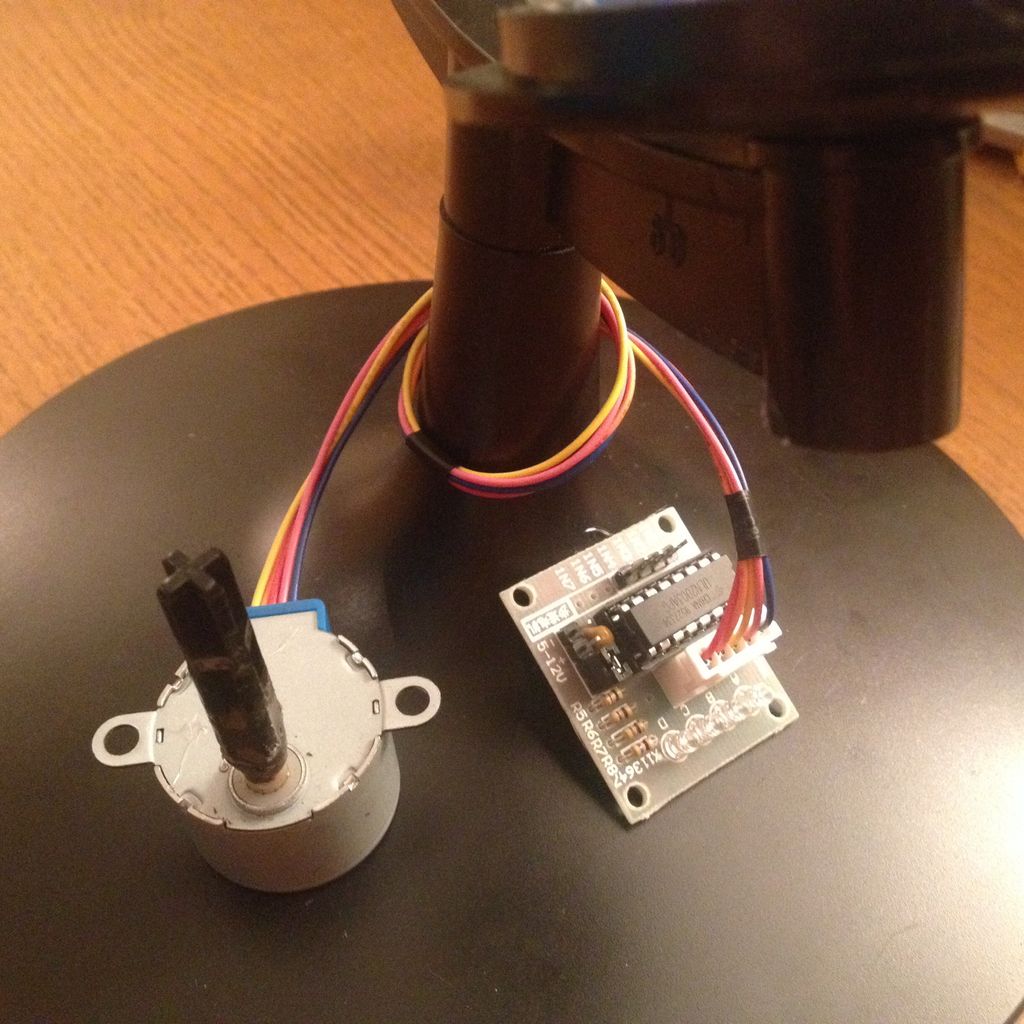
- Geared stepper motor with driver (example BYJ48 geared stepper)
- Arduino or Raspberry Pi
- Axle and wheel (e.g., from Lego or similar, ~1/4 inch axle)
- Drill and appropriate drill bits
- Saw or knife
- Hot glue (optional)
- Strong epoxy (example JB-Weld Kwik)
This instructable describes how to upgrade your globe to a motorized version. It looks amazingly better on the shelf when it is slowly rotating, and any demonstration with your kids (to explain the day/night cycle or the seasons) will gain in interest. No need to rotate the globe by hand while painfully holding the flash light with your teeth.

The instructions correspond to the various parts I had at my disposal so they may have to be adapted to yours. The needed parts are:
- a globe, the one I used is this one ($30) http://www.amazon.com/Elenco-11-Desktop-Political…
- a stepper motor + driver. This one is great because it is geared down conveniently for the kind of torque/speed we want ($6) http://www.amazon.com/gp/product/B00DUSYEWY
- an arduino or raspberry Pi (see link bellow)
- some axle + wheel from a lego box or such. The axle I use is ~1/4″ diameter and was a left over part from a kit, http://www.amazon.com/Thames-Kosmos-665068-Solar-M…
- various tools, such as a saw or knife, a drill, glue (hot glue is optional),…
- but you do want a very strong epoxy JB-Weld that sets in 4 minutes (explanations in step 4), such as this one http://www.amazon.com/J-B-Weld-8276-KWIK/dp/B0006O…
I will not describe the operation of the motor since it is very well done in this instructable: http://www.instructables.com/id/BYJ48-Stepper-Moto… you might want to check it out first since some of the steps bellow are better carried out if the motor is powered and rotating.
Step 1: Flush the globe axis with the rotating plate
This globe, rests onto a plate that can be taken out. Take it out. The large axis that protrudes has to be cut so that the plate will be flush with it when resting on its position. After you cut the axis (leaving 2-3mm of protrusion), place the plate back on its stand. It should rotate freely. If not, shave the small plastic fibers (left over from the cut) with a knife.
Step 2: Drill the base of the arm for your wheel axle
The globe axis that we just cut is actually hollow on this globe. But the hole is not circular and to small anyway for the wheel axle I have.
Find a drill bit with a diameter that corresponds to the wheel axle you have. If you have another one, slightly smaller, use it first. You want the drill to be well guided by the existing hole, and using the smaller drill bit may help you in this task. Also, be careful to not damage the plastic part by going to fast.
The most important part is to stay on axis. Do not drill if you are forced to be off axis. Prefer to drill from the top by bending slightly the globe arm away, it might actually guide you since the top part of the arm is precisely on the rotation axis.
Step 3: Glue the wheel in the plate
Set the wheel on its axle. then fit the axle into the hole through the plate. It should rotate freely, without much play.
At that point, you can glue the wheel in the plate. I used hot glue, just in case I would want to take the wheel back out, but a few drops of epoxy would do it.
For more detail: Earth Globe Rotating With Arduino Or Raspberry Pi Controlled Stepper Motor using arduino
- What is the purpose of cutting the globe axis?
To shorten the protruding axis so the rotating plate sits flush while still allowing free rotation. - How should I drill the arm for the wheel axle?
Use a drill bit matching the axle diameter, start with a slightly smaller bit for guidance, and drill slowly while staying on the rotation axis; consider drilling from the top with the arm bent slightly. - Can I use hot glue to attach the wheel?
Yes, hot glue can be used if you want the option to remove the wheel later; epoxy is an alternative for a stronger permanent bond. - What epoxy is recommended for bonding parts?
A strong quick-setting epoxy such as JB-Weld Kwik that sets in 4 minutes is recommended. - Do I need to power the motor during some steps?
Powering the motor while performing some steps can help, as the referenced stepper motor instructable demonstrates motor operation for easier adjustments. - How much axle should remain when trimming the globe axis?
Leave about 2–3 mm of protrusion after cutting the axis so the plate can rest flush. - What if the plate does not rotate freely after trimming?
Shave off small plastic fibers left from the cut with a knife until it rotates freely. - How do I ensure the drill stays aligned?
Use a smaller drill bit first to guide the drill in the existing hole and avoid forcing the drill off axis; drilling from the top may help alignment.