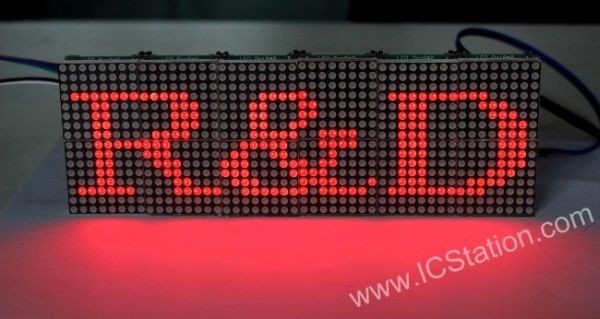
To satisfy electronic DIY hobbyists, ICStation has developed MAX7219 Dot Matrix Module. It uses the Max7219 chip which do a great job on saving of MCU I/O. It can not only control each point individually, but also can be extended without limitation to meet your requirements on LED Sign, Team Logo and so on.
What’s more, it’s controlled by the STM8S003F3 MCU with 1K data storge space which is low cost, low power consumption, very powerful.
Major Building Portions of Electronic DIY Kits:
1. The 12pcs of MAX7219 Dot Matrix Kits are ready
2. Decomposition the pin header
3. Welding the SMD and max7219 Chip
4. Welding the electrolytic capacitor
5. Welding the pin header
6. Assembling the PCB
7. Setup the Dot Matrix
8. Wire Connection
9. Power the Dot Matrix and testing with our Code
Components & Tools
Main chip: MAX7219
MCU: STM8S003F3
Tools:

Soldering Iron
Tweezer
Power Module
STM8S003F3P6 Development Board
ST-Link
Dupont Line
Copper Wire
Electrician Glue
Soldering Wire
Pin Header
Step 1: The 12pcs of MAX7219 Dot Matrix Kits are ready
If you’d like to do the same sign, you need to prepare 12pcs of the kits.
As the item is with STM8S003F3 MUC which the data storge space is 1K.
If you need to show more characters which is up to 1K, you can change the MCU which is with larger space. And please be noted that the MCU and Display Module should be powered seperately.
For more detail: DIY LED Sign with MAX7219 Dot Matrix Module
