Bored of keeping track of countless locks and their keys? How about using your own fingerprint to unlock each and every safe in your house, just like your Smartphone? Sounds cool, right? Let’s make an electronic Fingerprint locker that will keep all your secrets a secret from your enemies.
And not only one, but up to ten unique fingerprints can be added to the system, for you and the people you trust with your life. 😉
So, what are you waiting for? Let’s get started right away!
Step 1: Things You’ll Need:
- evive
- Optical Fingerprint Read Sensor
- Male to Male Jumper Cable
- Hinge
- Solenoid Lock
- Multi-Color RGB Lights
- Screw Driver
- M3 Bolts and Nuts
- Thick Cardboard
- Color Chart Paper
Step 2: Cut Outs Needed:
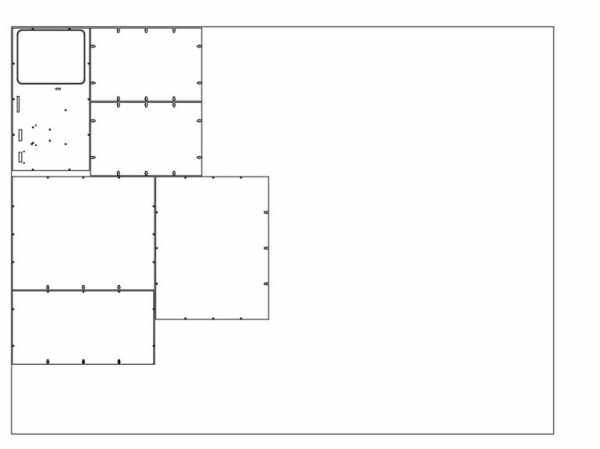
Take the cardboard and cut it in the given dimensions or you can laser cut MDF as given in the first image. The outer dimension is 1200 X 900 mm.
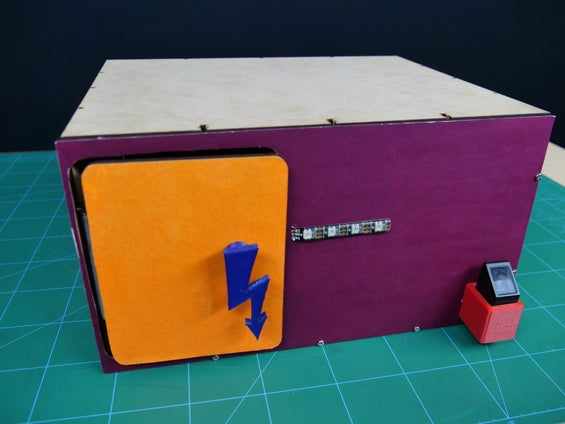
Step 3: Assembling the Base
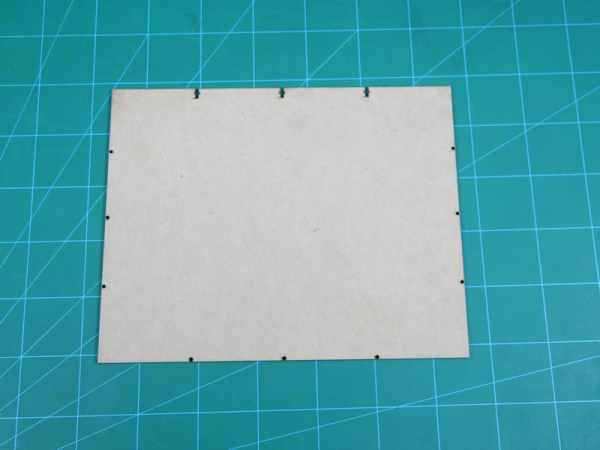
- Take the Floor Plate which is of size 250 X 315 mm.
- Using M3 bolt of 12 mm and M3 nuts attach the Left Wall i.e. one piece of 162 X 246 mm with it.
- Take the Door Plate i.e.the cut out of size 150 X 120 mm and stick any colored chart paper, to make it look attractive.
Step 4: Attaching the Door
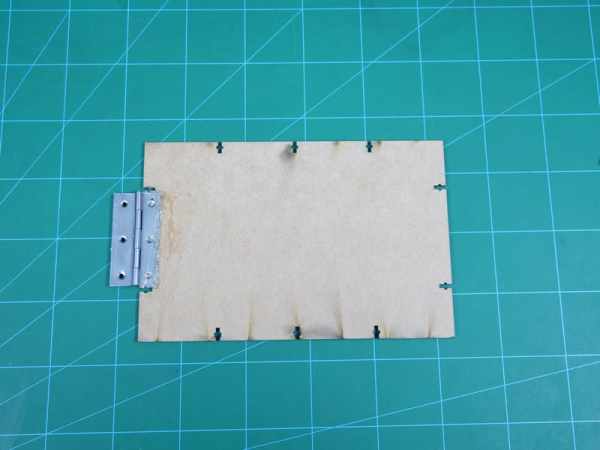
- Take the plate of the Right Wall i.e. the other piece of 162 X 315 mm and attach one side of Hinge using M3 nuts and bolts.
- Now, take the Door and attach it to the hinge as shown in the figure.
- Attach the Right Wall assembly to the base.
Step 5: Completing the Base

- Next, take the Front Wall of size 315 X 170 mm and cover it with the chart paper.
- Attach the Front Wall and Back Wall plate with the above assembly.
- As every door have handles or doorknobs to open it, we have made on handle 3D printed.
- Attach the handle to the door using Hot Glue.
- This was the structure of the safe it’s time to add the main components to make the safe work.
Want to make more 3D printed stuff? Now, whatever you design can come to life. Own a 3D printer now!
Step 6: Things to Know About Solenoid

- The Solenoid is nothing but a type of electromagnet. When the current passes through it, the magnet attracts the slot and thus pulling it back and opening the door. And when the current stops flowing due to the effect of spring the slot goes back to its original position by locking the door.
- Now, attach this solenoid lock to the edge of the door.
Step 7: Completing the Safe
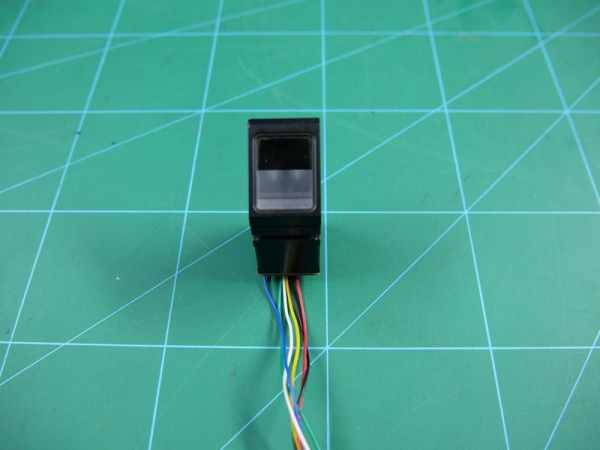
Coming to the main part of the project, i.e. connecting the Fingerprint sensor.
- For Fingerprint sensor, we have made a 3D printed holder. You can also make it using the cardboard.
- Glue the Fingerprint sensor on top of the holder.
- We will also use a small strip of RGB light for indication.
Thus, the assembly is now complete.
Source: DIY Electronic Locker Using Fingerprint Sensor