Set an alarm with MKR1000 and MKR Relay Proto Shield to turn a lamp on/off.

Things used in this project
Story
***Please use caution on this project, you will be working with 120 volts AC!***
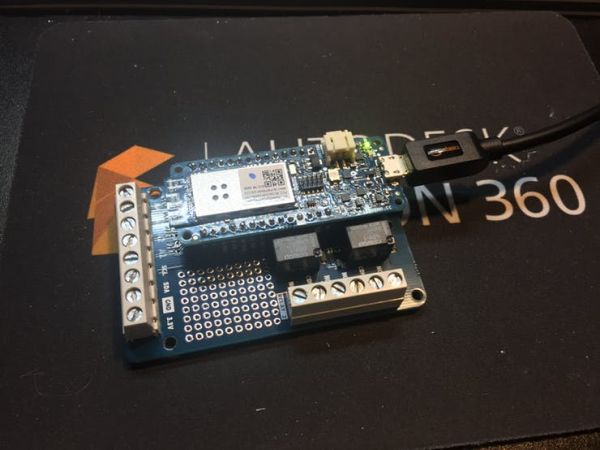
Using the MKR Relay Shield and the MKR1000 control a desktop lamp. This project is an extension of the MKR Relay Shield tutorial provided by Arduino.

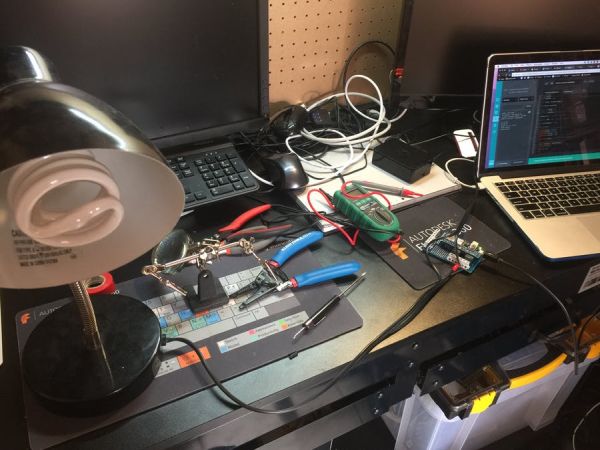
- First gather all necessary equipment and supplies.
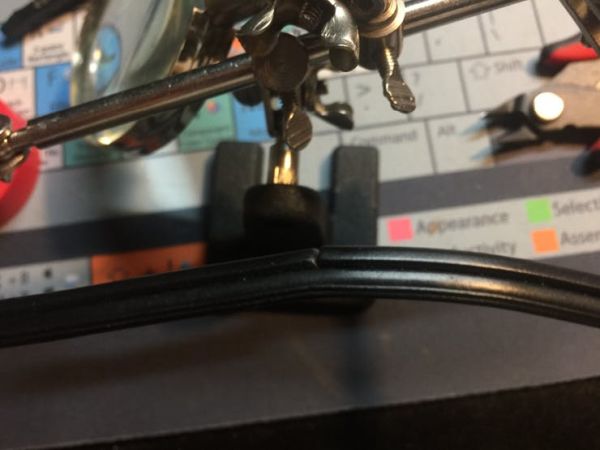
- Identify the Hot wire on your lamp, MAKE SURE LAMP IS UNPLUGGED! Examine your cord, one side will have a ribs, the other side will not. The side without (or smooth side) is your Hot wire. See Figure 2

- With the Hot wire identified, cut and strip about 1/4in, leaving wire exposed.
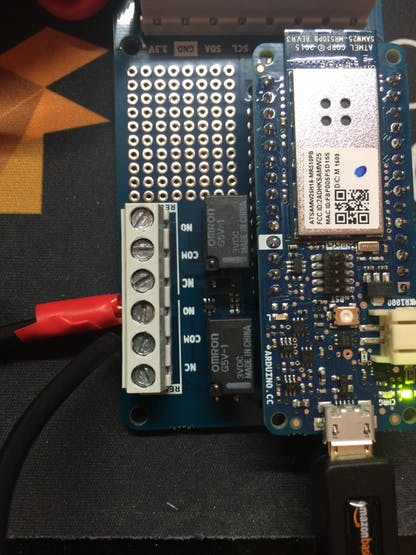
- With Hot wire ready, connect to MKR Relay Shield (Figure 3). The Hot wire coming from the plug will connect to “COM”.
- The Hot wire going to lamp will connect to “NO”. Nothing will be connected to “NC”.

With MKR1000 powered on, plug in desktop lamp, the lamp should be off at this stage. Upload the code to your MKR1000 and set the time using the following tutorial, Scheduled Relays
***Differences in the Arduino IDE from the tutorial***
- Update your network name and password
- Change the timezone to match yours (Default is GMT)
- Set alarm, default is 5 minutes
Code
Source : Control a Lamp with MKR Relay Proto Shield


